
Standard - [BRO] Phyrexian Blood Drive
- Deck contains 11 invalid cards for this format: Blood Fountain (VOW), Dockside Chef (NEO), Fatal Grudge (SNC), Grisly Sigil (SNC), Haunted Ridge (MID), Oni-Cult Anvil (NEO), Voldaren Bloodcaster // Bloodbat Summoner (VOW), Infernal Grasp (MID), Ob Nixilis, the Adversary (SNC), Pithing Needle (MID), Unlicensed Hearse (SNC)
Main 60 cards (15 distinct)


Lands - 21
Side 15 cards (6 distinct)
Main 60 cards (15 distinct)
Lands - 21
Side 15 cards (6 distinct)
Main 60 cards (15 distinct)
| Creature (17) | |||
|---|---|---|---|
| $0.49 | |||
| $0.15€0.100.03 | |||
| $0.30€0.240.01 | |||
| $11.58 | |||
| $0.35 | |||
| Instant, Sorcery, Enchantment, Artifact (18) | |||
| $0.33€0.860.03 | |||
| $0.20€0.090.01 | |||
| $0.17€0.110.03 | |||
| $0.39 | |||
| Other (4) | |||
| $0.25€0.170.01 | |||
| Land (21) | |||
| $4.97€4.431.21 | |||
|
2
Mountain
|
$0.15 | ||
| $5.91€2.660.58 | |||
|
11
Swamp
|
$0.19 | ||
Side 15 cards (6 distinct)
| $0.45€0.270.03 | |||
| $1.34 | |||
| $0.66 | |||
| $1.21 | |||
| $3.93 |
(Simplified, true algorithm in MTGA not revealed by Wizards yet)
COMPARE WITH AETHERHUB COLLECTION
Add at least 100 different cards to your collection and set it as your Compare Collection on the manage page to see what cards from this deck you are missing.
COMPARE WITH MTG ARENA COLLECTION
Compare your MTG Arena Collection with AetherHub decklists or any other decks found on the web with the MTGA Assistant extension. Syncing your account will automatically upload your collection so you can see what cards you are missing right here.
Learn more Download For Windows
Have you ever wondered what it's like to draw your entire deck in the current standard? Do you find yourself groaning as you wait until turn 5 to resolve a spell? Have you ever wanted to maindeck enchantment removal in Rakdos colors? Well now you can!
This deck is an interpretation of an older deck, Karnvil, that also attempted to use powerstones to win. The main difference being this deck is a low-to-the-ground Rakdos sacrifice deck that utilizes many of the new cards from BRO to great effect. My idea was to include as much synergy and gas as possible, and to crowd out our opponent with a wall of value, artifacts, and damage. All of the cards in this deck figure into its main strategy:
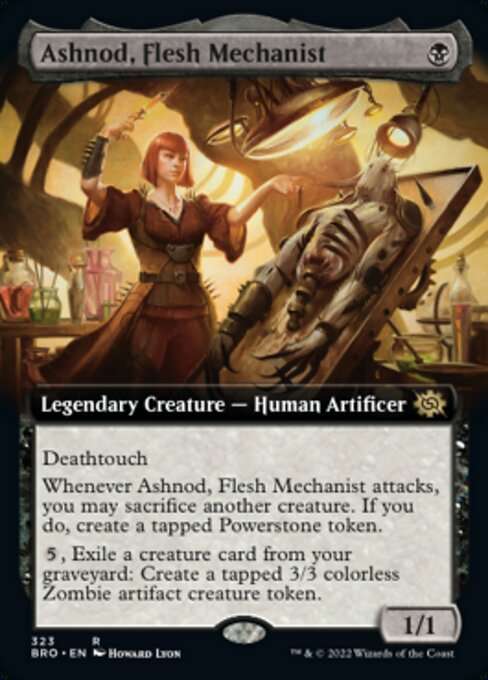
Ashnod, Flesh Mechanist is one hell of a 1/1. Deathtouch, a chance to sac a creature for a powerstone every turn, and a late game method of improving your board state, all of the low cost of one black mana. Ideally you should be attacking every turn with this critter and saccing _only_ if it's a good trade for us. The creature in this deck to sacrifice is Clay Revenant
 , which we're able to recur with the powerstones we get when we sac it. Because of Deathtouch and the opponent's dubious ability to accurately judge just how much of a powerhouse this creature is, this creature also kind of moonlights as a removal spell if we're able to trade our 1/1 deathtoucher with a Raffine or a Sheoldred. But we need to get our opponent to a low life total for trades like that to start happening!
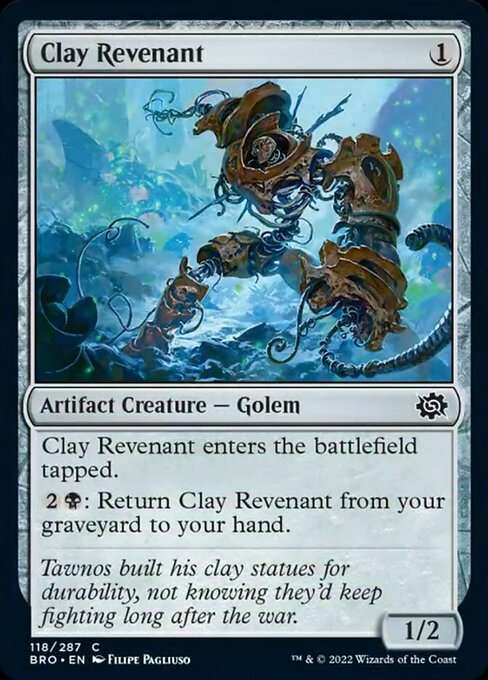
Clay Revenant is our fodder, and the other part of the Ashnod synergy. ETBs tapped, but that doesn't really matter that much to us. This is a decent create that's also an artifact that we're able to recur in the late game. This is essentially a creature we always want to be sacrificing and recurring if we aren't using our mana to play our hand. Along with Voldaren Bloodcaster // Bloodbat Summoner this synergy can get out of control pretty quickly, and deliver tons of value to this deck.
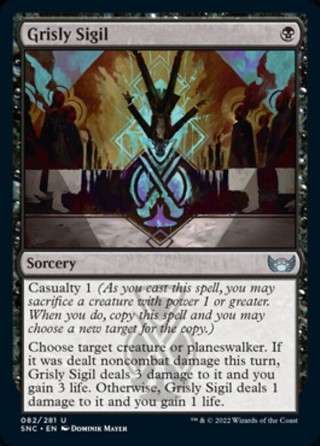
Grisly Sigil is right at home in this deck. Essentially a modal spell:
- Deal 1 damage to a creature or planeswalker and gain 1 life.
- Sacrifice a creature: Deal 2 damage, divided among you choose among creatures and planeswalkers and gain 2 life.
- Sacrifice a creature: Deal 4 damage to one creature or planeswalker. You gain 4 life.
For one mana, the ability to deal 4 to any creature (Fatal Push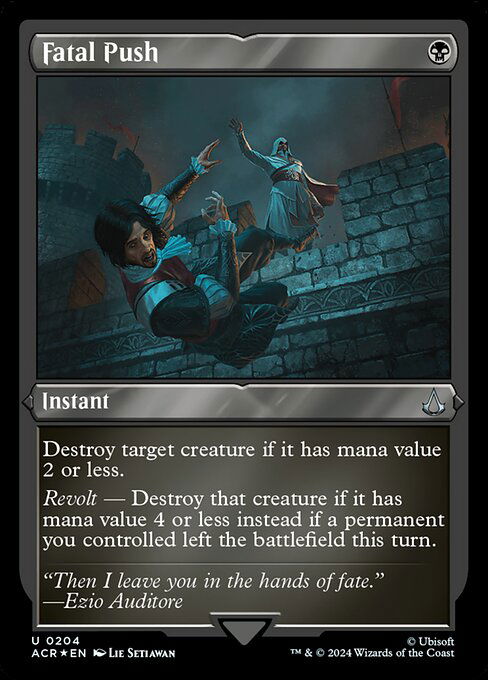 , much?) and to gain 4 life is absurd. This card hoses many of the aggressive decks in the ladder while perfectly and cheaply playing into our strategy of saccing our own permanents. The first removal spell this deck runs.
Blood Fountain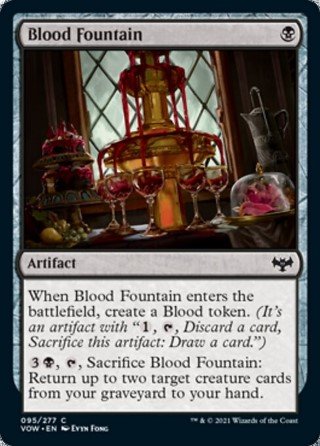 is lowkey a card I like to put in every anvil deck I make, but there are pretty good reasons to put it in this one. One mana to get two junk artifacts fast, with both being very useful in the mid-to-lategame. We could always do with more Ashnods, Bloodcasters, and and Chefs, and past turn 4 we're able to grab them again with this card, and at a much cheaper cost if we use powerstones. Other then that it's the standard fare, mainly artifact fodder to be fed to Oni-Cult Anvil
 .
.
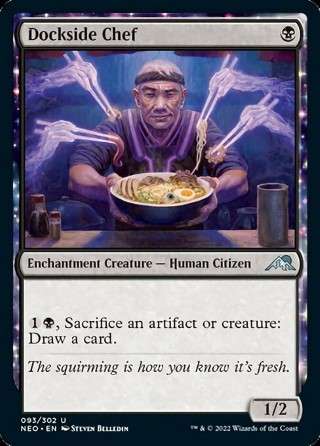
Dockside Chef isn't a card I've really seen being abused in constructed, and we're here to change that. This card has everything we want. A 1/2 for 1 with a huge upside; we're able to sacrifice _any_ artifact or creature we have on field to draw, including blood tokens and powerstones. With powerstone mana, this ability only costs 1 {B} which is an unbelievable rate. It's also an enchantment, which figures into our Fatal Grudge
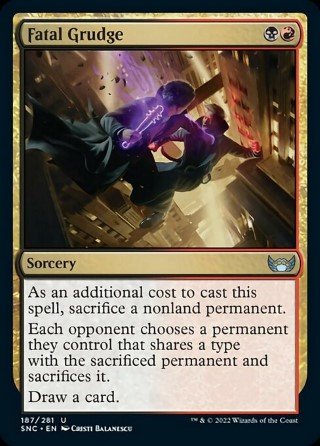 game plan.
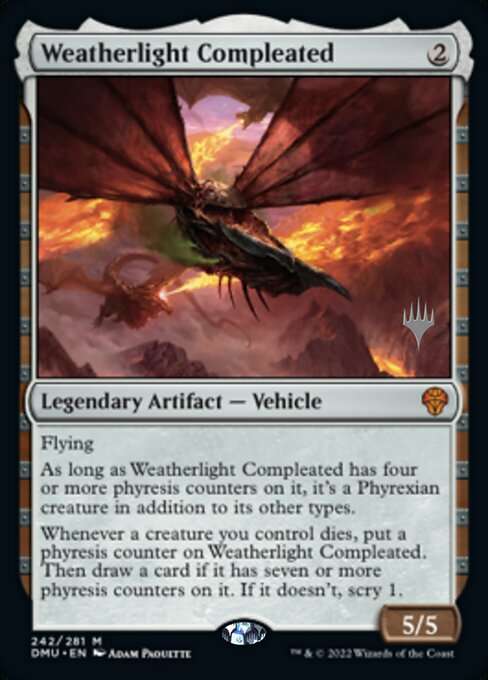
Weatherlight Compleated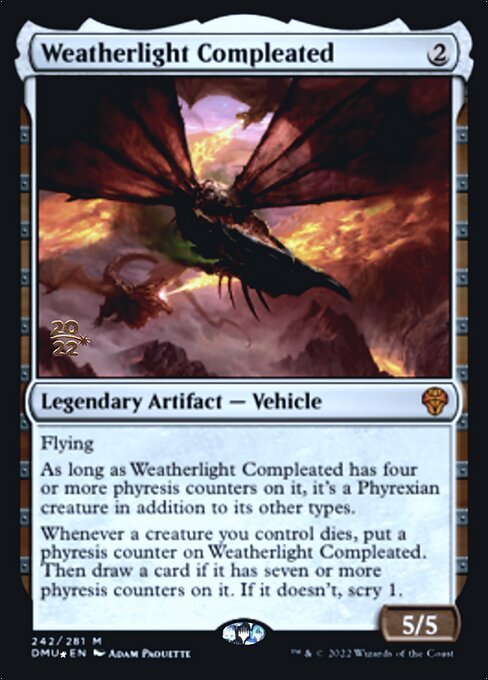 is a card that always feels good to resolve early in this deck. Because of issues pertaining to its legendary status and its relatively bulky casting cost there are only three in this deck, but having four was also something I was considering with all the blood token generation this deck has. At 2 mana, a rock that lets your turn each death trigger into a scry. When 7 or more scries happen, the scries turn into draws and we rapidly win the game if this is allowed to go on for too long. The main synergy is with Oni-Cult Anvil, we're able to sacrifice our artifact creatures at instant speed with the anvil for various effects; animating the ship into a 5/5 at instant speed, scrying at instant speed, and eventually drawing at instant speed. Of course, having a 5/5 flier does something very nice to your board state, and ideally lets you close out the game quickly but smashing in for 5 each turn. Note that if the opponent attempts to kill our Weatherlight and we have untapped Anvils and fodder, we're able to scry and draw in response to the removal by sacrificing artifact creatures.
Fatal Grudge is the other removal spell this deck plays, and a pretty exciting spell on its own. With all our creatures we're able to constantly threaten our opponent's life total, and any tokens they start with usually end up as sacrificial pawns defending against us. Once the pawns are out of the way, it's fairly likely that the opponent will attempt to resolve some big haymaker during the mid-to-late game and hope it sticks. This is our response to that strategy; we sacrifice a tiny artifact/creature/enchantment to take down one of their largest, most expensive threats in an ideal scenario. This card helps enable many unique plays, including causing opponents to sacrifice enchantments, which is a fairly new development in Rakdos colors. It also replaces itself with a draw effect, which means we get to cycle through our deck quickly and efficiently even when removing threats. This deck has some mind games and this is one of them; our job is essentially to corral their board state such that an edict effect like this takes the opponent by surprise and devastates them.
Transmogrant's Crown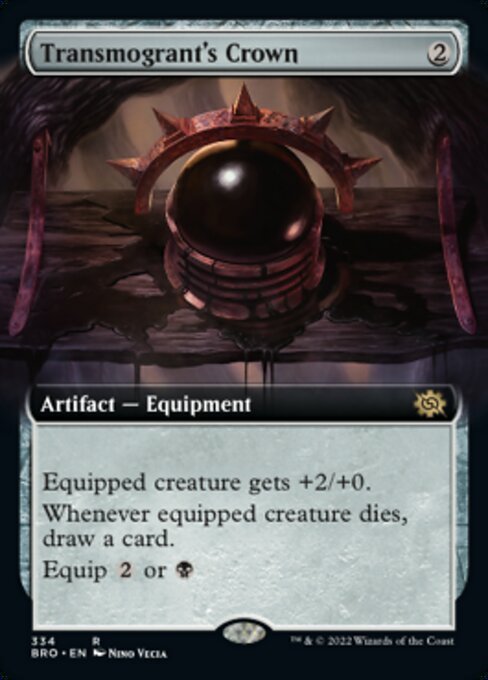 has replaced Sokenzan Smelter
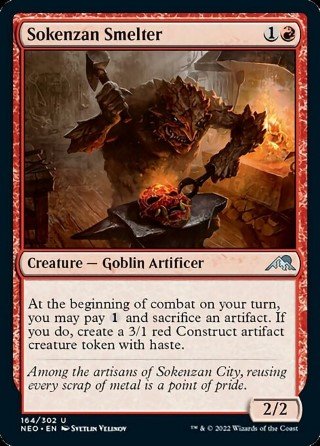 in the older iterations of this deck, and it's easy to see why. This equipment upgrades all our puny 1/1s and 1/2s into creatures with power 3 or greater, making us much more of a threat in terms of our damage clock and also threatening value; if the opponent blocks the 3/1 we end up drawing, but if they don't they get bolted for 3. A win/win for us, and lets up set up many board states where there isn't any way for the opponent to come out ahead of a trade. During our main phase we want to be monitoring our mana closely and making sure we aren't spending too much black mana a turn in equip costs that we can't play the cards that end up in our hand. Remember; our goal is to overwhelm the opponent utterly with threats, so we want to be playing as many cards a turn as we can with a deck like this; with a few matchup exceptions.
Voldaren Bloodcaster // Bloodbat Summoner is home at last. With the printing of Clay Revenant we now have a recurring nontoken creature that we can sacrifice as many times as we have mana. With the Bloodcaster, whenever we sacrifice our Revenant or any other dorks to our cards or to combat, we get a blood token. As a passive attached to a 2/1 beater with flying, this card is a great deal for us, and only gets better over time. Getting to five blood tokens to transform the caster is probably the easiest it'll ever be in this deck, so be prepared for this and try to transform the caster before combat. That way, we get our 2/2 bat to use how we please. A really good play patter I've found is T2: Voldaren Bloodcaster, T3: Play Transmogrant's Crown and equip. T4 - onwards we now have a 4/1 beater that deals a fifth of the opponent's life total every turn that they are disincentivized to kill.
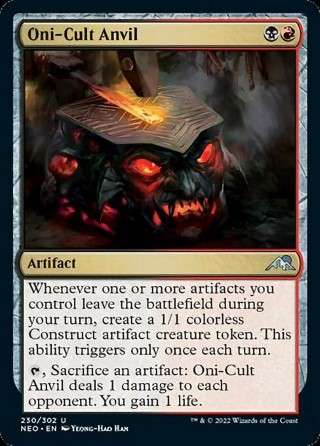
Oni-Cult Anvil is not only great in general, it makes the other parts of the deck more powerful as well. Being able to sacrifice an artifact to ping the opponent is a good place to start, but with our deck we can turn artifacts into creatures, equip those creatures, and sacrifice them or attack with them to get the death triggers. Having a few of these guys will make the game a cakewalk for you, spawning in 2-3 creatures every single turn; in addition more Anvils mean you get to use up your artifacts to ping the opponent to death in the lategame.
With this card, we can
- Gain life and deal damage to an opponent
- Sacrifice an artifact at instant speed (and subsequently get a scry/draw at instant speed)
- Turn artifacts into 1/1 artifact creatures
- Spawn 1-4 creatures every single turn
- Remove attacking creatures without trample from combat by sacrificing the blocking artifact creature in response (See a card like Curtain of Light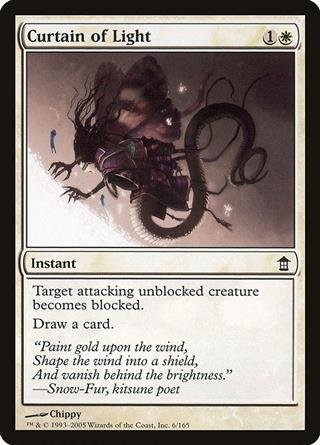 or Maze of Ith
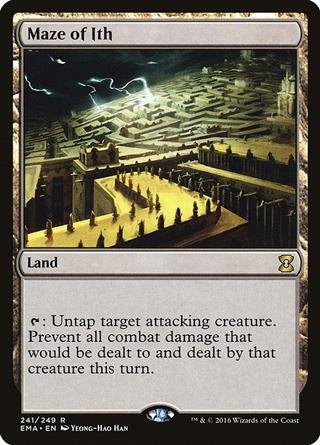 for a reference of this kind of effect)
And many more after that. A great card that we always want to resolve.
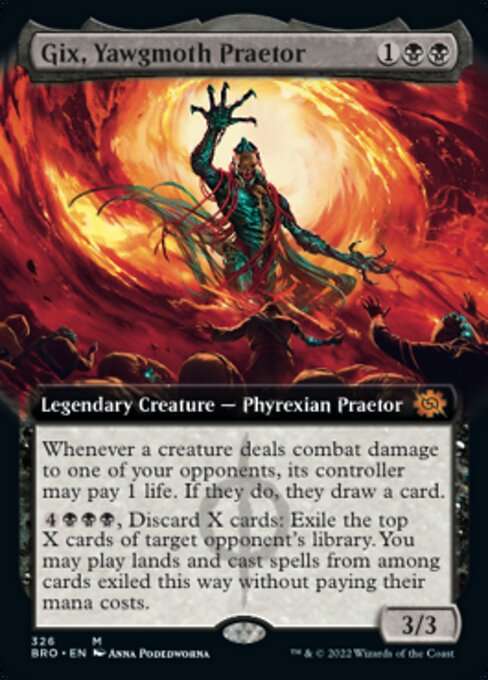
Gix, Yawgmoth Praetor is a new addition and works wonders for us. If we're able to slam this card on turn three with a few attackers already set up, we're able to draw cards before the opponent untaps. While this card is on the battlefield, all the dubious trades that we want to make with our opponent are so much worse for them now. With Gix, if we attack with literally any creature equipped with Transmogrant's Crown, we place the opponent into a double bind where we draw cards if they block and kill the creature or if they take the damage themselves. The active is amazing of course, although it'll be a bit before we're able to activate it. With the active I've already been burned by discarding my whole hand and having the opponent completely blanking on nonlands. My advice is that once a turn we check to see if we can activate the ability; if we can we choose only dead cards. That way we don't end up discarding our hand to an effect fairly geared towards commander.
~~~How to Play~~~
Early game, we want to establish ourselves as a threat. Most of our cards are as cheap as they get, so that won't by an issue unless we end up keeping clunky, removal-filled hands that don't do anything on their own. Some good starting plays:
T1: Ashnod, T2: Clay Revenant, Attack with Ashnod, sac the Revenant. You are now set up to ramp for powerstones for the rest of the game if needed.
T2: Voldaren Bloodcaster, T3: Transmogrant's Crown, equip to Caster, swing for 4. We now have an evasive 5-turn clock that lets us draw when it dies.
T1: Ashnod, T2: Weatherlight Compleated, T3: Oni-Cult Anvil, Blood Fountain. Sac the extra blood token from the fountain, get a 1/1. Sac the 1/1 to Ashnod, turn the 1/1 into a powerstone and trigger Weatherlight. From here on out we're able to get free scries for as long as we keep on being able to attack with Ashnod. This gets even more absurd once we get a Transmogrant's Crown out and drawing us cards as well.
In the middle game we want to adjust our strategy based on the deck we're playing. If it's tokens, we run every threat out and meet them in combat head for head. If it's against a controlling Farewell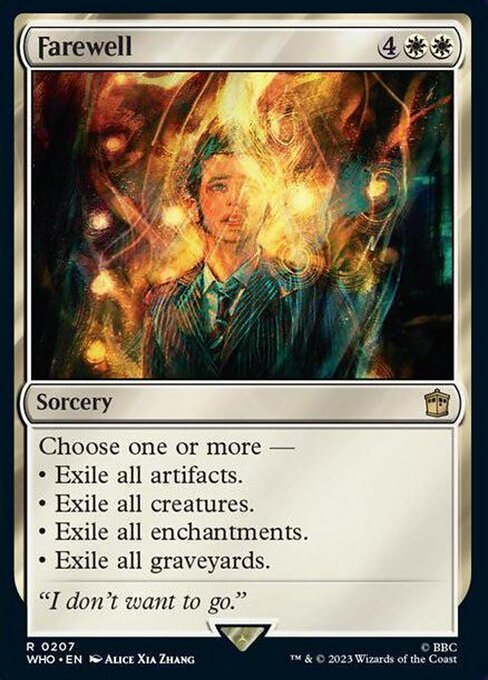 deck, we run out one threat a turn to exhaust their answers, while aiming to get as much card advantage as possible before the wipe. If against midrange, we're attacking with our board strategically every turn to threaten life totals, ideally with creatures equipped with Transmogrant's Crown and targeting the big threats with our removal. Generally speaking past six mana we shouldn't feel the need to keep any more lands we draw, instead we can opt to cycle them away with our blood tokens.
In the late game we want to be activating our Oni-Cult Anvils constantly to close out the game. Chances are you'll have a few 1/1 artifact creatures on your side. If you can't attack with them to threaten the opponent's life total you'll want to sacrifice those tokens (only when not needed for blocking) to deal 1-4 damage to the opponent each turn. Control decks usually can't answer a strategy like this very gracefully and with all the artifact value we end up with, winning in such a way is pretty common for us. Speaking of control it may be wise to play all the lands that end up in your hand so you can match the opponent's 7 mana play with 3 3 mana plays, or a difficult attack for them. Our plan B is, of course, to just attack with our dorks until we get there in the end. This deck has many great attacks with all our new toys from BRO, so don't be afraid to raise the stakes with a 7/2 Clay Revenant that has 3 Crowns equipped by turning it sideways! We win either way.
~~~Sideboard~~~
Let's start with the bad news; there are some cards that really screw with our strategy. The big three off the top of my head are Farewell, Temporary Lockdown , and Brotherhood's End
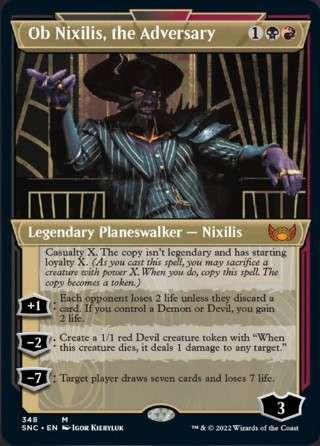
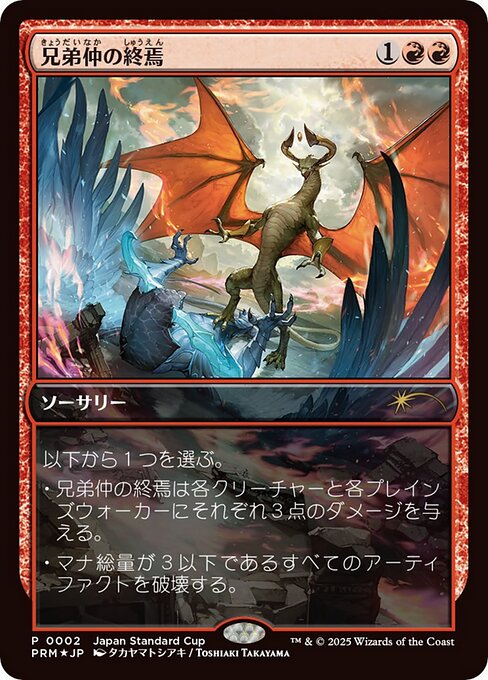 . If you suspect you're playing against one of these, it's important to adjust your strategy accordingly to avoid being blown out. Planeswalkers are the clear answer to those three cards, as none of them are affected by them and are very hard for control decks to answer, especially Ob Nixilis, the Adversary
 .
.
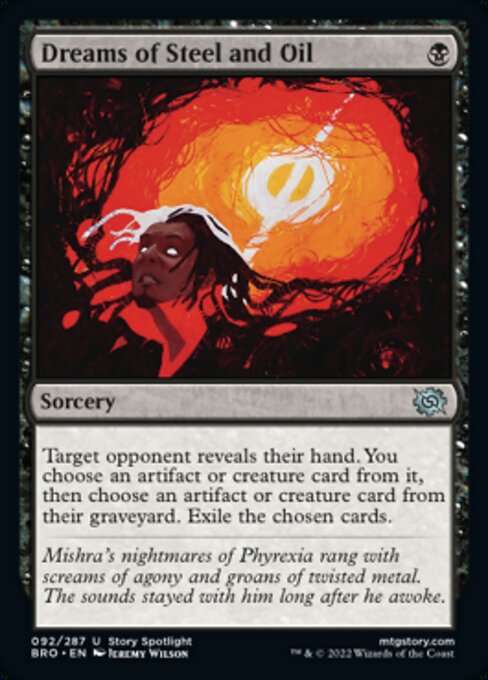
Dreams of Steel and Oil is I believe a fair card to use in a sideboard against a meta like this. Creatures are everywhere, and with the advent of BRO, artifacts are everywhere now, too. Use this card to deal with them preemptively, or to exile a problem creature/artifact in the graveyard later.
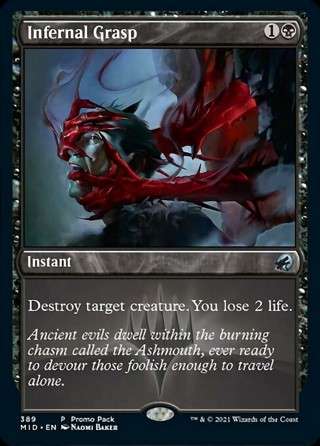
Infernal Grasp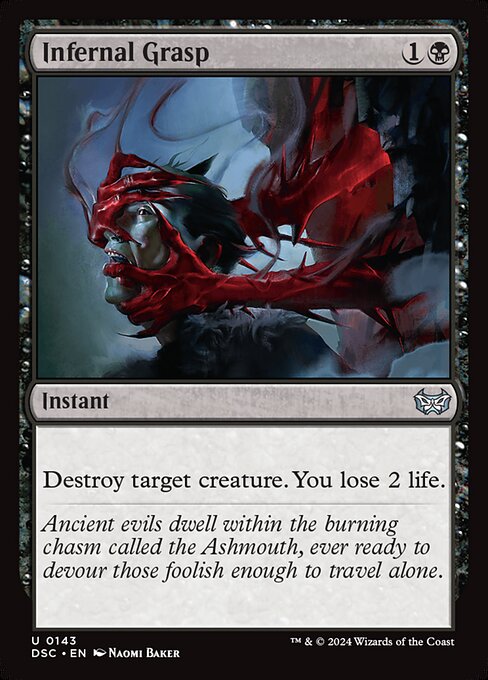 is our backup when we need unconditional, cheap, instant speed removal with no questions asked. Our panic button when the opp plays a Sheoldred alongside their army of 1/1s.
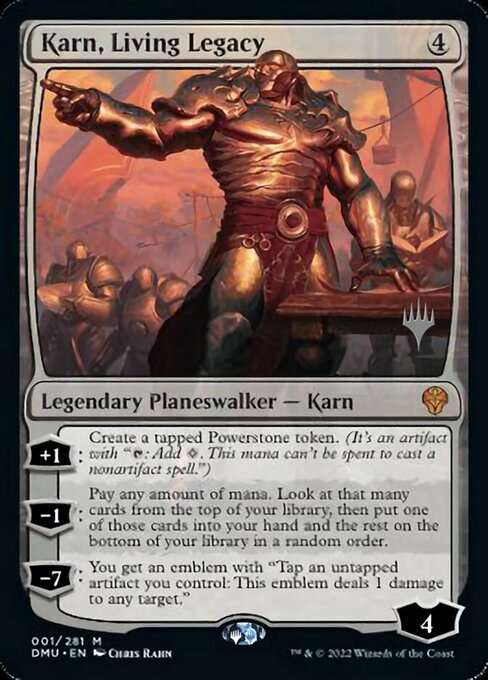
Karn, Living Legacy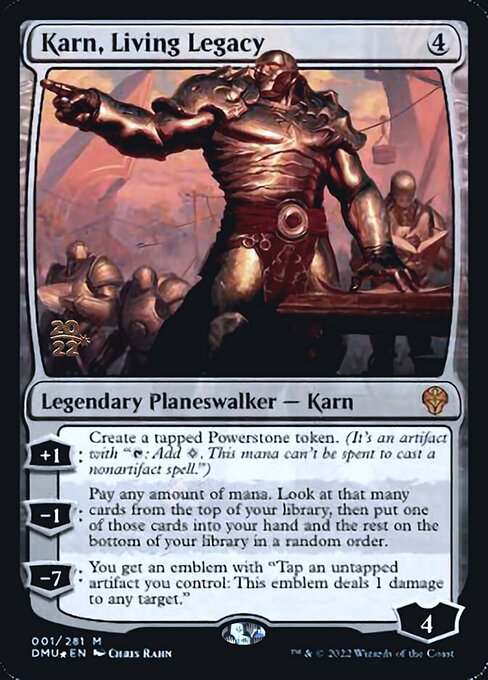 is straight gas in a deck like this. The only issue being he's a little too expensive for this particular deck which curves out around three mana. Use against control.
Ob Nixilis, the Adversary is our secret tech against the meta's problem cards. Be wary of Burn Down the House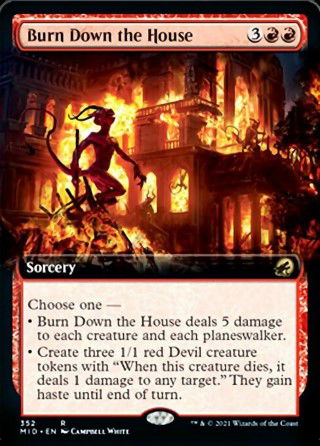 , but in a lot of cases if you can resolve two of these early on against control they'll likely be pushed into a corner as time goes on.
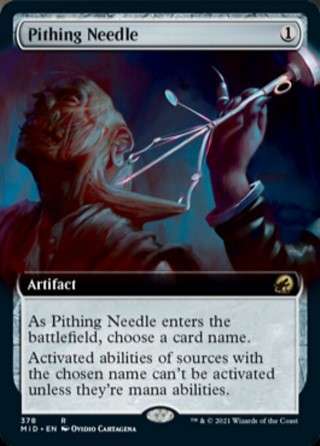
Pithing Needle will always be useful, but as an artifact we like this card especially. Use this to shut down planeswalkers, Reckoner Bankbuster
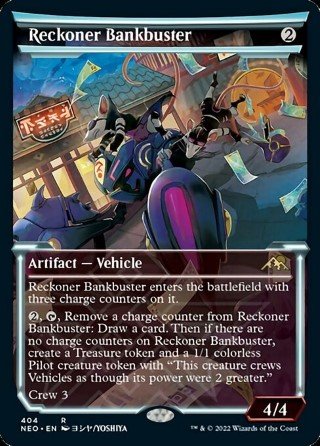 s, and Shigeki, Jukai Visionary
 s for maximum effect.
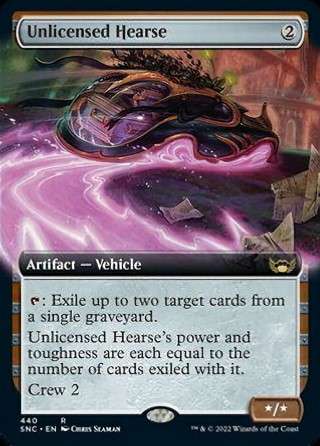
Unlicensed Hearse : Most everyone these days uses their graveyard in some ways in Standard, and with this card we not only get to say no to that strategy, we get a huge beater in the late game. Graveyard hate at its finest.
Latest Articles
Created: 09 Dec 2022
590 144 0
Enter The Battlefield Prepared
With the MTGA Assistant deck tracker| 20 | 15 | 20 | 5 | 0 |
|---|---|---|---|---|
| 0 | 7 | 4 | 4 | 0 |
| Symbols | Percentage | Lands | |
|---|---|---|---|
| 30 | 78.95 | 17 | |
| 8 | 21.05 | 4 | |
| Average Converted Mana Cost: 1.59 | |||
| Recommended Lands: 21 | |||
Card name

Being a TCGplayer Affiliate enables Content Creators to earn revenue on making content on Aetherhub. All links to Cards in the Decks and Articles of Content Creators that are affiliated with TCGplayer are linked with their affiliate ID. When users buy cards via links from Content Creators they earn revenue from the purchase you make.
AetherHub welcomes more Content Creators to our TCGplayer Affiliate system, read more about it here.

![DeckHub]() DeckHub Twitch Extension
DeckHub Twitch Extension
The DeckHub Twitch extension is used by Twitch streamers to display their currently played deck in the video overlay. After a quick install you can select any public deck on AetherHub to be displayed in your overlay, here is how you set it up: DeckHub Guide
Install DeckHub Twitch extension on Twitch.tv- Install DeckHub on Twitch by clicking this link