
Threat Assessment in Commander 101: A Guide to Survival

Threat assessment is a very important skill for a commander player. You've only got so many answers, and you've got to use them wisely if you want to survive and win the game. Sometimes, it's easy to know what's dangerous. When everyone has cards threatening in different ways, it can become hard to tell when and where to interact.
Today, I'll be breaking down threat assessment for EDH so that you use your removal wisely and stop losing games to things that you could have gotten rid of if only you'd given it the attention it deserved. We'll cover how to tell what's a threat to you, when to remove problematic things, and what to do when you're the threat. So, without further ado, let's get into it.

How To Assess Threats In Commander
Threat assessment is complicated because most threats are context-based. Sometimes, this is easy - A scary commander, a huge board, a ton of mana, etc. But still, something that is a threat in one game state may not be terrible in others. The good news is that you can usually see what people have. Aside from the cards in a player's hand (and library), you have the info needed to make educated decisions.
Here is a ranked list of threat categories you can use for guidance.
Level 10: Anything Winning The Game


This may feel broad, but we've got to start here. If something is going to win another player the game (either on the spot or inevitably), you'd need to deal with it. These are usually pretty easy to spot and should be the number one priority of all players not on the receiving end of the win.
As I suggested in my guide on commander politics, don't be afraid to ask, "Hey, are we about to lose to this?" if you're unsure.
Level 9: An Active Mana engine
An "engine" is some number of cards (more than one), which generates repeatable value throughout the game once it's set up. Engines that produce steady amounts of extra mana must be dealt with because big mana means the ability to cast more spells.
An example of a mana engines could be Pitiless Plunderer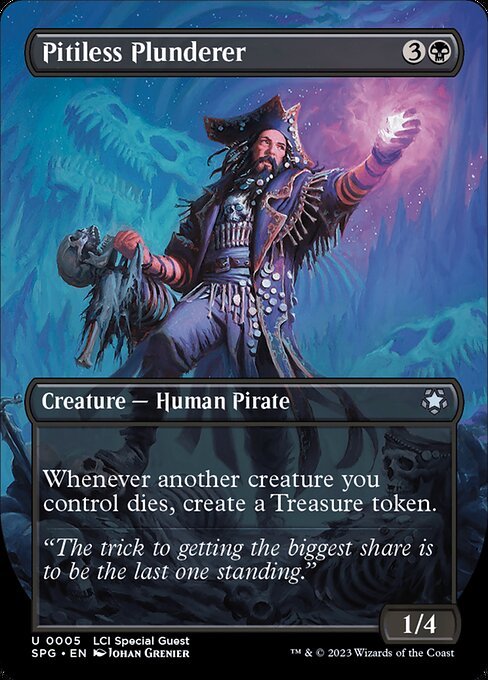 and Ashnod's Altar
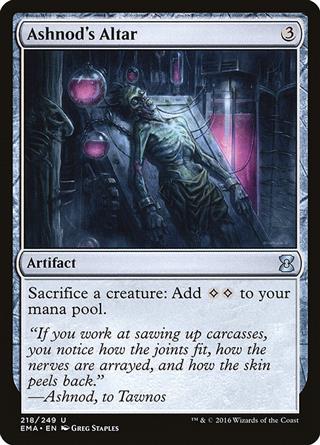 . With these in play, every sacrificed creature would represent three mana for the controller. If you notice someone set up to make mana turn after turn don't let it go for longer than you have to.
Level 8: Card Draw Engine
A card draw engine is the same concept as a mana engine, but for card advantage. It will allow the controlling player access to more cards than others throughout the game, and that adds up. If someone is drawing cards, they're more likely to find wincons, threats, protection for their permanents, and interaction of their own. Plus, while cards are in hand, you don't have info as to what you're up against.
There are countless draw engines in EDH. An example could be a tribal deck with Kindred Discovery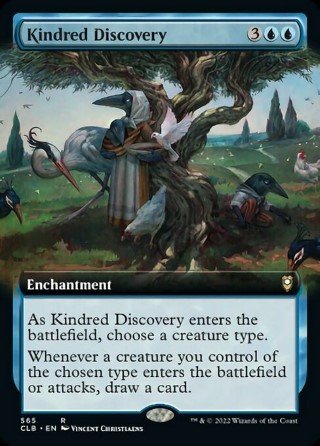 on the battlefield. Once it's out, all of their subsequent creatures will draw them cards until it's removed. The same could be true of a Enchantress's Presence
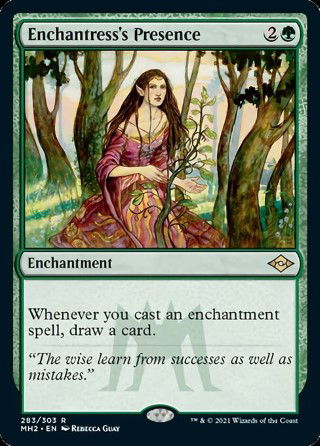 in an enchantment deck. So, keep your eye out for repeatable card draw.
Level 7: A Powerful Commander


Commander decks are built around their commander. So, it's highly likely that the general has very high synergy with your opponent's strategies, and they're going to have access to it repeatedly. If the commander is particularly powerful in what it enables, think Tergrid, God of Fright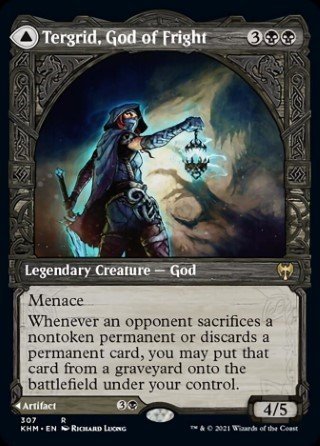 or Kaalia of the Vast
 . Anything that is going to allow a deck to start doing what it was made for in a big way is a threat to monitor.
Level 6: A Partial combo
If you notice someone has one-half of a potential combo in play, you should consider removing it if you have the means. While it can be tempting to delay using removal on something that might not be terribly threatening on its own, the longer you wait, the more time your opponent has to find the other piece they need.
You May Also Like: Top 10 Commanders For Combo Decks In EDH
Some examples of what I mean could be a Sanguine Bond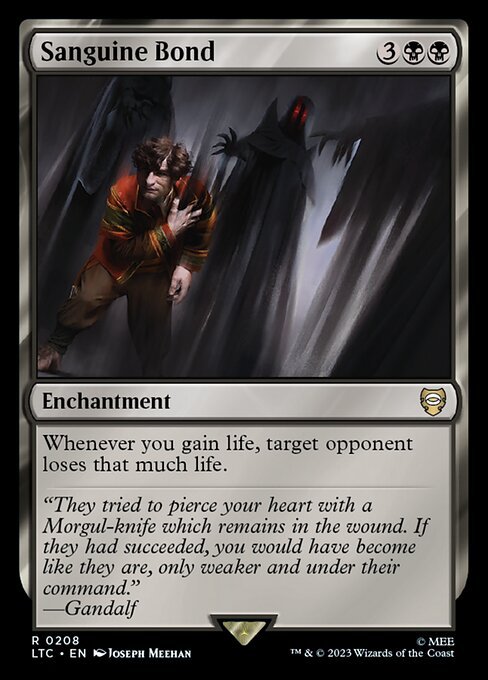 , which combos with Exquisite Blood
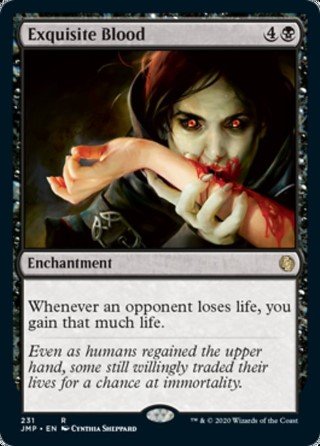 . All alone, a given card may or may not be generating decent value for the controller. But being aware of what cards, if any, could have explosive interactions with others (and removing them proactively) is good threat assessment.
Level 5: Repeatable Interaction
Permanents that offer repeatable interaction can be difficult to address. These are cards that, turn after turn, can disrupt your plans, remove your threats, or otherwise control the board state. Examples of this could be things like Slobad, Iron Goblin and Spine of Ish Sah
 or Butcher of Malakir
 along with a sacrifice outlet.
While these pieces don't necessarily present an immediate win condition, their consistent disruption can grind your progress to a halt and leave you vulnerable to other threats down the line. Dealing with them early can prevent a snowball effect of control.
Level 4: A Wide Board


Wide boards in commander are very context-dependent. On one hand, even a seemingly innocuous board of small creatures can quickly become a significant threat with things like Overwhelming Stampede or Craterhoof Behemoth
 .
.
Plus, numerous small bodies can overwhelm single blockers, apply considerable pressure through cumulative damage, and fuel sacrifice outlets. That said, a slew of creatures on one side of the board is usually pretty easy to spot and, under the best of circumstances, can be simple to answer via a board wipe.
Level 3: Large Creature With Protection
A single, large creature can be daunting, especially when it has protection like hexproof, indestructible, or shroud. The weakness of a single big creature is usually that it can be chump-blocked or removed with spells like Murder or Path to Exile
 . But protection makes it difficult to remove with targeted spells or abilities.
While a large, protected creature might not present an immediate combo or overwhelming board state, it can represent a significant clock, chipping away at life totals with each attack. However, the key vulnerability here is often that it's just one threat. Board wipes, edict effects (forcing a player to sacrifice a creature), or disposable blockers can often bypass these protections or mitigate excess damage.
Level 2: Large Creatures with Evasion
Similar to large creatures with protection, large creatures with evasion (like flying, trample, or unblockable) often present a danger to your life total. They are easier to see coming and often easier to interact with since they lack built-in protection.
That said, the urgency in dealing with these depends on how quickly they can knock out a player. If you don't have evasive creatures of your own (or another way to keep attacks from coming at you, like Ghostly Prison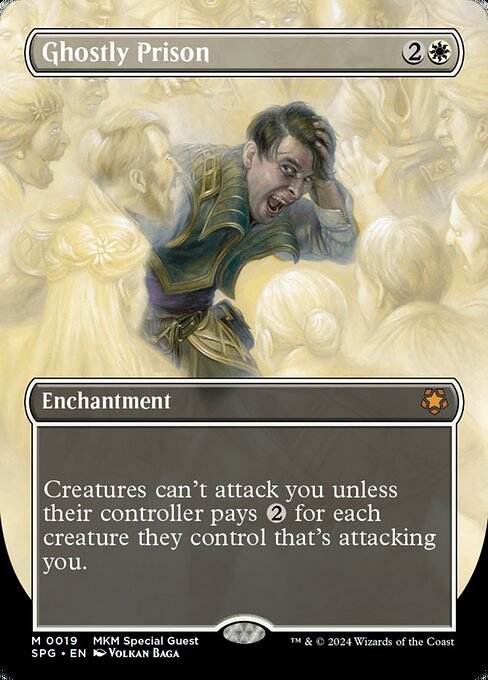 ), large, evasive attackers often demand an answer sooner rather than later.
Level 1: Stax Piece


Stax pieces are high-priority targets because they alter the game's flow by restricting the resources and actions of all players, often disproportionately hindering opponents more than the controller. Examples include Rule of Law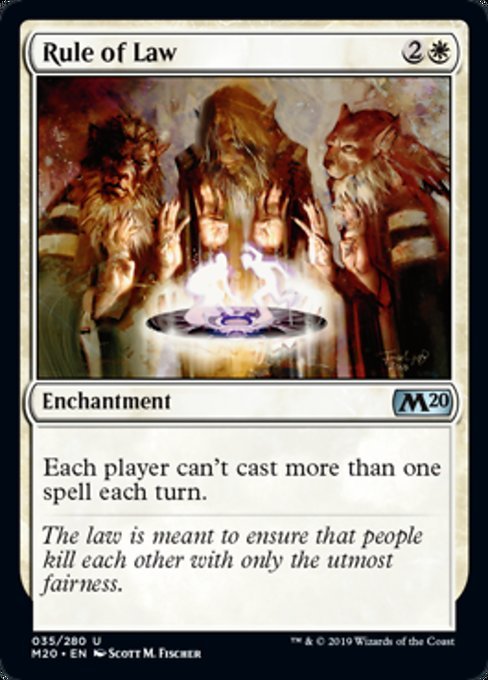 , Trinisphere
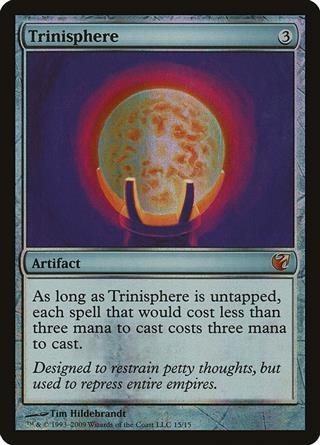 , or Grand Abolisher
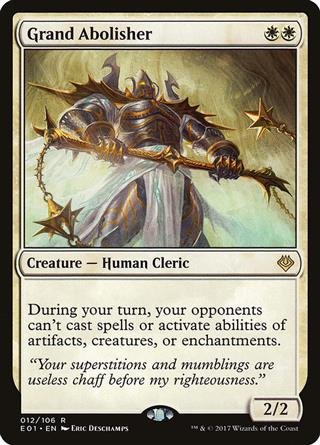 .
.
While the player controlling the stax piece might not be immediately winning, these effects can create a lock on the game, preventing others from developing their strategies. And, in the process, potentially paving the way for the stax player to eventually win under the oppressive conditions.
You May Also Like: Top 10 Saltiest Commander Cards
When possible, you'll want to consider answering stax pieces sooner rather than later because if left on the board, they can accumulate and become harder to deal with.
Answering The Threat
Having Interaction
So, you've identified a threat – now what? Simple removal spells are often the most direct answer. When building your EDH deck, it's generally recommended to have around 12 single-target pieces of interaction. This would include removal spells for creatures, artifacts, and enchantments, plus things like bounce and counter spells. In other words, any card that deals with or disrupts a single card of your opponents.


Beyond these, it's recommended to play around five mass disruption spells, like Wrath of God , Disrupt Decorum
 , or even Propaganda]]. In general, these are things like board wipes and other cards that deal with multiple opposing cards at the same time.
Saving Resources
Assuming you stick close to the numbers above, you should have answers when you need them, more often than not. But still, be wary of burning out your own resources by being the sole responder to every problem. Sometimes, it's strategically advantageous to let another player act first, especially if they are perceived as a bigger threat themselves. Consider the urgency: "Do I have to deal with this now, or can I afford to wait and see if someone else will?"
Often, the scariest threats will attract the attention (and removal) of multiple players. Don't be afraid to let two significant threats "fight it out" by focusing your attention elsewhere.
Attacking a threatening player can also be a form of interaction. If a player has a dangerous permanent but few blockers, applying pressure through combat can force them to play defensively to survive. If you want to take this route, identify the most threatening player who appears vulnerable in combat and direct your attacks accordingly.
When You're The Threat
If you find yourself in a commanding position, poised to win or generating significant advantage, you may become the threat. In this scenario, maintaining a low profile is key. Avoid unnecessary "showboating" or drawing excessive attention to your powerful board state.
Limit your impactful actions until you are at a point where your win is difficult to stop. Carefully assess what you need to secure the win and, more importantly, who at the table has the potential to disrupt your plans. Identify the specific threats that could prevent your victory and determine if you have the resources to eliminate them before attempting your final move. Ask yourself: "What specific cards or scenarios can stop me from winning right now?"
Avoid tunnel vision by solely focusing on your own win condition. Be aware of other players who might also be close to victory. Consider whether it's more advantageous to try and race them or to slow them down. If interacting with another potential winner costs you little to no resources, it's often a worthwhile play to disrupt them.
However, if defending against their potential win requires significant investment, it might be better to focus on your own strategy and hope someone else deals with the other threat. Finally, remember that a high life total alone does not automatically make someone the biggest threat.


