
Arena Standard - Circle of Death
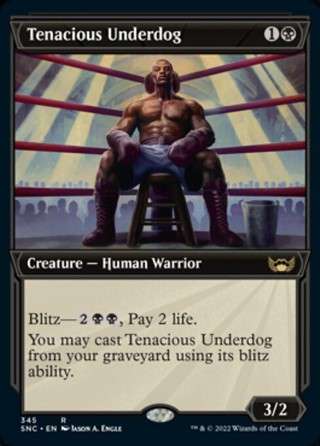
- Deck contains 7 invalid cards for this format: Rite of Oblivion (MID), Tenacious Underdog (SNC), Deathcap Glade (VOW), Eiganjo, Seat of the Empire (NEO), Shattered Sanctum (VOW), Gala Greeters (SNC), Lunarch Veteran // Luminous Phantom (MID)
Main 60 cards (18 distinct)


Lands - 20

Main 60 cards (18 distinct)
Lands - 20
Main 60 cards (18 distinct)
| Instant, Sorcery, Enchantment, Artifact (16) | |||
|---|---|---|---|
| $0.37€0.310.03 | |||
| $0.20€0.14 | |||
| $0.40 | |||
| $0.20€0.100.03 | |||
| Creature (24) | |||
| $1.54 | |||
| $0.32 | |||
| $0.25€0.140.03 | |||
| $1.25 | |||
| $0.24€0.140.03 | |||
| $0.35€0.370.03 | |||
| Land (20) | |||
| $2.110.15 | |||
| $2.15 | |||
| $11.28 | |||
|
1
Swamp
|
$0.88€0.680.04 | ||
| $7.17 | |||
| $9.68 | |||
| $3.45 | |||
| $0.20€0.090.02 | |||
(Simplified, true algorithm in MTGA not revealed by Wizards yet)
COMPARE WITH AETHERHUB COLLECTION
Add at least 100 different cards to your collection and set it as your Compare Collection on the manage page to see what cards from this deck you are missing.
COMPARE WITH MTG ARENA COLLECTION
Compare your MTG Arena Collection with AetherHub decklists or any other decks found on the web with the MTGA Assistant extension. Syncing your account will automatically upload your collection so you can see what cards you are missing right here.
Learn more Download For Windows
UPDATE: If you don't want to spend the wildcards on Transmogrant's Crown, Teachings of the Kirin // Kirin-Touched Orochi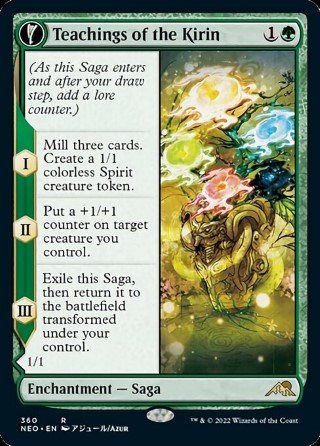 slots into this deck nicely.
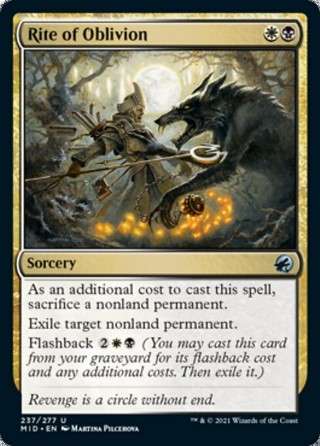
Rite of Oblivion is easily one of the most tempting pieces of removal that we've seen in Standard. In exchange for some junk token, you can exile any non-land permanent of your choice. And you can do it twice!
But it's this sacrifice cost that begins to reveal why it's so hard to make this card work. It doesn't just cost you two mana and a free token. The mana you put into making that token is overhead in both its mana cost and its card disadvantage. Not to mention, all your opponent has to do is Shock your Jadar, Ghoulcaller of Nephalia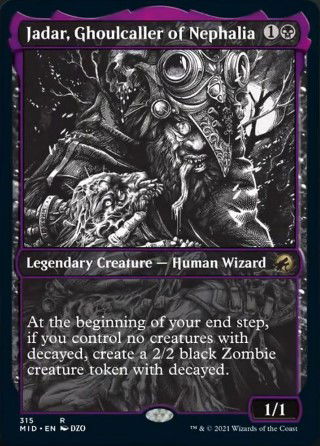 or dispatch your Lord Skitter, Sewer King
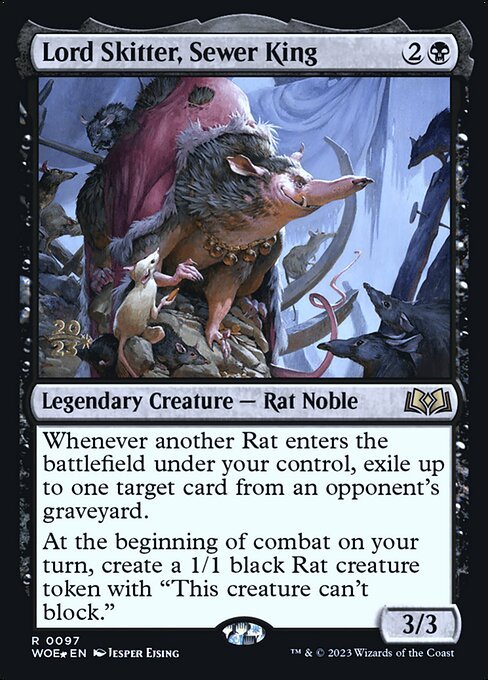 , and suddenly the burden of that sacrifice cost on your Rite becomes far too tangible.
"But what about Hopeless Nightmare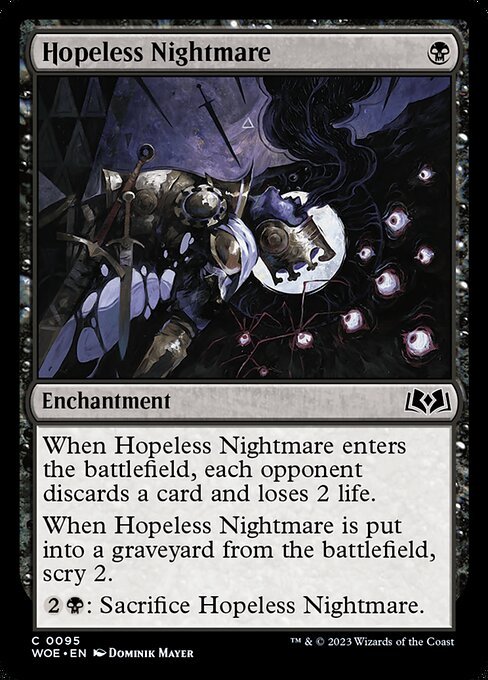 , Market Gnome
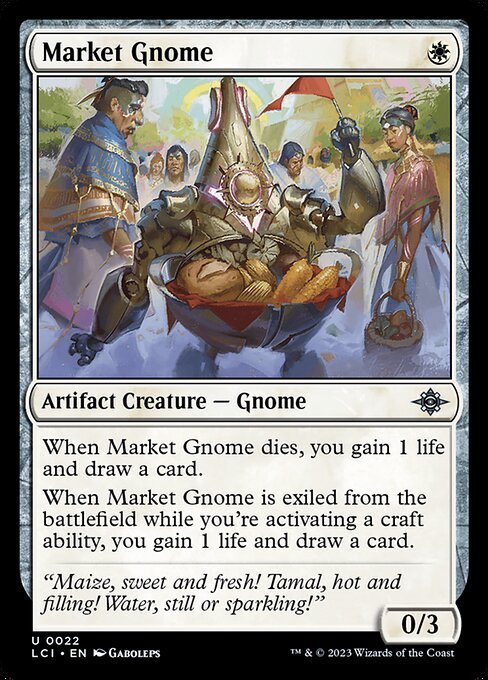 , Greedy Freebooter
 , and Spiteful Hexmage
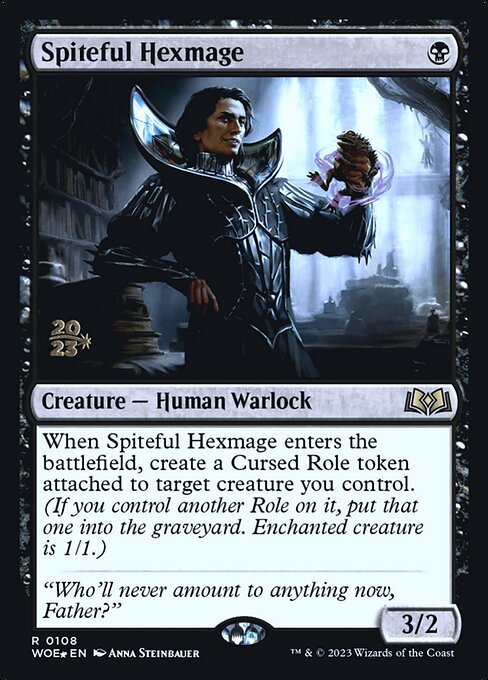 ?" I hear you say.
These are cards that provide some level of value when they die. But they still don't exactly get the job done. Hopeless Nightmare is a minor scry effect, so the resource is still gone for good after you spend it. Spiteful Hexmage is fun to turn into a 3/2, but neither enchantment can be spent on anything but Rite of Oblivion, so they both stop us from running more of these effects. As for the Freebooter and Gnome, they cannot do enough to close games. Freebooter gets walled and the Gnome does no damage on its own. There is a much narrower subset of things we can sacrifice treasures to, and 0 power not being able to hold back several X/1s will bite you more often than you would think.
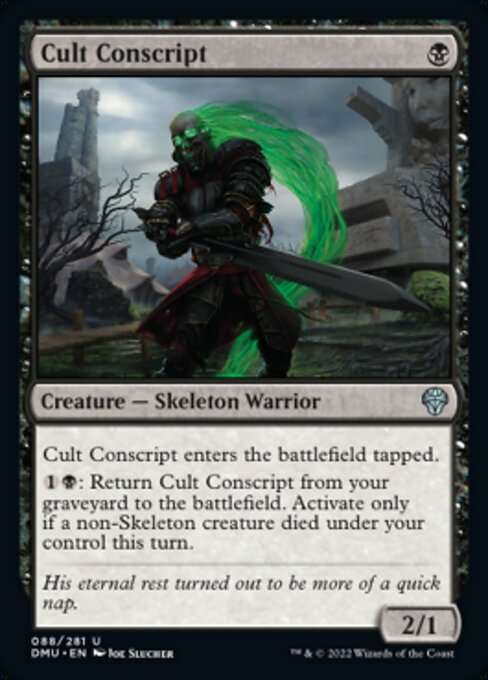
Enter Lunarch Veteran // Luminous Phantom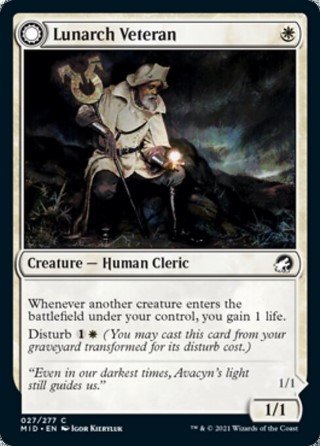 and Cult Conscript
Both of these allow us to squeeze so much more value than any of the above cards could ever hope to achieve. Lunarch Veteran can be sacrificed twice, and both sides allow you to gain loads of life just by Doing The Thing. Creatures in this deck will be entering and leaving the battlefield constantly. Most decks can only get the bulk of the life gain from the ETB side of this card. But this deck can wring out just as many life-gain triggers from the Phantom. Later in the game, you can send it over the top with Transmogrant's Crown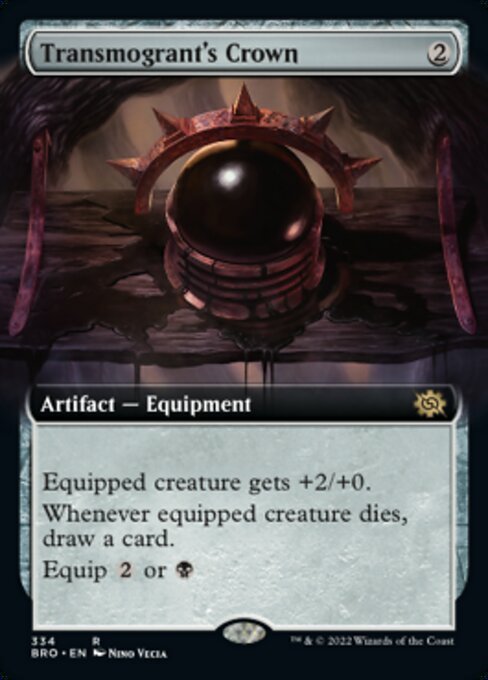 to close games quickly. However, be aware that when the Phantom dies, it does not trigger death triggers because of the exile replacement effect.
Cult Conscript is first and foremost an aggressively-statted one-drop. Most notably, it is also a skeleton that can block after it untaps. There are quite a lot of dangerous 2/2s and 3/2s running around that this allows you to trade with. Cult Conscript is, essentially, a resource you can burn for removal endlessly. Whenever a non-skeleton you control dies (read: any other creature) you can pay 1B and return it to the battlefield at instant speed until the end of that turn. It does NOT have to be on your own turn. Meaning you can find yourself chumping with a creature only to drag two of these back onto the battlefield before your next turn. This also means that they're ready to go on your turn. There's a pretty sweet combo with. . .
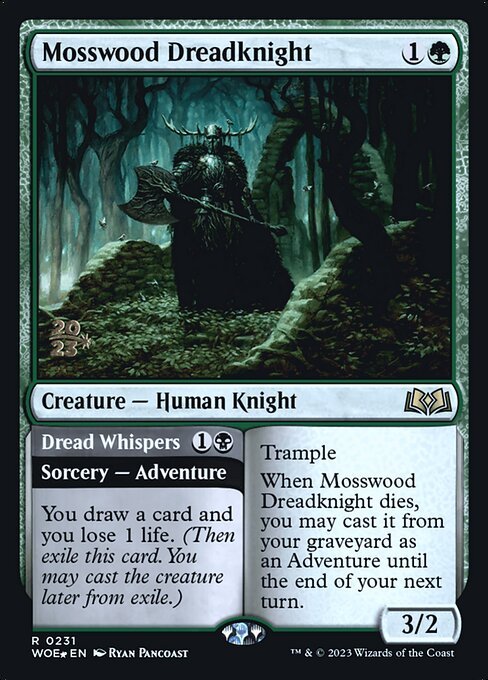
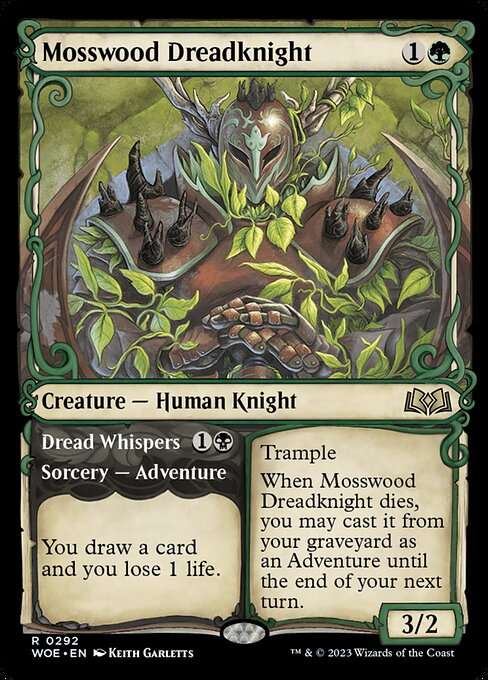
One of our quintessential pieces to making this deck work. And the first card I thought of when evaluating how to abuse Rite of Oblivion. Whenever it dies, you can get an extra card and bring it back to apply pressure or be used as value-generating sac fodder again. It has trample, which is great for stapling a +2/+0 effect onto (hint hint). And is easily one of the best enablers of looping Cult Conscript. Whenever the Dreadknight dies, you are free to bring back ALL of your skeletons. This works endlessly. If you also have a Lunarch Veteran or its Phantom on the battlefield as well, you create a Voltron situation where you can chump block forever while gaining multiple points of life every turn for doing it. This is demonstrated very well in the video linked up top.

Dreadknight's cousin. I'm certain you are already very familiar with this card. In this deck, it provides ETB and death triggers for anything that cares. It's got its pros and cons compared to the Dreadknight. I would play this over the Dreadknight earlier in the game if you have the choice. You don't want to be pressured into having to pay 2/3 of your mana next turn just to save the Knight. This is also a deck where you may want to consider Blitzing it out first rather than playing it. Primarily when you have lots of ETB and death triggers listening and you don't have an easy way to make sure this gets into the graveyard. This is also a fantastic target for the Crown.
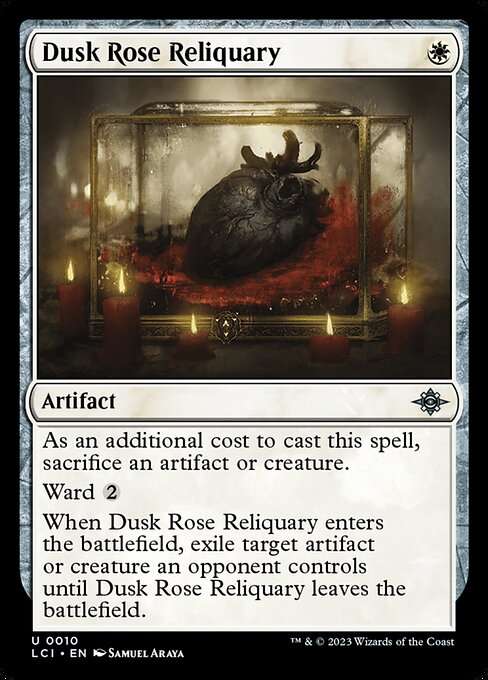
Dusk Rose Reliquary and Annihilating Glare
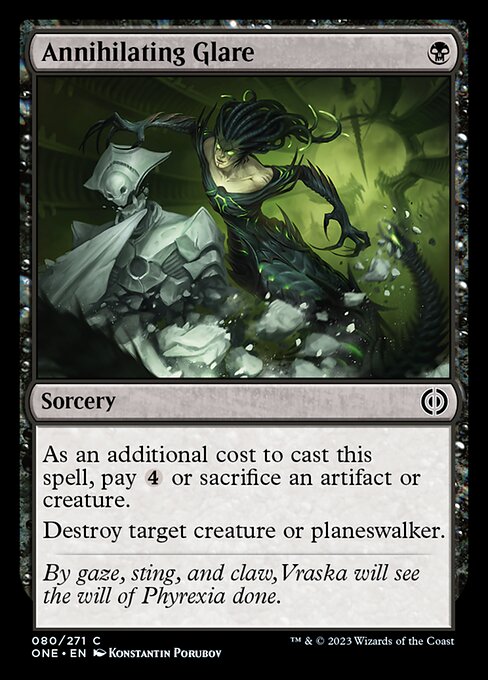 form our "Rite-Lite" suite of cards. There isn't too much to say here. Both can consume either artifacts or creatures. If you have the choice, you typically want to use the Reliquaries first, as they do not offer an additional cost and the list of card types it removes is a bit more narrow than having the choice between creatures and planeswalkers. Note that the Reliquary is great to use on big threatening tokens if they're around. Since it won't leave anything under it, you can then use it to pay for another removal effect.
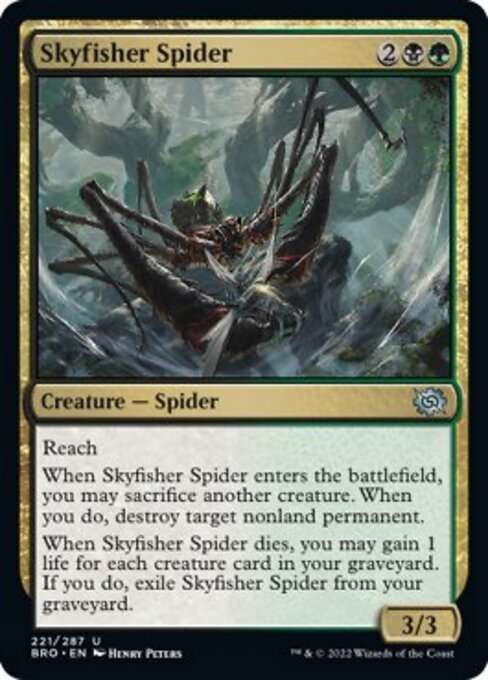
Skyfisher Spider is a card you don't see often. It's Golgari's take on Rite of Oblivion. And if you squint, you're paying two mana for a one-time Rite of Oblivion with a two-mana 3/3 reach gains-you-life-when-it-dies spider attached to it. I would say that's fairly above-rate. It isn't unusual to gain in the ballpark of 5 or 6 life when this creature dies. You don't have to sacrifice anything when it enters if it doesn't make sense to. It also doesn't exile your other creatures when it gains you life. If you're hurting for it, sacrificing one spider to another is a good way to force the life-gain effect while also removing something.
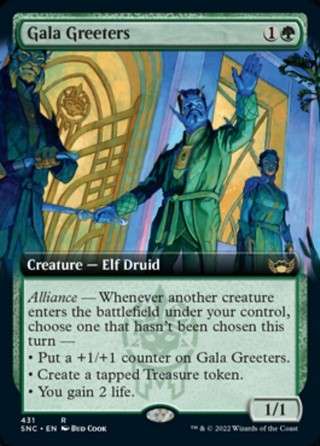
So there is plenty of reusable ammo in this deck for all of the removal that requires ammo to be spent on it. But that alone isn't going to cut it. This is where Transmogrant's Crown and Gala Greeters come in. These are cards that round out our suite of value generators. Ensuring that we inexorably inch closer to victory the more we Do The Thing. They are what allow you to keep Doing The Thing and drown your opponent out with value.
Transmogrant's Crown is a card that doesn't work very well in most decks. Thankfully its investment cost isn't too high. And you can equip it for the low, low cost of one Black mana. Or two generic mana if it helps you dodge the pain lands. But the general issue is that it's difficult to consistently get the death triggers you require to keep drawing cards. And why would you if it's just going to be another random creature? Your opponent could just chump it all day anyway.
This deck is a vastly different environment for this card. I have never been sad to draw multiples of this. For just one Black mana, you can draw out removal or make your removal replace itself. You can slap the Crown onto a Mosswood Dreadknight to trample over with two more damage. You can equip it to a Blitz'd Underdog to draw two extra cards a turn. You can put it on a Phantom to send a Lightning Bolt worth of damage at your opponent's face every turn (bear in mind you will not draw a card if it dies this way, but the fast clock can be worth it.) If you happen to draw a second one, things go out of control fast. Your opponent is put into a horrible position where they're having to block something like 5 damage a turn, but doing so is often a trade that draws you a card. And if they don't take the trade, you can sacrifice your creature for removal anyway. The removal is so cheap that you can often have your Crown equipped to something else by the time your turn ends. Threatening to draw you yet another card if your opponent swings into it. If you are so inclined, you can even burn these to pay for everything but the Spider.
Gala Greeters is another phenomenal card on this list. While you're casting creatures you've drawn from your Mosswood Dreadknights, Tenacious Underdogs, and Transmogrant Crowns, and while you're casting any of your 16 creatures that can come back from the graveyard, Gala Greeters showers you with value.
No more losing 2 life for your Underdogs. Gain 1 life per cycle with your Dreadknight. The life gain adds up fast. Two of these begin a quick value spiral. You can grow the Greeters, but the treasures are as good as extra cards. These are often what you should aim for first, as they can be spent to cast your Glare, Reliquary, and Rite. These tokens are tough for your opponent to interact with, and with all of the recursion, if you do spend them on casting creatures, you're likely to find them replaced and ready to go by your next turn. Being able to effectively use these to pay the sacrifice costs for your removal spells arguably breaks them. Coming in tapped is supposed to be a balancing factor for the treasures. But now you're effectively shooting off two-mana removal spells the turn they come down. If the Gala Greeters are allowed to stick around, you can segue into a new phase of the game where you're able to throw your creatures at your opponent while simultaneously generating credits to pay for your removal spells.
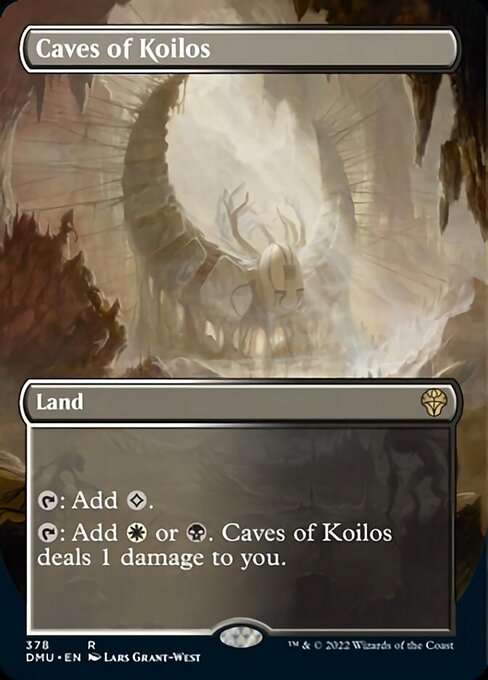
Feel free to play around with the lands. I've posted my original list, though I've swapped out a Caves of Koilos for a fourth Shattered Sanctum to stem the bleeding just a little more. I ran a one-of Mirrex but ditched it when I kept getting it in my opening hands. It's not a card well-suited for low-curve decks. Especially three-color ones. But it does create creatures you can sacrifice.
That covers the whole deck. If you think of any ways to improve it, leave a comment in the linked video above.
Latest Articles
Created: 09 Jan 2024
1121 93 0
Enter The Battlefield Prepared
With the MTGA Assistant deck tracker| 9 | 16 | 34 | 0 | 0 |
|---|---|---|---|---|
| 0 | 0 | 0 | 0 | 0 |
| Symbols | Percentage | Lands |
|---|
Card name

Being a TCGplayer Affiliate enables Content Creators to earn revenue on making content on Aetherhub. All links to Cards in the Decks and Articles of Content Creators that are affiliated with TCGplayer are linked with their affiliate ID. When users buy cards via links from Content Creators they earn revenue from the purchase you make.
AetherHub welcomes more Content Creators to our TCGplayer Affiliate system, read more about it here.

![DeckHub]() DeckHub Twitch Extension
DeckHub Twitch Extension
The DeckHub Twitch extension is used by Twitch streamers to display their currently played deck in the video overlay. After a quick install you can select any public deck on AetherHub to be displayed in your overlay, here is how you set it up: DeckHub Guide
Install DeckHub Twitch extension on Twitch.tv- Install DeckHub on Twitch by clicking this link