
Commander - cEDH Jarad Midrange Primer
- Deck contains 1 invalid cards for this format: Mana Crypt (EMA)
Commander 1 cards (1 distinct)

Main 99 cards (94 distinct)


Lands - 30


Commander 1 cards (1 distinct)
Main 99 cards (94 distinct)
Lands - 30
Commander 1 cards (1 distinct)
| $3.74€3.890.02 |
Main 99 cards (94 distinct)
| Creature (31) | |||
|---|---|---|---|
| $0.55€0.450.02 | |||
| $7.99€3.99 | |||
| $6.24€5.84 | |||
| $18.99€15.300.02 | |||
| $0.40€0.360.03 | |||
| $6.78€6.500.10 | |||
| $4.10€3.630.12 | |||
| $1.99€2.06 | |||
| $0.47€0.530.03 | |||
| $1.27€0.850.04 | |||
| $1.77€2.521.83 | |||
| $2.48 | |||
| $2.64€2.010.02 | |||
| $23.58€14.330.26 | |||
| $0.48€0.742.50 | |||
| $8.57€3.310.28 | |||
| $2.34€2.960.02 | |||
| $8.65€10.310.78 | |||
| $2.17€1.620.02 | |||
| $1.49€1.080.02 | |||
| $1.78€0.960.02 | |||
| $1.01€0.640.34 | |||
| $11.28€15.10 | |||
| $3.58€4.68 | |||
| $4.78€2.280.03 | |||
| $0.25€0.280.03 | |||
| $0.54€0.29 | |||
| $0.50€0.280.02 | |||
| $25.20€17.480.02 | |||
| $0.39€0.220.27 | |||
| $0.50€0.330.12 | |||
| Instant, Sorcery, Enchantment, Artifact (38) | |||
| $95.00€64.333.07 | |||
| $1.87€0.750.02 | |||
| $99.02€64.317.76 | |||
| $39.995.92 | |||
|
1
Sol Ring
|
$1.55€0.76 | ||
| $1.41€0.93 | |||
| $3.49€1.801.72 | |||
|
1
Entomb
|
$12.05€10.4710.15 | ||
| $0.98€0.350.03 | |||
| $0.35€0.230.03 | |||
|
1
Putrefy
|
$0.32€0.170.03 | ||
| $8.22€10.3913.64 | |||
| $44.91€31.690.54 | |||
| $16.00€9.55 | |||
| $3.53€1.120.24 | |||
| $42.80€33.1512.59 | |||
| $11.46€8.77 | |||
| $0.79€0.320.10 | |||
|
1
Exhume
|
$5.29 | ||
| $11.84€9.430.92 | |||
| $0.98€1.180.02 | |||
| $17.80€19.862.09 | |||
| $12.77€8.320.02 | |||
| $7.25€7.261.26 | |||
| $2.67€2.650.02 | |||
| $7.19€5.971.80 | |||
| $5.50€5.630.32 | |||
| $6.87€6.667.06 | |||
| $14.58€14.76 | |||
| $0.70€0.350.02 | |||
| $4.62€4.18 | |||
| $7.40€7.463.57 | |||
| $10.83€12.060.43 | |||
| $4.41€3.490.43 | |||
| $4.99€3.290.02 | |||
| $201.01€150.075.69 | |||
| $22.64€21.240.03 | |||
| $1.10€0.740.04 | |||
| Land (30) | |||
| $88.18€69.2211.44 | |||
|
1
Bayou
|
$405.47€251.59 | ||
| $12.00€11.300.99 | |||
| $1.30€1.080.63 | |||
| $17.68€11.370.62 | |||
| $0.700.01 | |||
| $7.20€2.620.50 | |||
|
3
Forest
|
$1.110.03 | ||
| $1.26€1.260.02 | |||
| $29.83€25.613.12 | |||
| $19.60€15.171.29 | |||
| $24.91€20.893.85 | |||
| $12.03€10.190.15 | |||
| $18.34€18.925.30 | |||
| $15.99€13.571.49 | |||
| $16.69€10.22 | |||
|
4
Swamp
|
$0.200.03 | ||
| $30.83€13.442.00 | |||
| $3.38€2.360.15 | |||
| $48.00€31.981.47 | |||
| $21.07€16.731.92 | |||
| $87.06€52.112.88 | |||
| $9.06€8.330.80 | |||
| $12.01€11.251.06 | |||
| $1.61€1.170.02 | |||
(Simplified, true algorithm in MTGA not revealed by Wizards yet)
COMPARE WITH AETHERHUB COLLECTION
Add at least 100 different cards to your collection and set it as your Compare Collection on the manage page to see what cards from this deck you are missing.
COMPARE WITH MTG ARENA COLLECTION
Compare your MTG Arena Collection with AetherHub decklists or any other decks found on the web with the MTGA Assistant extension. Syncing your account will automatically upload your collection so you can see what cards you are missing right here.
Learn more Download For Windows
cEDH Jarad Midrange Primer
Why play this deck?
Likes and Dislikes
We'll start with the traditional "You might enjoy this deck if":
- You like comboing out. Like the majority of EDH decks, our primary win-cons are all combos.
- You have a meta filled with Stax and control. Jarad does especially well against these archetypes.
- You enjoy winning. Yeah, I’ll say it - this is a powerful deck. If you’re building a new deck, and you like to win, I recommend you consider this deck.
- You like recursive gameplans. This doesn’t mean linear - it just means that you like to re-attempt the scary threat you tried to resolve two turn cycles ago.
- You have a budget. While my deck is budgetless, this deck doesn’t require anything super-expensive to work well. The only money cards you'll really need are Entomb
 and Survival of the Fittest.
 - You enjoy skill-intensive decks. Jarad’s easy to learn and hard to master. The plethora of tutors or tutor-effects means that your options are always wide-open, and it’s often correct to not play the obvious choice.
- You enjoy proactive decks. We play lots of removal, but this deck cares very much about its board presence and forces other decks to answer you.
You won’t like playing this deck if:
- You think your general should be an integral part of the deck. Jarad as a deck doesn’t rely on Jarad as a card, though he’s important to our late-game action and to one of our main combos.
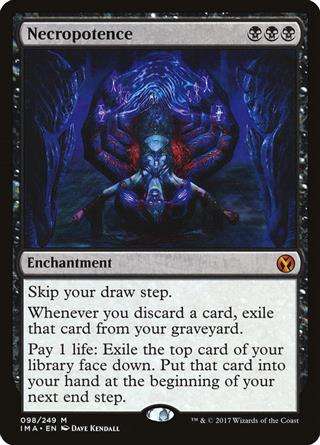
- You don’t have a very sharp understanding of the rules. Knowing that Necropotence creates a triggered ability in your discard step which allows you to Necromancy before your creature is exiled, or similarly complicated interaction, comes up frequently.
- You prefer working with the options provided by blue, red, or white.
Commander Comparisons
That question we started with can mean different things, though. Let’s say you want to play a Bxx graveyard deck. What edge does Jarad have over The Mimeoplasm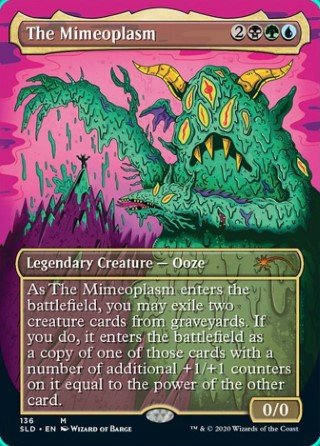 ? The biggest difference between me and Mimeo decks is that Mimeo decks are reanimator decks with a combo finisher (or sometimes Voltron), whereas I'm a midrange deck with a reanimator engine. Mimeo decks revolve around getting that Jin-Gitaxias, Core Augur
 or similar early-game. Reanimating a fatty is certainly one of the more powerful things we can do, but we also take advantage of grindy games where each player spends a lot of time jostling for position. Blue really doesn't give us a lot of cards we want to play - some exceptions being Intuition
 , Pact of Negation
 , and some way to port Hermit Druid combo. We're much faster than classical Mimeo decks, and our Commander allows for more alternative game plans.
You can also compare Jarad to Karador, Ghost Chieftain . Why play him over Karador, then? Well, Karador only gives us a few options we don't already have. Iona, Shield of Emeria
 is a powerful creature I can't play due to a lack of White, but other than that there's not much cost. Karador plays a midrange deck supported by fast combo, same as us. There are a few utility options that aren't bad, but the mana base is a lot weaker, and our extra-mana-from-swamps package gets a lot worse. Again, Karador is a different deck. It relies more on smaller utility creatures. The other Junk reanimator commander, Teneb the Harvester, is also different. Where Karador focuses on smaller utility creatures, Teneb is a more classic "reanimator" deck similar to Mimeoplasm.
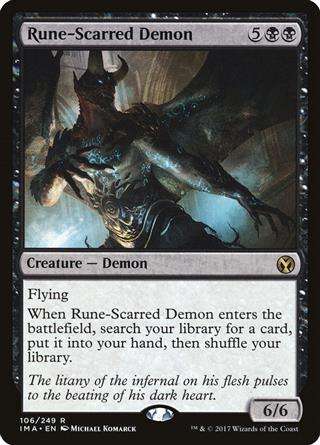
One more commander often compared to Jarad is Chainer, Dementia Master . Instead of adding a color and diversifying, Chainer stabilizes as a mono-black deck, the most traditional reanimator deck out there. Chainer decks often have ETB/LTB themes, repeatedly using and losing effects like Kokusho, the Evening Star
 , Solemn Simulacrum
 , and Rune-Scarred Demon
 . Chainer decks enjoy a longer, grindy game. Some of them are combo decks, while others win with more traditional wincons. However, the loss of Green is a serious detriment to the deck. Our ramp is obviously green-reliant, and a couple all-star cards (Survival of the Fittest
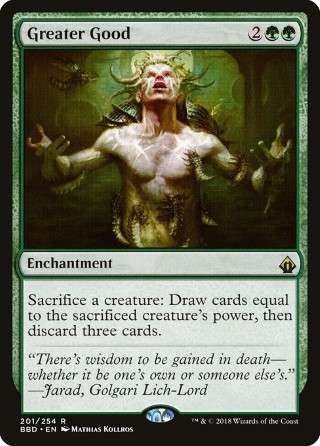
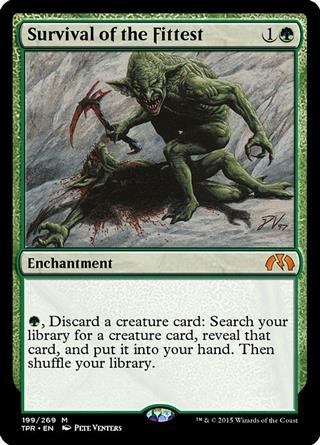 and Greater Good
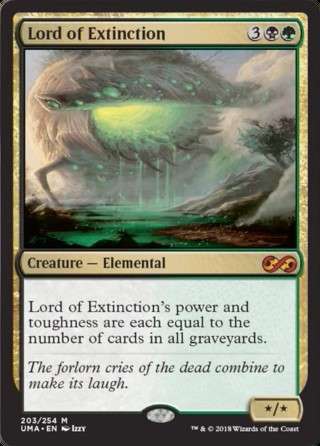
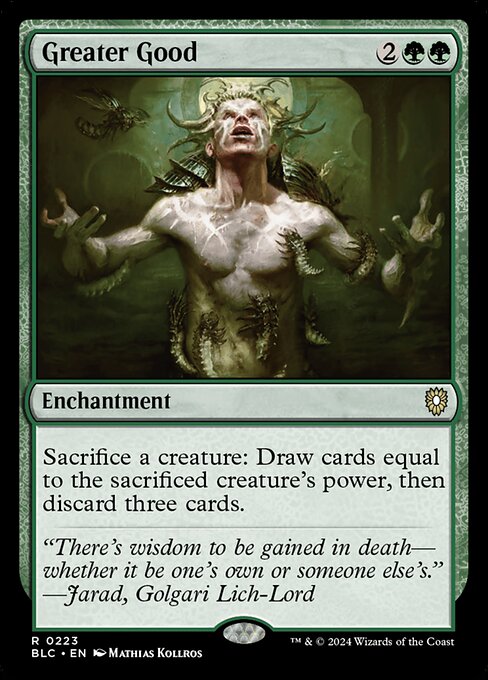 ) require Green. Finally, we of course can't fling Lord of Extinction
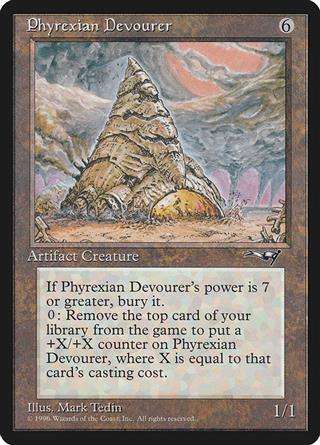
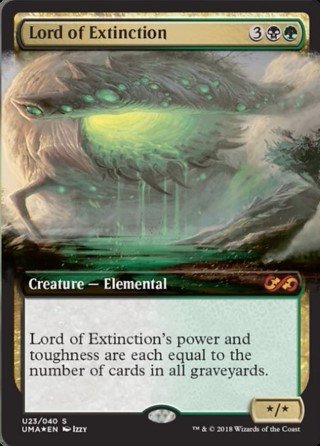 or Phyrexian Devourer
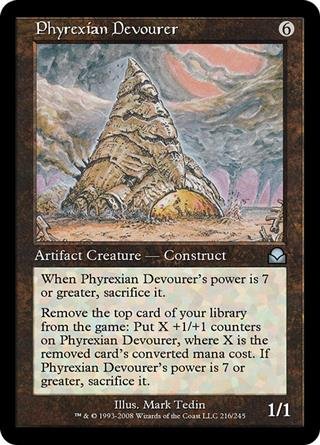 to Jarad when he's not our commander!
Finally, playing two colors allows us to focus on casting spells. We can't support three colors on a measly 30 lands, and certainly can't get away with any colorless ones if we do. Our low land-count means that we operate better than most in topdeck mode, especially since we can hardcast the fatties we draw thanks to the high-costed ramp spells in the deck. Mana screw definitely is something that happens, but the payoff is too great to not be greedy.
So, I've convinced you to play GB gravestuff. Of course, from here Jarad's not your only option. What makes Jarad better than, say, Glissa, the Traitor or Varolz, the Scar-Striped
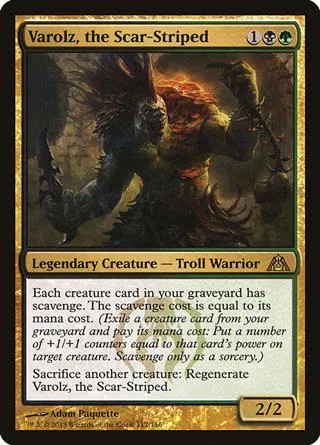 ? Well, Glissa is a very different deck and ultimately hard to compare to Jarad. Glissa often takes advantage of her ability by repeatedly using things like Executioner's Capsule
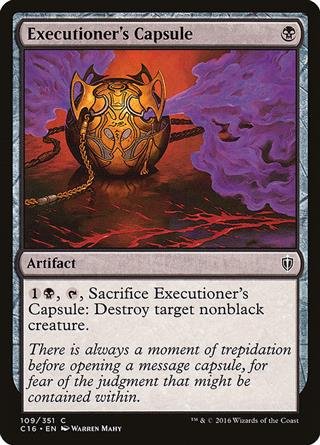 , Mindslaver, and Codex Shredder - it's the GB artifacts-stax deck. On the other hand, Varolz plays more similarly to Jarad, with a slight focus on enter-the-battlefield abilities, which he can re-use with his sacrifice clause. Ultimately, however, Jarad's fling ability and growing body synergize more with the all-out combo style of the deck.
One more important distinction between traditional graveyard decks and us is that when a player sits down to a table with The Mimeoplasm or Karador as their Commander, people groan and t1 Enlightened Tutor for Rest in Peace
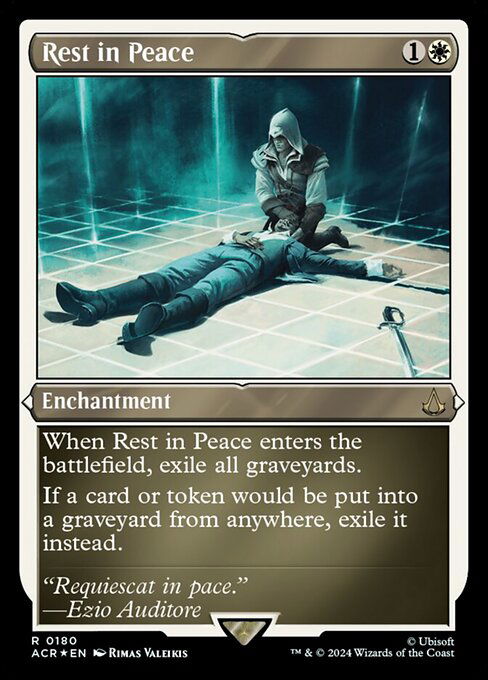 . People know these Commanders, brought fame due to their powerful abilities and their spot in the original Commander pre-constructed decks. Because of their popularity, the matchup is an easy pilot. The Karador player broadcasts his own gameplan. When we sit down with Jarad, everyone expects the Wall of Blood
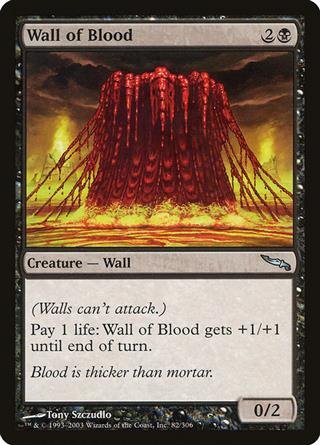 / Hatred
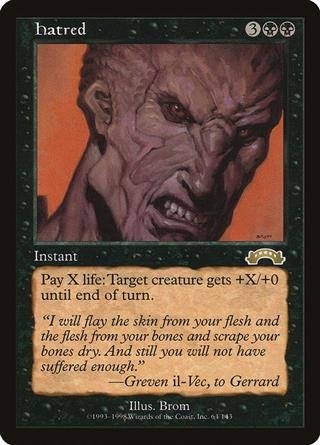 / Mossbridge Troll
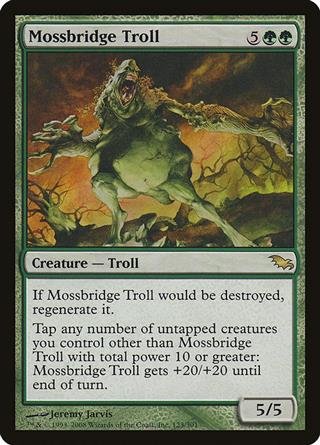 shenanigans that the other lists play. (This is starting to change in recent years, in no small part due to this primer across multiple forums.)
Gameplay
Game Progression
0) Before the game begins, sit down and look at the opponents. This is the most important step, and probably the hardest for newer players. Figure out which deck is most worrisome, and why. It sounds counterintuitive, but hopefully the table is filled with decks like Tasigur, the Golden Fang , Teferi, Temporal Archmage
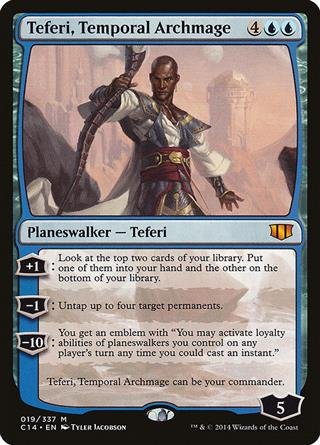 , or other stax and control decks. Why? These decks slow down the game and provide time for us to build our resources. Generally, Jarad is either the fastest or the most resilient deck playing, and we'll want to emphasize one of those in our gameplay - maybe even switch back and forth. Keep in mind - time is our friend. We’re a midrange deck, and we can thrive at any stage of the game, so don't be afraid of taking the game long. We mulligan rather conservatively, looking only for a playable gameplan, not necessarily a hard combo. Mulling this deck is actually a more difficult element of the deck, just because most players don't know how to work the internal synergy of the deck. You'll want to look two cards that work together well, even if they're not technically synergistic. This plan can be as aggressive as Entomb
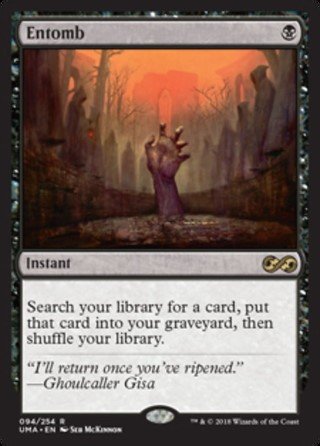 +Exhume
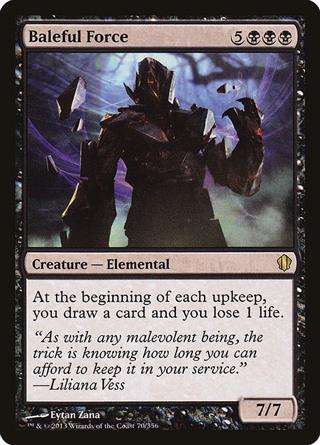
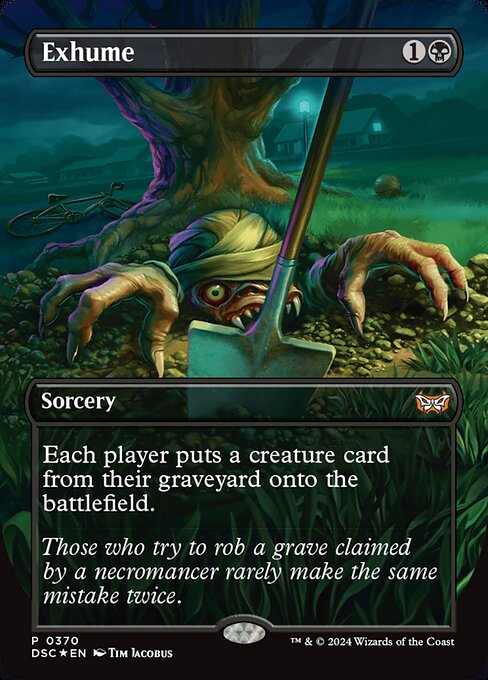 for a turn-two Baleful Force
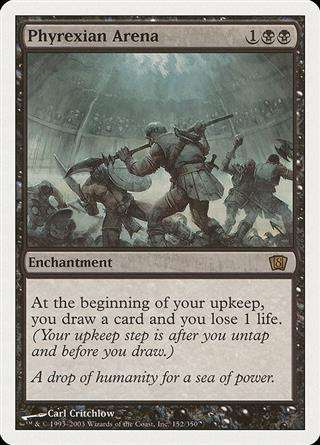
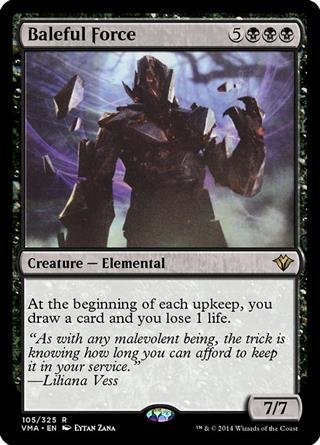 , or as passive as playing Phyrexian Arena
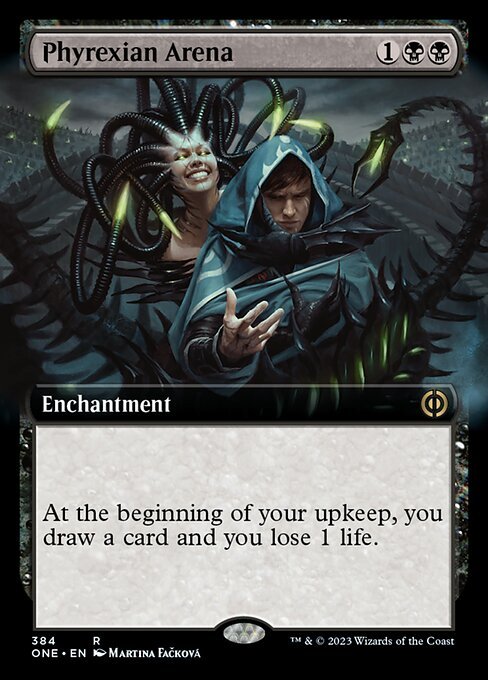 on turn three with disruption in hand and preparing for a long game.
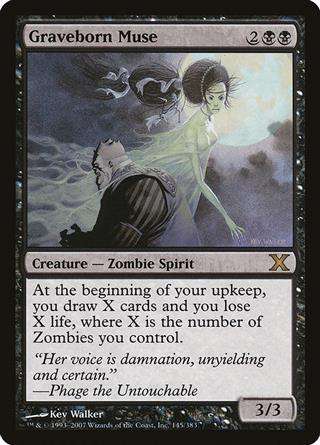
1) Resource conversion - Some games can skip this step, but it's necessary if we're a bit slower. We start the game with an abundance of two resources - cards in hand, and life - and no other resources. Obviously, these cards in hand will run out as we cast them, so we should set ourselves up to keep a healthy amount of cards in hand while still playing to advance the board. Do this by putting a permanent into play which will maintain card advantage - Sylvan Library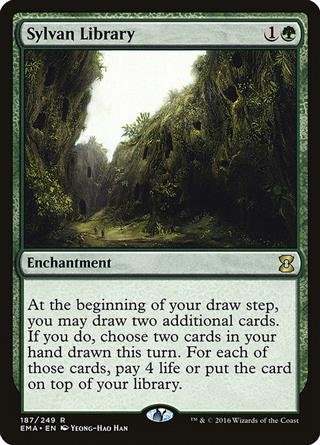 , Necropotence
 , and Graveborn Muse
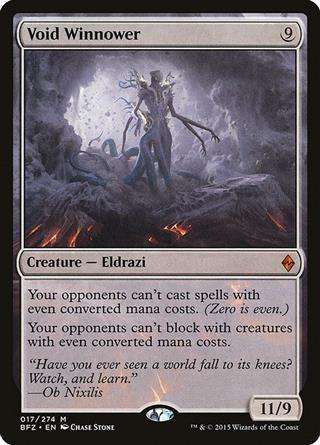
 (plus Jarad eventually) are all powerful draw engines. From there, you'll want to start playing ramp spells to support an active midgame. If you can, reanimate a creature within the first two to four turns. Our primary early-game targets are Baleful Force or Void Winnower
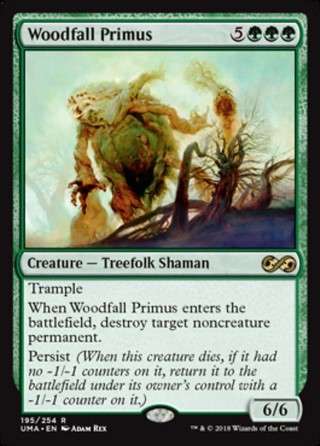
 . Baleful Force is great if you're low and lands and need to draw some more. Void Winnower is better if we need disruption against storm or for some reason need to start dealing damage to our opponent quickly. Rune-Scarred Demon is our other common choice, since it can begin to assemble a combo with. Woodfall Primus
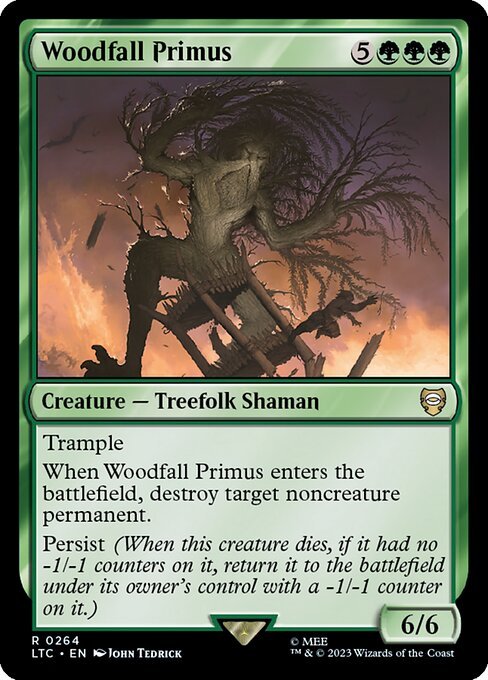 is also a solid choice with a sac outlet - don't go for Mikeaus or Lord of Extinction, because they aren't good until mid to late game. Always be looking for a line that builds towards comboing out if there are no counterspell players and you think you can win the race.
2) After a few turns, we'll find our first combo. The easiest one to set up in the early-game is the Necrotic Ooze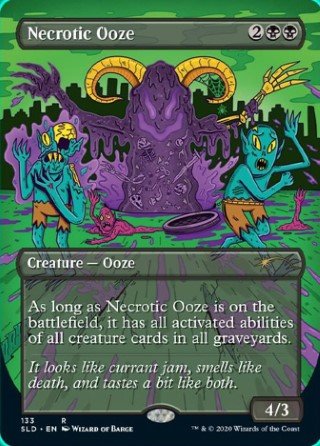 combo or reanimating and flinging Phyrexian Devourer. You'll want to attempt the combo as soon as possible, unless your opponent is telegraphing disruption. If they are, this just means that our opponents can't combo off and the game will go long. In this case, start playing more card-advantage engines and developing your board without being too greedy - keep up disruption yourself if you feel it's needed. You won't want to overextend your board, so keep resources in hand and wait until your opponent doesn't seem to have active disruption anymore, or we have combo redundancy (like two reanimates, or two separate combos) and enough mana to do win in one turn. Many games we win with our first combo, but often we are disrupted.
3) Continue playing to advance your board without letting your opponents combo off if you can stop them. We can play the long game as well as any other deck. Slowly building resources without letting while keeping up removal is a sure way to win a longer game. It's not even uncommon to spend our tutors on finding removal, especially if an opponent is in a position to combo out. If playing against decks like Arcum Dagsson or Azami, Lady of Scrolls
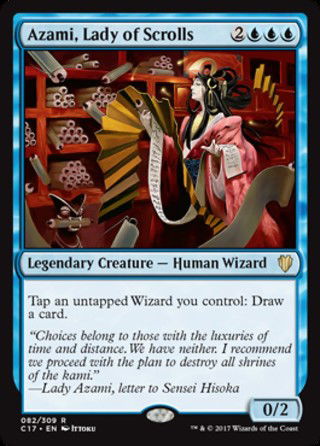 , we play around Counterspell
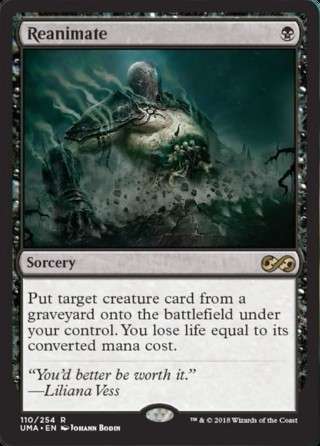
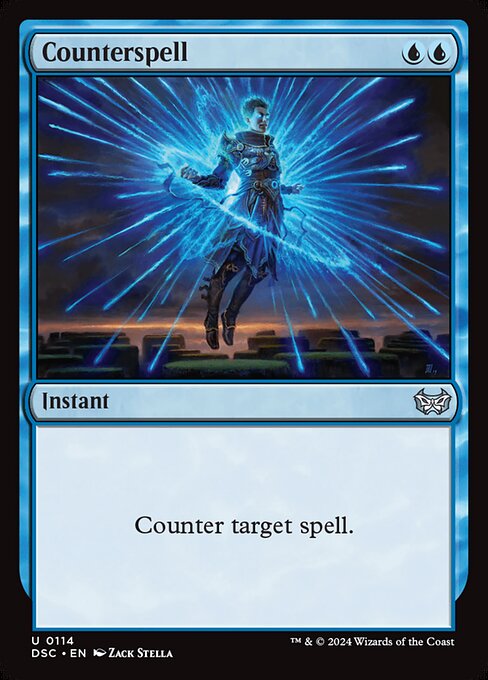 s and instead of resolving huge must-answer threats. If there's a combo sitting in your graveyard, keep in mind that every Reanimate
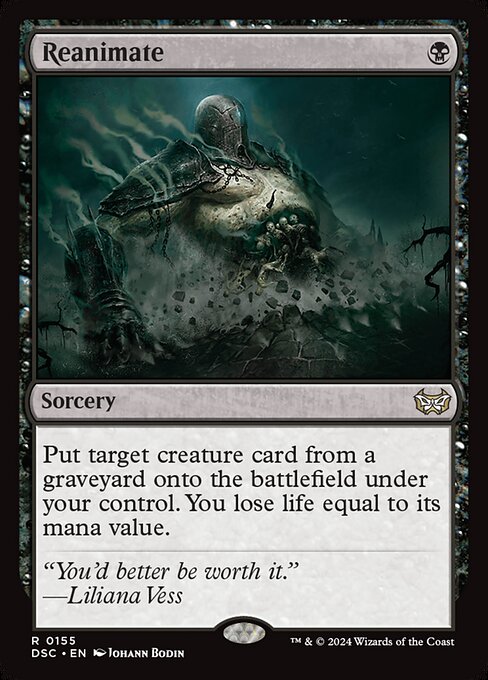 in your deck is a win. Our life total is a weak point, so be careful here. We play a lot of cards that lose us life - fetchlands, Necropotence, Sylvan Library, and more - and sometimes a combo deck's plan C, being "turn my creatures sideways," works against us.
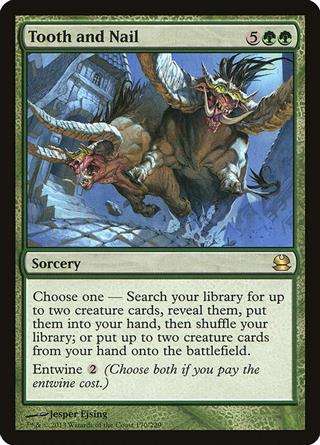
4) Eventually you'll draw into another win condition - we play lots. Either recycle your used-up combo pieces, find a new way to win, or take one of our many side-plans. Flinging and attacking with big creatures - especially Woodfall Primus and Lord of Extinction - wins more games than it seems like it would. You can also simply entwine a Tooth and Nail , or maybe even reanimate combo pieces in your opponents grave. This deck has a lot of resilience and plays better than many other decks when the game goes into topdeck mode, due to our low land count. Sometimes we can get there just with a Rune-Scarred Demon and a few combat steps. You want to close out the game as soon as you can, but don't be afraid to let it get grindy!
Winning the Game
Of course, it's easy for me to tell you to simply win at a certain step. But what's the best way to effectively end the game? Obviously, this will depend on what cards you already have in play and what's in your hand.
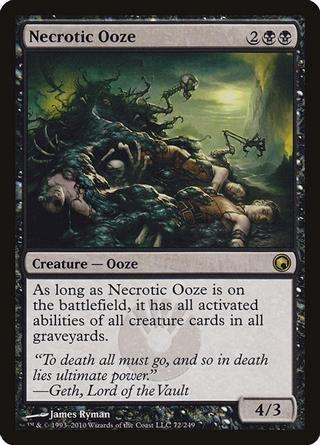
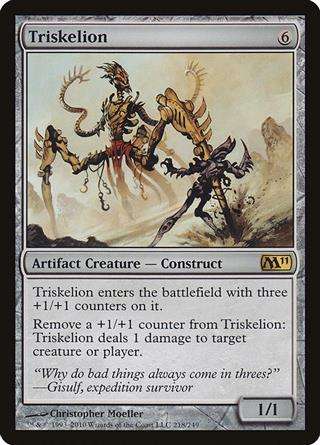
Our first win-con is very easy to assemble. All we need is Survival of the Fittest, *or* a Buried Alive and any reanimation spell. Grab Necrotic Ooze, Phyrexian Devourer, and Triskelion
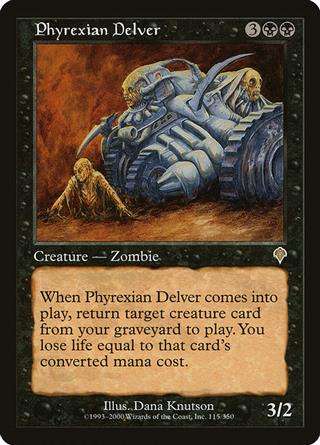
 . If you're using Survival to set this up, make sure to grab Ooze last so you can cast it from hand. The exception is when we're playing around on-board gravehate. Here, we grab Ooze first, then use SotF to cycle the cards into the 'yard at instant speed, and continue to do so in response to gravehate (this requires a few creatures...). If we gets countered, we start digging for another reanimation spell - if we're using Survival, we can tutor up Phyrexian Delver
 to try again. Once Ooze is in play, we activate the zero ability on Devourer and get some counters, then remove them with Triskelion. Repeat until your opponents' life totals are 0. This is a good chunk of our wins, and our most consistent win-condition. If our opponents try to kill Ooze with, say, a Swords to Plowshares
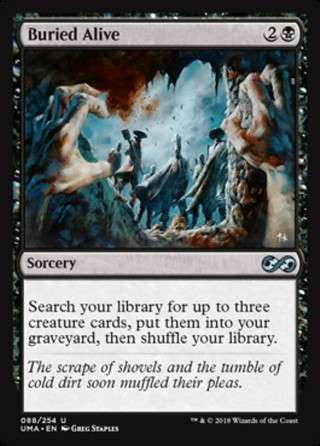
 , we can kill them in response to that. If it's super late-game or an opponent has a lot of life, we might not be able to flip kill them with our library. If that's true, we can hold the Ooze in play and kill people who try to remove it or clone it or whatever in response. Eventually we can kill the table. Save Buried Alive for this. It wins games in one turn if we need to later on. Try not to actually cast the Buried Alive until the kill turn, or you're playing straight into countermagic and/or graveyard hate. You should go for this combo if you have little mana and want to combo out without playing into creature removal.
The next-easiest is also a one-card combo: Phyrexian Devourer (+ Jarad). We usually do this when there's a some graveyard hate in play, as it's the only combo that doesn't involve cards our GY. However, it is mana-intensive. We exile the top card of our library until Devourer is power 7. With the sacrifice trigger on the stack, we repeatedly use that ability to add to its power, then sacrifice to Jarad, draining the table for the combined CMC of my deck. If for whatever reason we can’t activate Jarad (Hinder , Pithing Needle
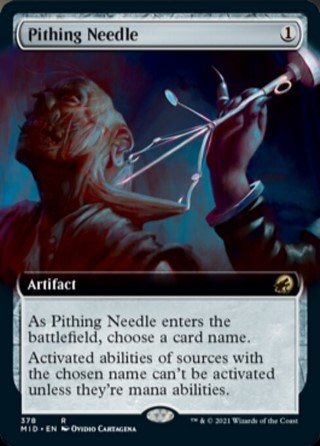 , not enough mana) we can instead sacrifice Devourer to Greater Good to draw any other combo. This combo can also respond to creature kill by just... keep going, same as before. The exception is Krosan Grip
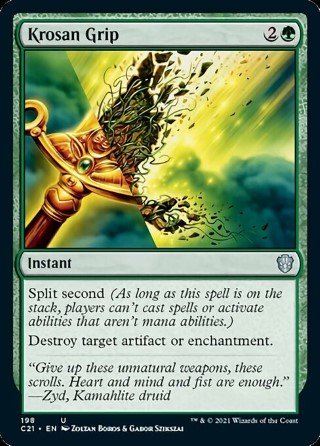 or Sudden Death
 . It's also weak to Stifle
 effects - nobody wants to have half their library in exile and not win. You should go for this combo if you're confidant you can resolve the ability without Krosan Grip or Stifle effects getting in the way and you don't have access to Nooze combo, or when there's on-board gravehate.
Find Mikeaus. Find Triskelion. This is a pretty common combo, but for those who have never seen it, we use Triskelion to ping itself until it dies, and then undies, pointing extra counters at our opponents. Making sure to keep in mind that Triskelion is a 2/2 due to Mikeaus's power-and-toughness-boosting ability, we repeat this iteration until opponents' life totals hit 0. We can play around Krosan Grip by maintaining priority and removing all the counters at once, or we can play around Deglamer by holding an extra counter to respond to it, but we can't play around both. This combo is disrupted by instant speed GY exile or by creature removal, and is easily tutored by Jarad's Orders and a reanimate effect, or Tooth and Nail. Another way to land this combo is to sacrifice a Lord of Extinction or other large creatures to Greater Good and draw essentially your deck, pitching Mike, Trike, and Phyrexian Delver. Reanimate the Delver, then grab Mike with it. Sac the Delver to the sacrifice outlet and grab Mike. Sac it again, and when it undies, grab Trike. (This can also be done with the Woodfall combo below.) You should go for this combo when it's late-game enough that you can entwine a Tooth and Nail and you're confidant that the combo won't be disrupted.
With Mikeaus and Woodfall Primus, we can sacrifice Woodfall repeatedly to Greater Good (or a sac outlet of your choice) and destroy all noncreature permanents we don’t control. As this includes lands, this is usually met by concession from the rest of the table. We draw our deck and go from there - but a 1-sided mass land-destruction usually ends the game itself. One easy way to assemble this is using Pattern of Rebirth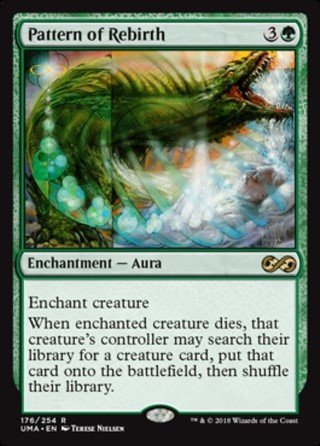 with either a sac outet, Mike, and a creature, or with a sac outlet and Primus. The reason it's better to go for this combo instead of the Triskelion combo here is that if Mike somehow gets removed, you still have a Primus with a +1/+1 counter and a fast sac outlet, which is better than a lone Triskelion. This combo is disrupted by instant speed GY exile, creature removal, or artifact/enchantment removal. You should go for this combo when you have the pieces for Mike+Trike, but happen to have a sac outlet in play.
Another common route to victory is to fling Lord of Extinction to Jarad with a bunch of cards in graveyards. You should go for this late-game, when graveyards are big, as it's a hard-to-disrupt combo and only requires one non-commander card.
Synergies and Tactics
Synergies
We have a few gameplan-defining synergies. Obviously we have many gameplan-defining combos, but I talk more about that below. Usually, we will be tutoring for combos, as while synergies put us very ahead, combos simply end the game. That being said, occasionally we want to be more conservative, so I've included a few interactions that can define our plays for a couple of turns.
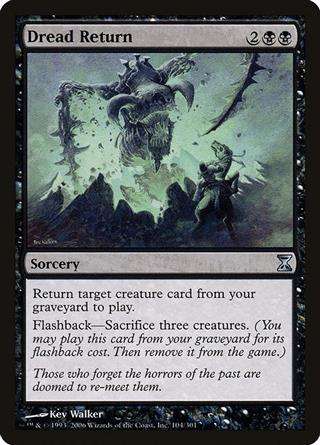
Perhaps most notable is the Greater Good line. This card, in play, warps the game. Not only does it generate a great deal of card advantage with Jarad and other value plays, it's part of a slowroll setup to a combo. A common line of play is to sacrifice Rune-Scarred Demon, draw six and discard three, and cast a reanimation spell on demon. Demon will go and tutor up another reanimation spell, and we can repeat this to fill our yard with creatures. Dread Return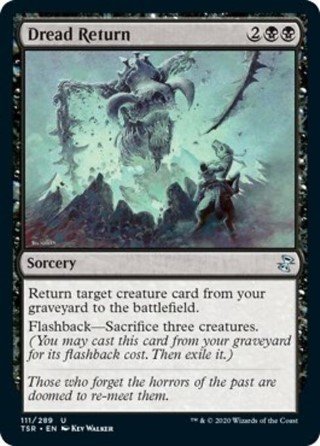 shines here. Lord of Extinction really shines here as a card-advantage engine.
Another Greater Good synergy is with Woodfall Primus. Here, we're going to try and get as many Primus triggers as we can get, and once the biggest problems have been dealt with, use them on mana sources. I typically won't hit sources of card draw except the very best ones, because it doesn't matter how many cards my opponent draws if he's got no lands! Our best friend here is Pattern of Rebirth for either powering out an early-game Primus or finding Mikeaus to finish them off once we have it.
Using Opponents' Graveyards
As many of our spells, such as the classic Reanimate, work with our opponents' graveyards, we want to keep an eye on them at all time. Keep in mind that you can use cards in your opponents' graves differently from the way they do. That Riku of Two Reflections deck may be playing Palinchron
 as a combo piece, but we're just reanimating it and floating mana so we have enough to entwine Tooth and Nail. (Seriously, I've done this a few times.) Keep track of important creatures in your opponents' graveyards, and make sure to weigh in the fact that not all of your spells work from your graveyard. That Rune-Scarred Demon in your yard might look juicy, but we can get that at a later point when we draw, say, Exhume, whereas we can't use that on the Consecrated Sphinx
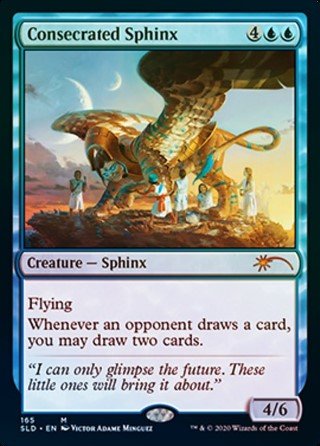 on the other side of the table.
Speaking of C-Sphinx, it is not uncommon for us to get into a TS war with another player. Named after the infamously banned Trade Secrets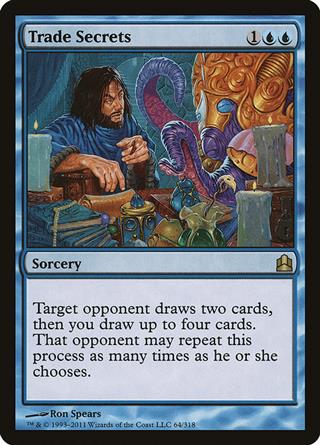 , this occurs when two players have a Consecrated Sphinx in play, and now have the option presented to them to draw their entire library should both players agree to. This is only sometimes a good choice. Generally speaking, if we are taking our next turn before they take their next turn, it is favorable to draw our deck, as we can probably combo out before they untap and kill us. Of course, the contrapositive of this statement is that generally it is unfavorable to trade your secrets when your opponent will take their turn before yours. Naturally, our opponent will be operating under similar logic, so rarely do players truly draw their deck. However, when we do, there are some points to keep in mind. First of all, we will have to play through every counterspell they have mana for. Know your opponents - know if they run Pact of Negation, Force of Will
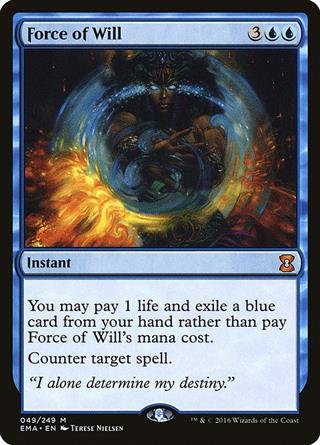 , and other cheap counterspells like Swan Song
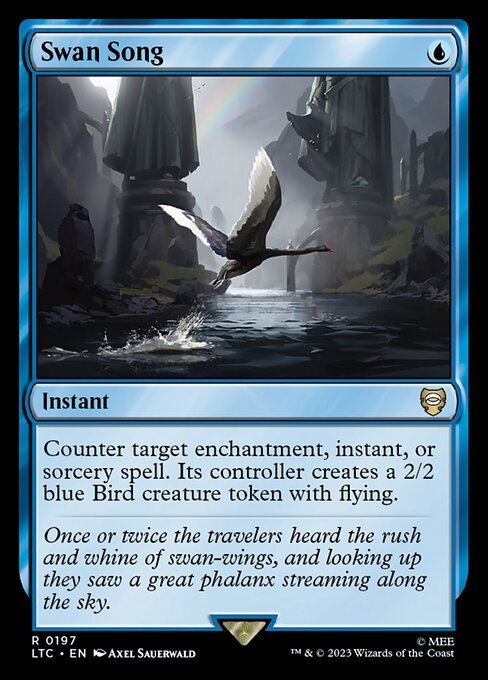 . If they do end up using a Pact, we might be able to kill them recurring a Woodfall Primus at to destroy their mana sources before they untap. Also, we can't get too greedy - leave a good ten cards left in your library so you don't get blown out by some random mill card.
The most useful card for interacting with opponents' graveyards is Necromancy, simply because you can do it in response to their interaction. If an opponent is trying to reanimate one of their own creatures, there's no reason to make them go through all that trouble! We'll do it for them, the gentleman that we are. Seriously, the card plays as a reanimation spell and incidental gravehate.
While we're on the subject of incidental gravehate, let's take a minute to talk about Deathrite Shaman . DRS serves a grand total of four whopping purposes in this deck. It's primary purpose, obviously, is to produce mana, and its secondary purpose is gravehate. After that, it's lifegain, and finally reach in the form of burn - not that we need much of that in a Jarad deck. Anyway, I want to talk about it specifically in the context of gravehate. The general rule of thumb is that we never want to not use the guy as long as there are targets available. At the player to your right's end step, we'll want to eat something, assuming the lil guy is untapped. What do we eat? Well, that depends. Typically we don't want to eat a bomby creature we'll be wanting to reanimate at some point, unless you're afraid of another player reanimating it. In other words, Azami's Jin-Gitaxias, Core Augur can stay, but The Mimeoplasm's? Not so much. Anyway, generally we want to eat creatures first, as lifegain is more important than lifeloss, but if we don't want to eat a creature, don't hold back on eating spells. Speaking of which...
Using Your Life Total
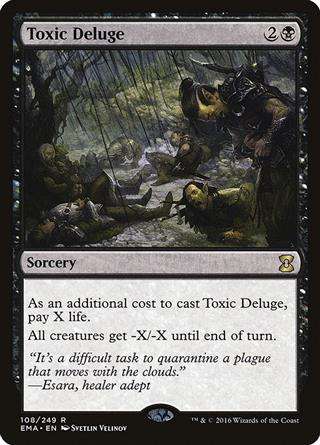
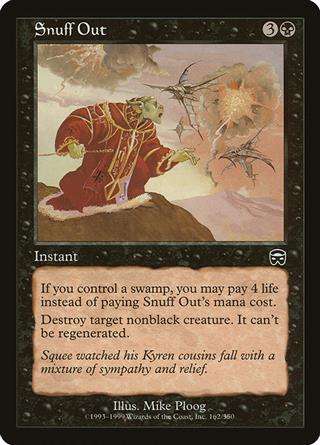
Gee whiz, razzliox! Between Necropotence, fetchlands, Reanimate effects, Snuff Out , Baleful Force, Toxic Deluge
 , and half the other black cards in your deck, how do you manage to keep your life total high? Well, the short answer is that we don't. Our life total is a resource, and we use it as such. Playing black and hoping to end a EDH game at thirty life is like playing mono-green and hoping to end the game with six lands in play. It simply means you're not using your resources the best. So, how to properly allocate your life total as a resource? How greedy is too greedy? Ultimately, that depends on who you're playing against. If your pod looks something like Purphoros, God of the Forge
 , Maelstrom Wanderer
 , and Nekusar, the Mindrazer
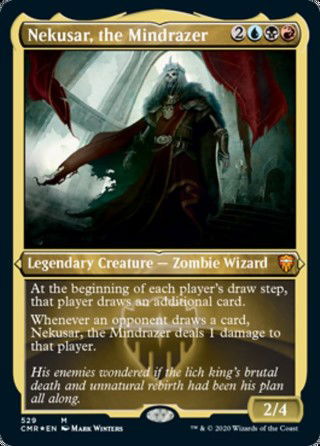 , then slamming turn two Necropotence probably isn't the best play. If that pod is closer to Azami, Lady of Scrolls, Sharuum the Hegemon
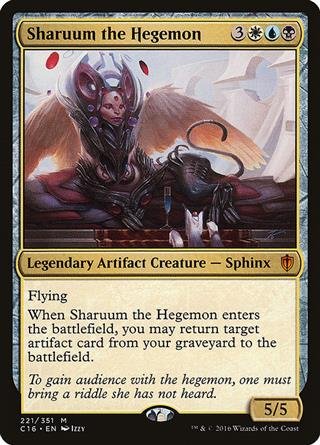 , and Narset, Enlightened Master
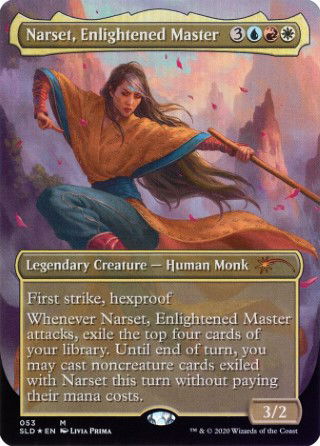 , go right ahead. In other words, the more combo-focused and less combat-focused our opponents are, the better we can smoothly eat up our life total. Watch out though! If you're in a regular playgroup, your opponents will eventually recognize how much damage you deal to yourself and capitalize on this by attacking you first with their random creatures. A couple combat steps later, you might be in for trouble if you haven't prepared.
I totally get that some of you are reading this and thinking about how your bud's Krenko, Mob Boss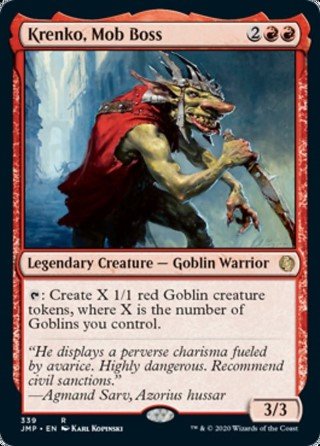 tokens deck and his brother's Animar, Soul of Elements
 fatties are gonna tear you to shreds. Never fear! With a little fine-tuning, you can make this deck as resilient to combat as you need it to be. A couple key cards you may want to include are Kokusho, the Evening Star or Exsanguinate
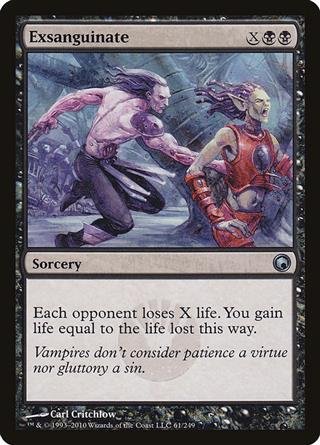 . You could even go so far as to include Wurmcoil Engine
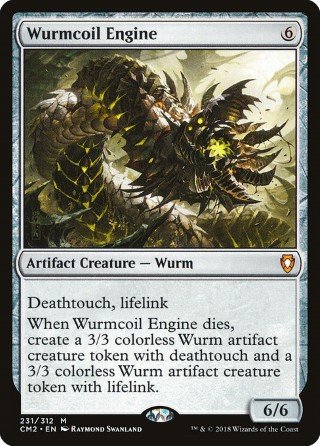 . (Damn you Rules Committee, give me Griselbrand
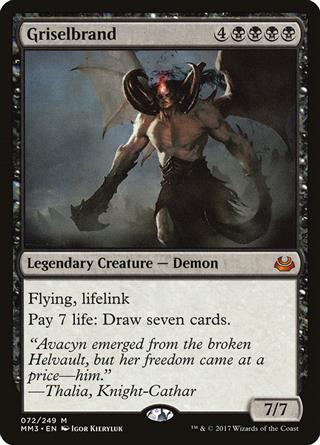 back!) If you're more inclined to take the tactical route than the deck-adaption route, like me, tutor up Lord of Extinction. Not only is Lord one of the most solid bodies in the format, you can also fling it to Jarad mid-game to incentivize your opponents to attack each other (they should be at low life totals).
Card-by-Card
Lands
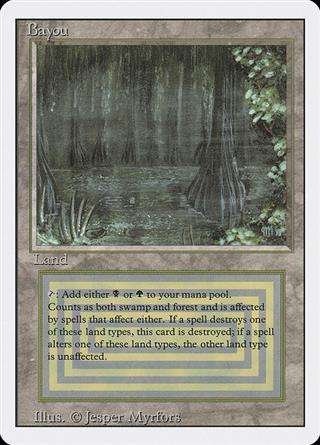
Bayou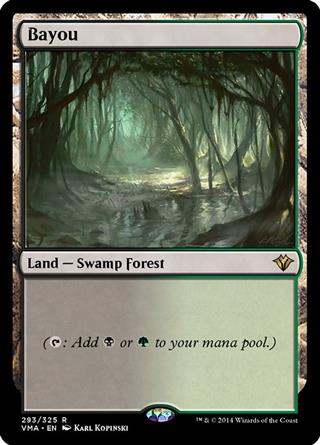 , Command Tower
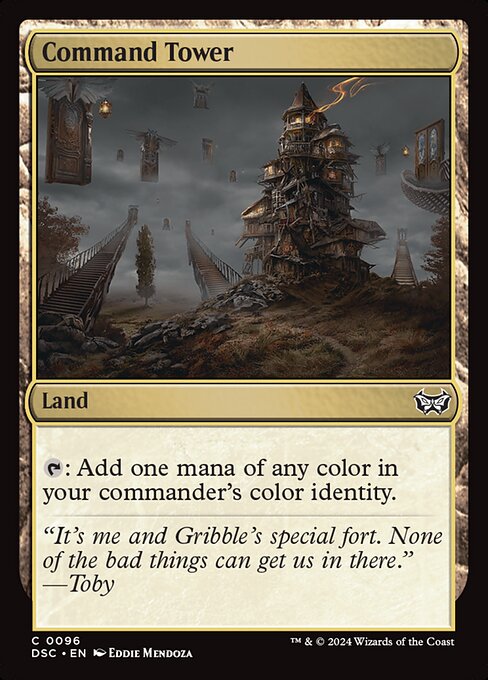 , Mana Confluence
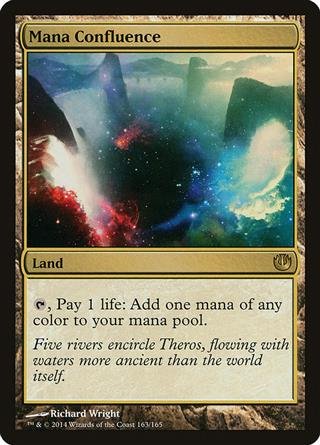 , City of Brass
 , Tarnished Citadel
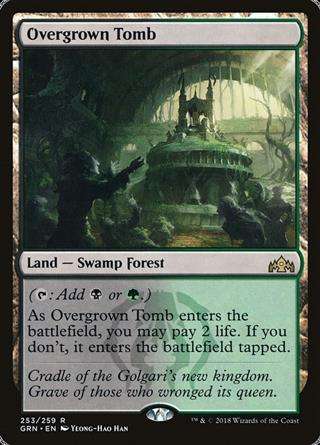
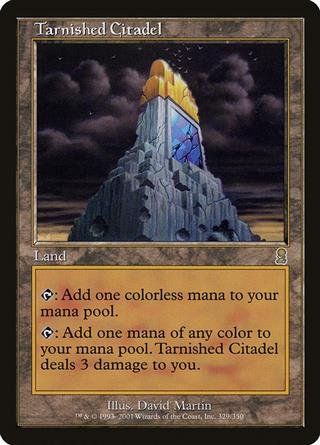 , Overgrown Tomb
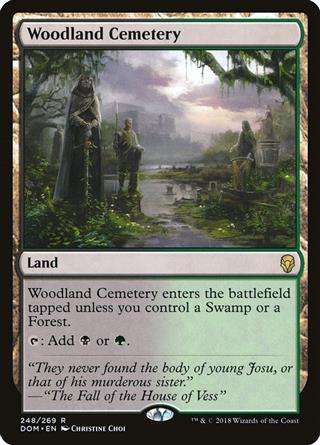
 , Woodland Cemetery
 , Twilight Mire
 , Llanowar Wastes
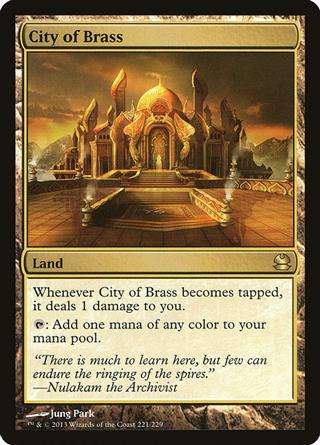
 - Whatever. Duals are duals. I will say about Overgrown Tomb that the effect can be relevant not because you lose two life but because you alert your opponents that a spell is coming if you're trying to do end of turn shenanigans.
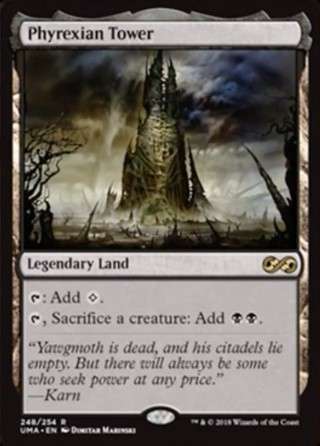
Phyrexian Tower - Sac outlets are great. Tower can tap for a two mana, which is nice. I've been using it a lot lately in conjunction with Pattern of Rebirth.
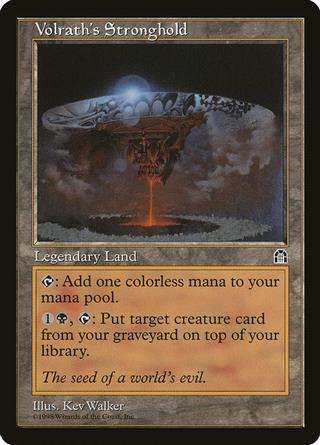
Volrath's Stronghold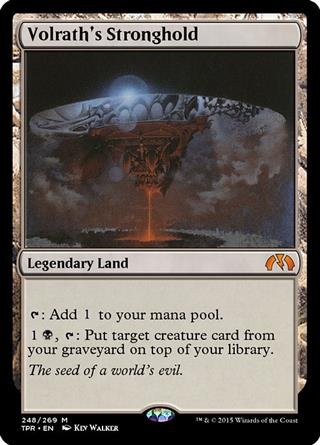 - Makes my land toolbox slightly better and provides inevitability.
Strip Mine - Wins games, yo. Usually we play it to a blue source on the counterspell player's table, then move to next main phase so the floating mana goes away. Sometimes our opponent keeps a low-land hand in hopes to draw into more, because they have just enough for their early-game draw engine (Rhystic Study
 , Phyrexian Arena, whatever). This thing takes them out pretty early.
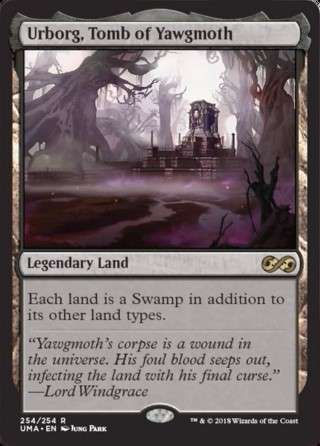
Urborg, Tomb of Yawgmoth - Urborg makes fetchlands tap for mana which is pretty nice, because retaining the ability to crack a fetch at a later point can be pertinent.
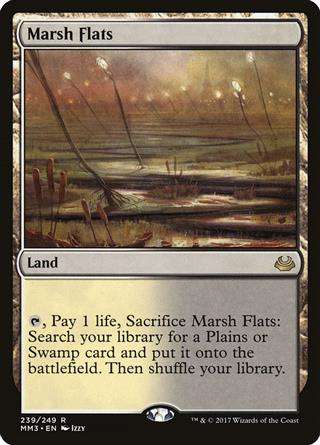
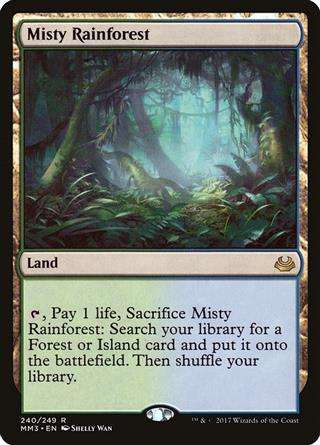
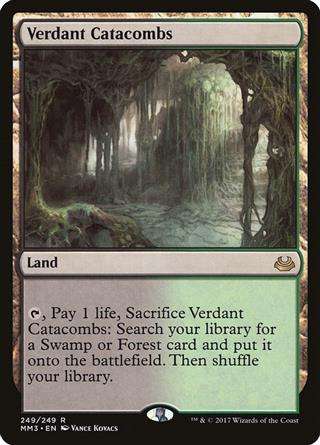
Verdant Catacombs , Marsh Flats
 , Bloodstained Mire
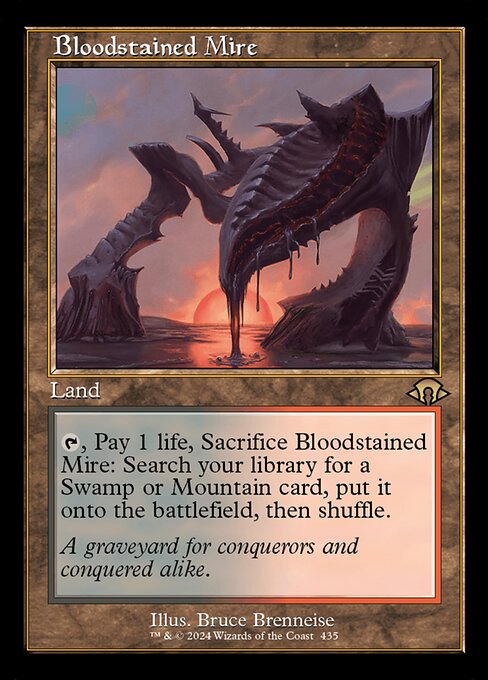 , Misty Rainforest
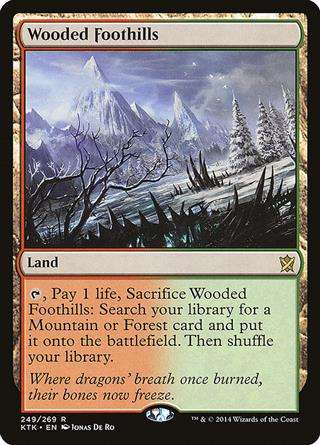
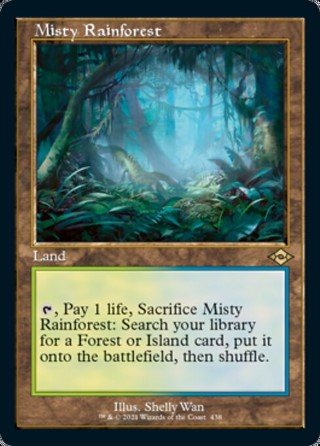 , Wooded Foothills
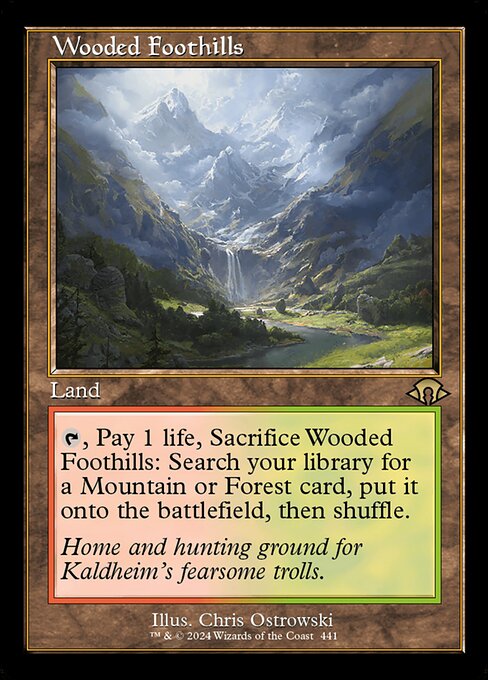 , Polluted Delta
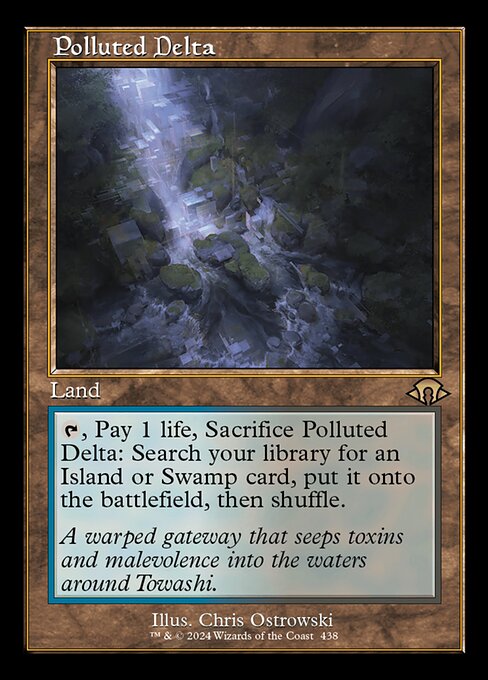 , Windswept Heath
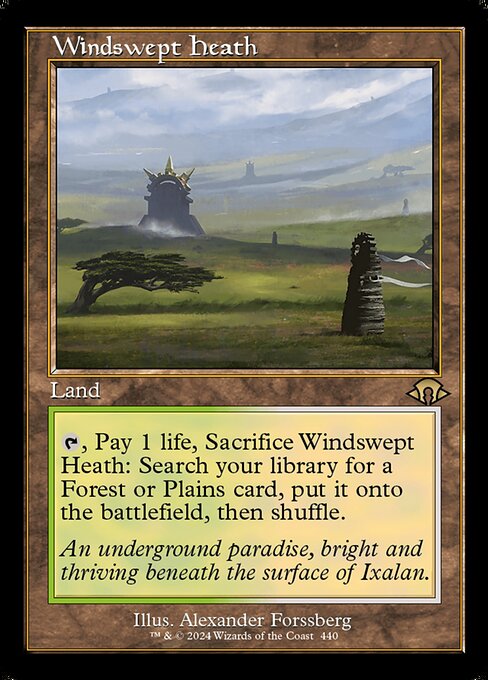 - Solid, of course. Shuffles away stuff for Scroll Rack, Sylvan Library, et cetera.
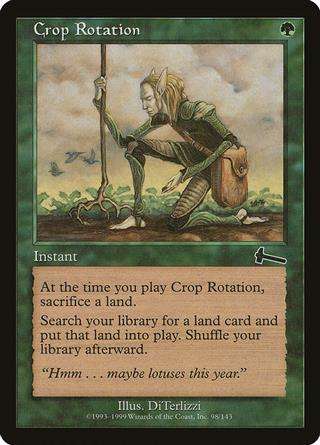
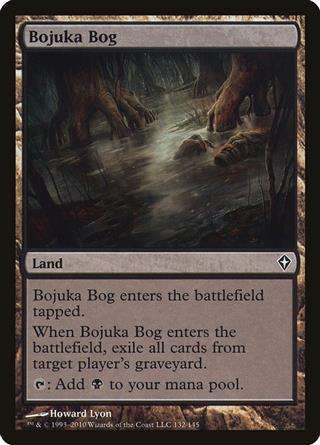
Bojuka Bog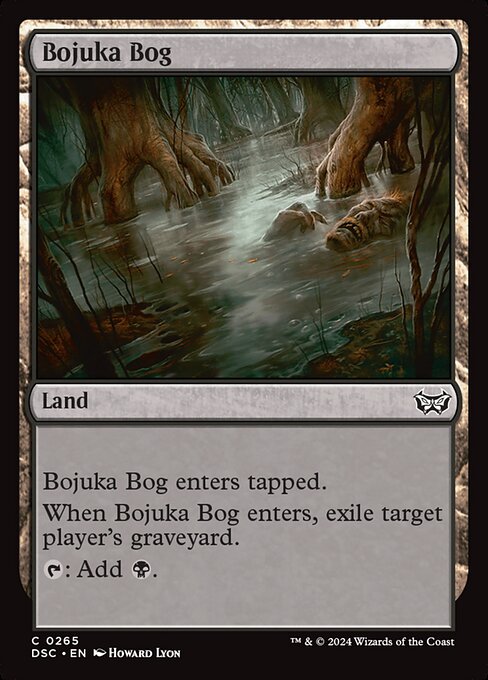 - I figured with Crop Rotation
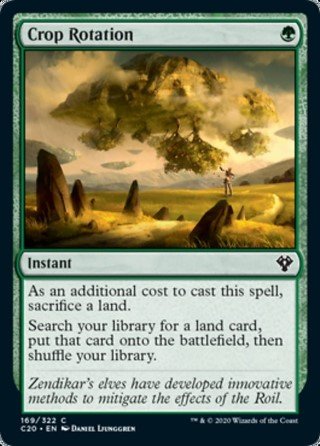 in the deck, it's indecent not to play at least one utility land. I may cut it at some point simply for basics or other utility lands.
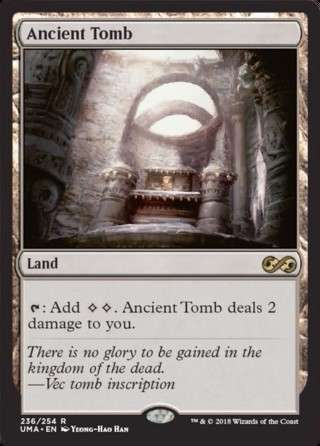
Ancient Tomb - Don't think I need to explain this. Pretty strong card. The damage can be rough.
3x Forest , 4x Swamp
 - Might be changing this around, not sure what the right allocation is for this build.
Ramp / Mana
Mana Crypt - It's insane. The only thing I'd say is that we ought not to cast it until the turn we use it, to minimize damage.
Chrome Mox - Great for powering out those early-turn wins. Playing mana-positive spells also helps for when we draw lots of cards in one turn, like say with Greater Good.
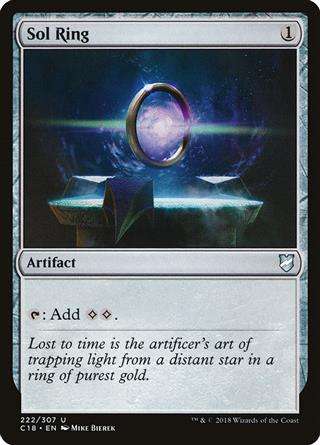
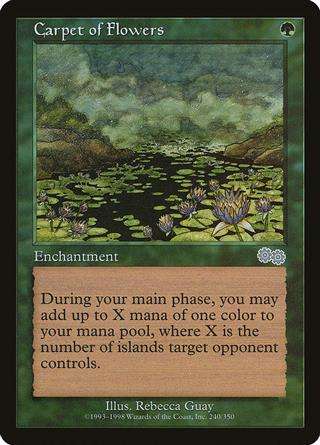
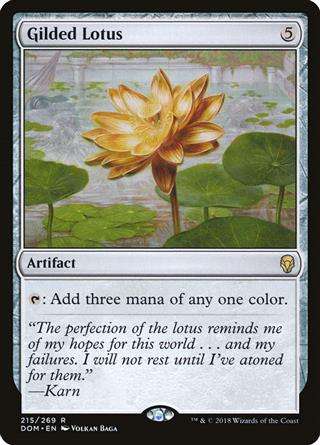
Carpet of Flowers - If there's one Island in play, it's a Birds of Paradise
 with haste. If there are two, it's a colored Sol Ring
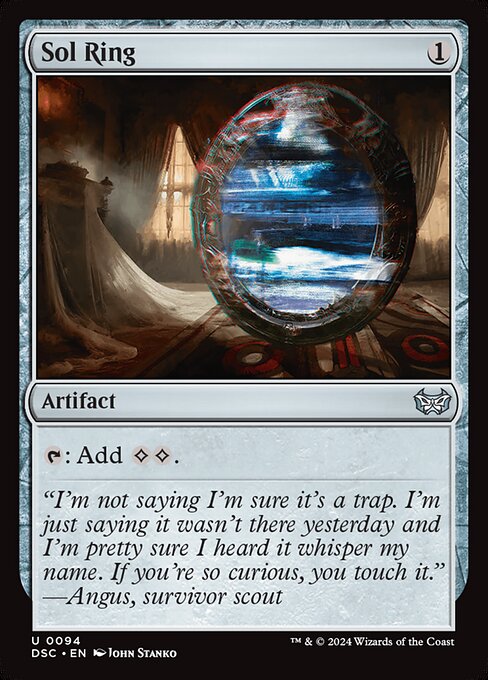 . If there are three, it's a one-mana Gilded Lotus
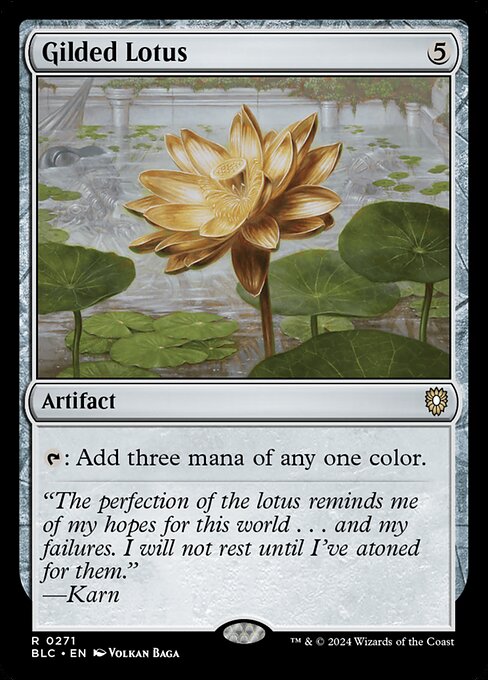 .
.
Sol Ring - No explanation needed.
Fyndhorn Elves , Llanowar Elves
 , Elvish Mystic
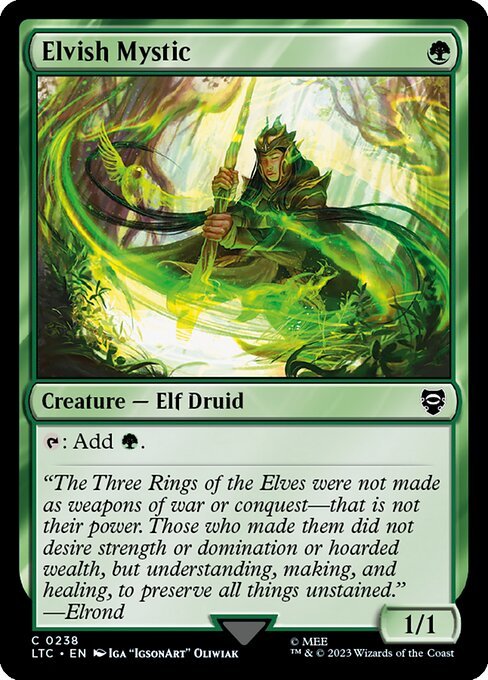 - They're fine. Not much to say.
Elves of Deep Shadow - Better than the above, because they tap for the color we might not have.
Deathrite Shaman - It's ramp with fetchlands, and it's also grave hate. I'd probably not play it if you can't afford the fetchlands or nobody else in your playgroup plays them. Incidental lifegain is nice.
Birds of Paradise - Very nice.
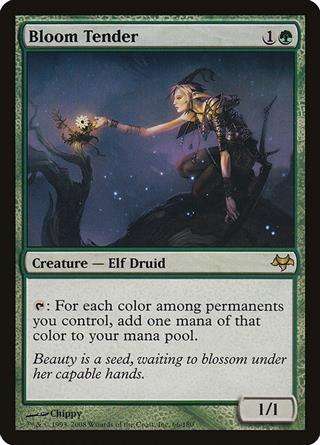
Bloom Tender - Casting this on turn two makes my commander on turn three a ramp spell. It also can tap for another color if you reanimate an opponent's creature or something.
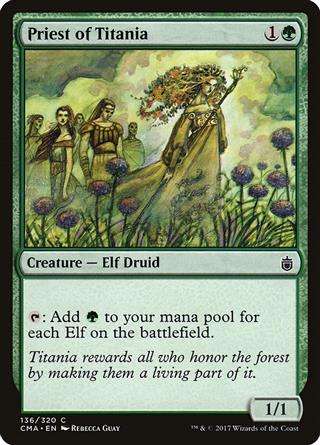
Priest of Titania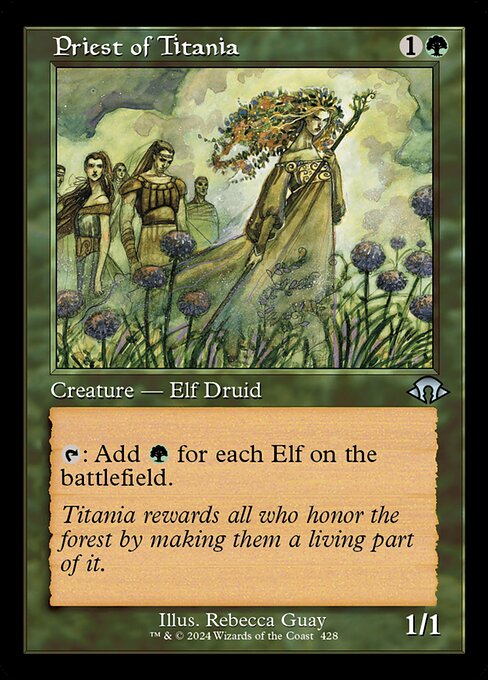 - This is an interesting card. It curves well with Jarad (who is an elf) and counts all the elves in play, not just yours.
Scorned Villager // Moonscarred Werewolf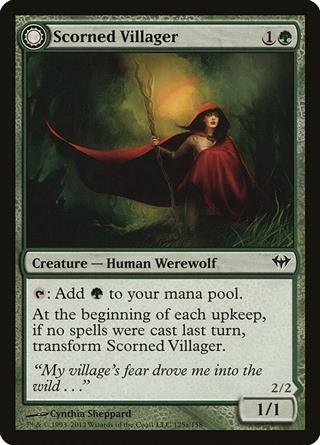 - I've found that playing this on turn two will usually flip it on turn three. The werewolf mechanic works very interestingly in four-player games.
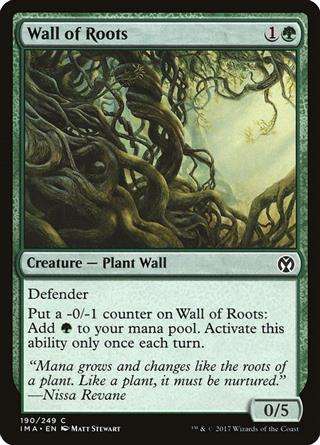
Wall of Roots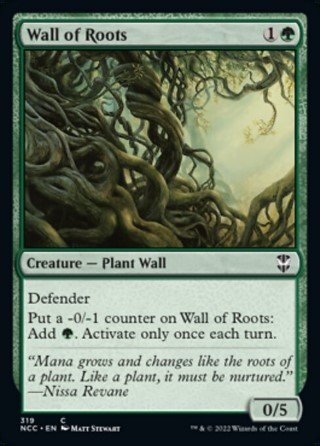 - This plays very well with instant-speed stuff. You can cast a Phyrexian Devourer on your turn if you're short one mana, then fling on your opponent's upkeep.
Frontier Siege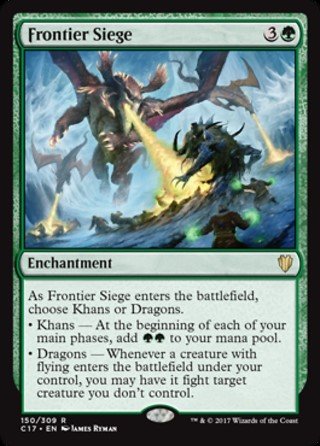 - Four mana a turn is pretty good.
Gilded Lotus - 5 for 3 is solid, especially when it comes in untapped. Gets around Armageddon effects I guess. It's in the deck to support the late-game big mana plan.
Fatties
Lord of Extinction - Typical in a Jarad build. Superb with Greater Good, it's Devourer #2. Also great with Hermit Druid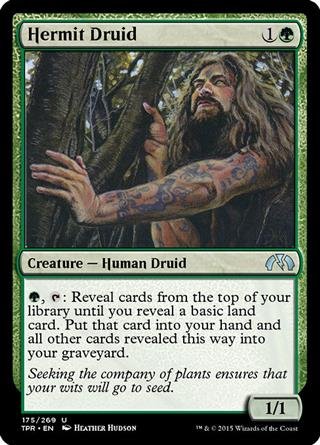 , obviously.
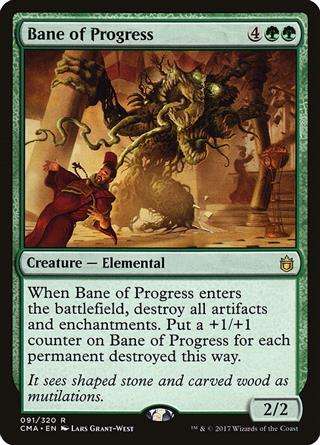
Bane of Progress - This is one of our best tools against artifact decks. This card has saved me many times against Sharuum, Teferi, and other similar decks. It's one of the better Natural Order
 targets.
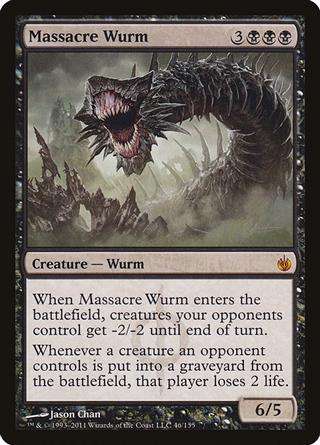
Massacre Wurm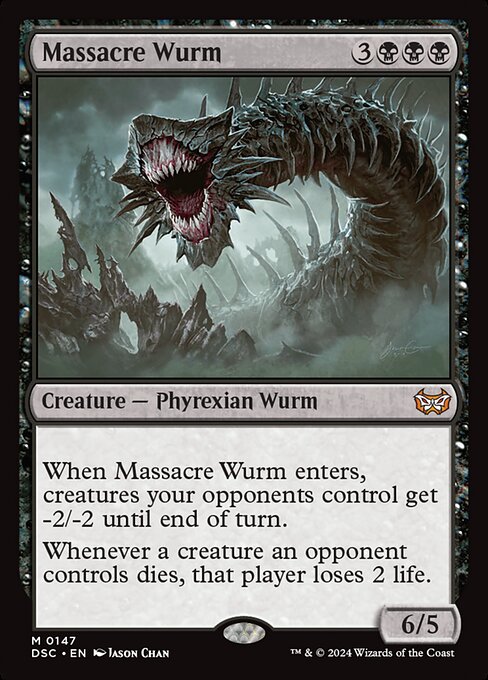 - This is mostly a meta choice. Wurm is great for killing dork-based mana bases and hatebears decks.
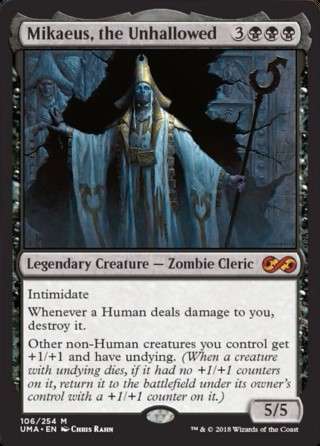
Mikaeus, the Unhallowed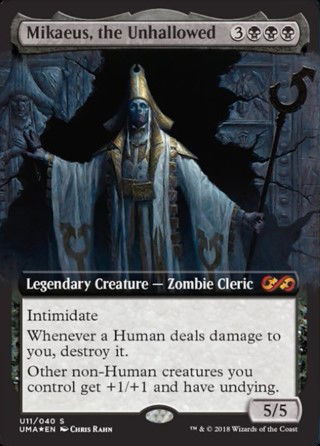 - Also a combo piece, but is fine for stuff like Phyrexian Delver or whatever. Nothing to joke about. The +1/+1 can be relevant, but the Undying makes the card.
Rune-Scarred Demon - Tutor on a stick. Superb. As mentioned above, the card often finds Greater Good.
Baleful Force - Pretty strong. Note that it triggers each upkeep, not just mine, so it's like half a Consecrated Sphinx. The life loss is pretty pertinent though.
Woodfall Primus - Combos with Mikeaus and blows stuff up fine. Powerful with Greater Good or other sac outlets.
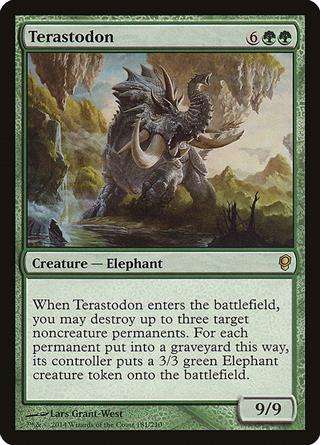
Terastodon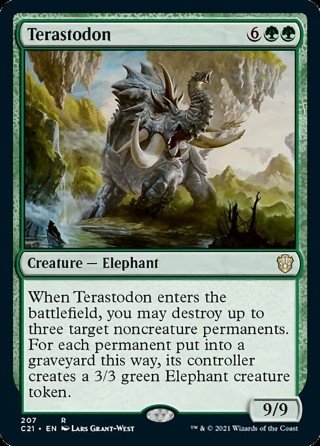 - T-Don is in the deck mostly for Natural Order. He can be real good if our opponents have a fast start. He also plays well with Greater Good - if you're trying to win that turn, you can blow up your own lands for extra power on board.
Void Winnower - A big hatebear. This guy is our number one tool against fast spell-based decks like storm. He's also a four-turn clock with pseudo-evasion.
Graveyard Fillers
Entomb - Really pulls the deck together. Don't forget this can grab Dread Return. One super-tech line if you have a Dread Return in yard already but only two creatures is to Entomb for Corpse Connoisseur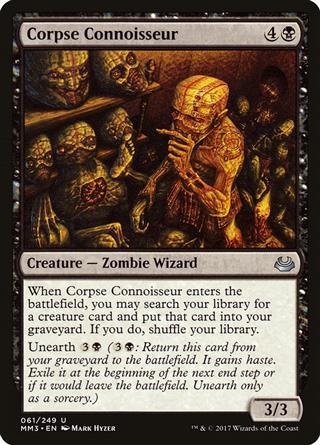 and unearth it to find your fatty.
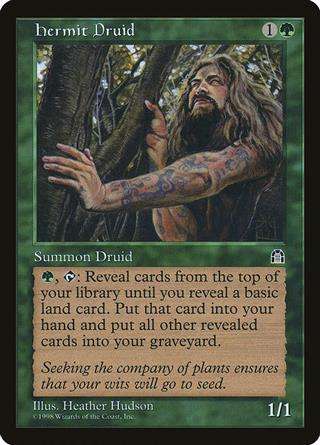
Hermit Druid - We don't play a bunch of basics. Fills grave fast and hits land drops. Unless we have a super early combo, Green Sun's at 2 or turn one Worldly Tutor usually hits this, otherwise it's Steve. It's not the combo piece used in a lot of other decks though. You want to be real careful activating this into gravehate as sometimes it dumps half my deck.
Survival of the Fittest - Ridiculous. Note that it can fill a graveyard just as well as Buried Alive if we have the green. A common play is tutor up fatty, discard fatty and tutor up Phyrexian Delver, Phyrexian Delver targeting fatty. Probably the best single card in our deck.
Buried Alive - Combo piece and general enabler.
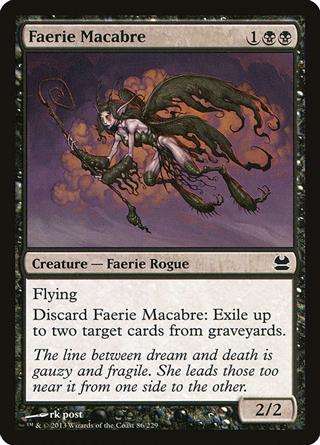
Jarad's Orders - This is always a skill-intensive card to resolve. There are a few tricks you'll want to keep in mind. Bin a fatty and grab Phyrexian Devourer. Bin a Phyrexian Devourer and grab Necrotic Ooze, then fling to Jarad. Faeire Macabre is real good if there's another graveyard deck at the table.
Corpse Connoisseur - Having a flashbackable Entomb makes Hermit Druid significantly better.
Utility
Eternal Witness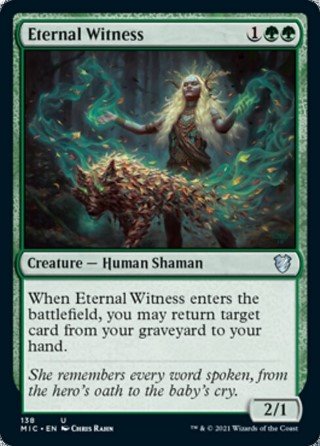 - Regrowth on a stick, it's great. Turns every one of my reanimation spells into Regrowth
 .
.
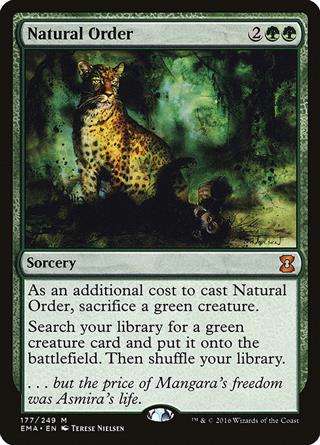
Natural Order - The go-to target is Terastodon. Other common targets include Bane of Progress, Lord of Extinction, or Woodfall Primus.
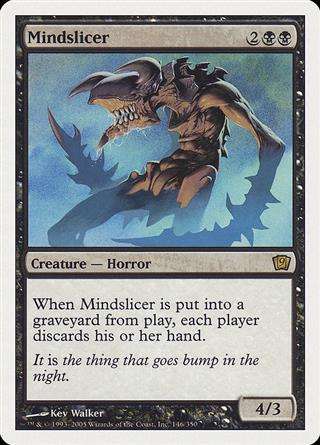
Mindslicer - We'll pretty much always have a sac outlet available, and if we don't, casting Jarad isn't too slow.
Crop Rotation - It's solid ramp to find Ancient Tomb or Phyrexian Tower, and it's instant-speed gravehate to find Bojuka Bog.
Faerie Macabre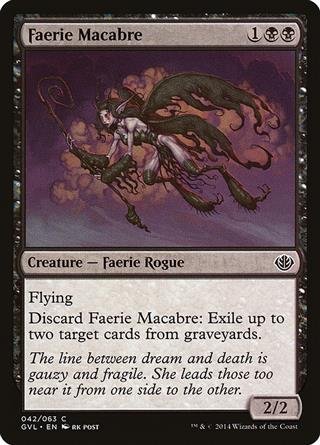 - Tutorable off Survival at instant speed. Currently in testing.
Removal
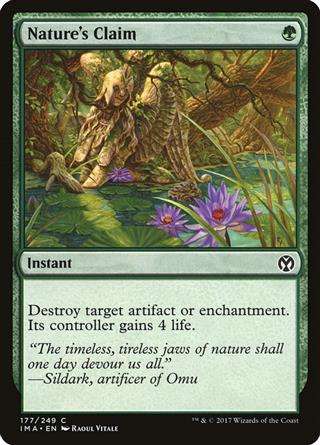
Nature's Claim - Good against storm and other fast combo decks. It can also gain me life in a pinch.
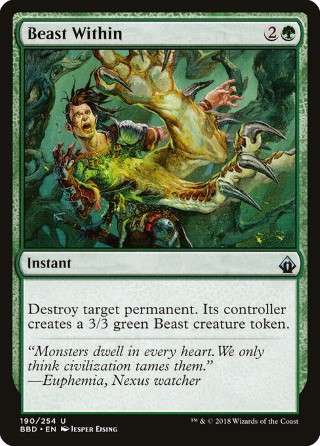
Beast Within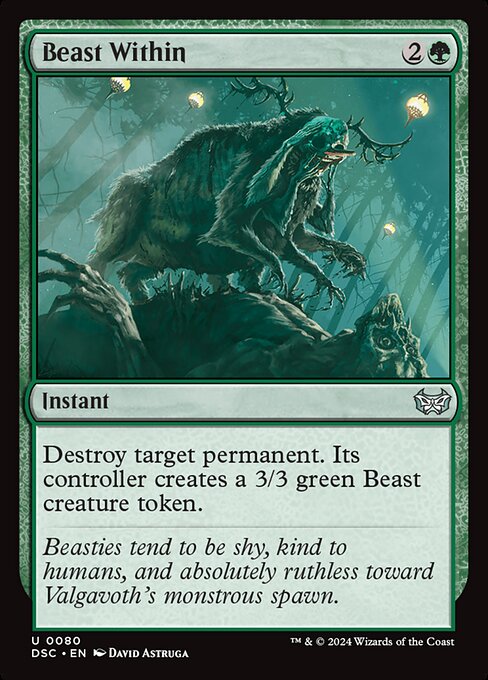 - Versatile as hell, only costs 2G. The 3/3 hardly matters.
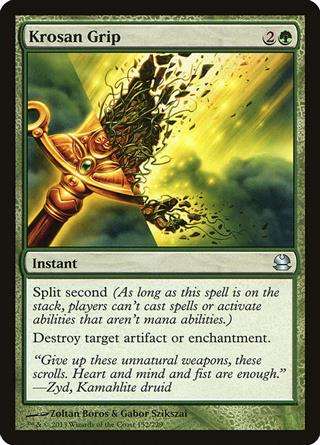
Krosan Grip - Uncounterable, best against Sharuum or Arcum but often used against others. Noteworthy that it kills Nev Disk or O-Stone without a crack in response, and also Tormond's Crypt and friends.
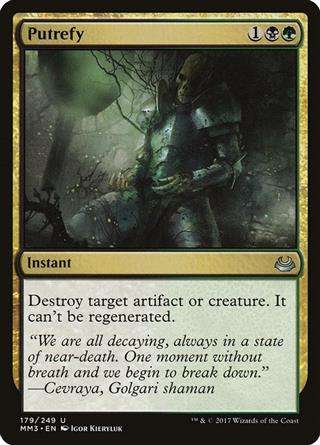
Putrefy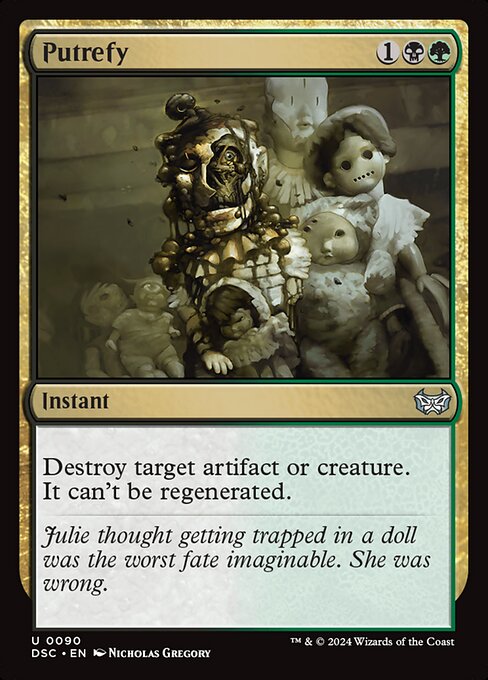 - Versatile removal; typically hits powerful early game threat like Zur or whatever.
Toxic Deluge - Cheap sweeper. Sometimes I can cast it for a small amount and make my Baleful Force or whatever survive.
Snuff Out - Hard to play around, but it's painful that it only hits nonblack creatures. Still, quite potent.
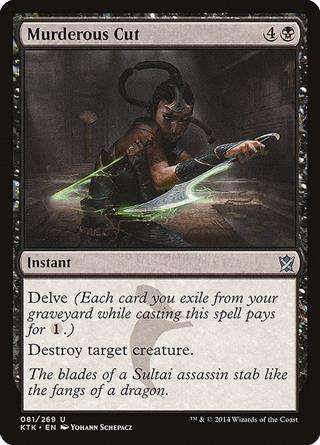
Murderous Cut - Usually one mana. Exiling from your graveyard is a little counterintuitive in this deck, but one-mana unconditional creature removal is too good to pass up. Being instant-speed, you can cast it in response to your opponent trying to reanimate your own fatty.
C-c-c-combo pieces
Necrotic Ooze - I go into detail above. Inherits Hermit Druid, which is sometimes useful. Also inherits mana dorks, which is less useful. Note that it can be a Phyrexian Devourer either for the Triskelion combo or the Jarad combo. It also gets stuff from opponents' graveyards.
Phyrexian Devourer - Great with the aformentioned combos. When I'm desperate it feeds Greater Good.
Triskelion - Also part of two combos. Sometimes used as utility removal, either on stuff like Gaddock Teeg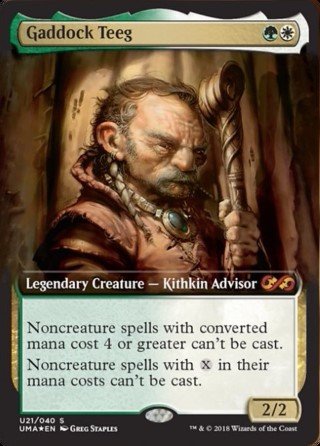 or that Illusion clone everyone's playing nowadays.
Tutors
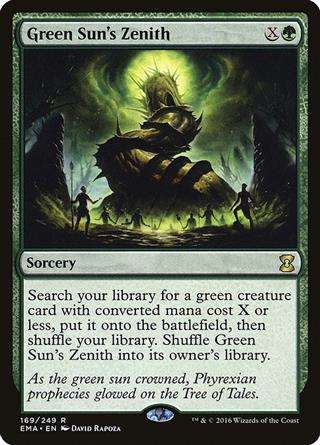
Green Sun's Zenith - T1 into Dryad Arbor
 is a strong play. Pretty much *only* finds utility creatures until the late-game.
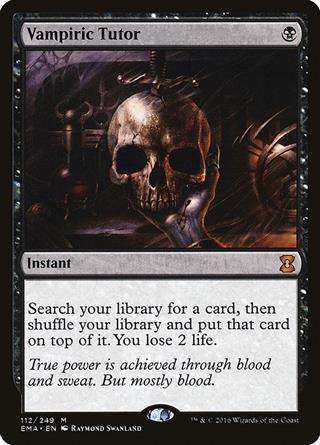
Vampiric Tutor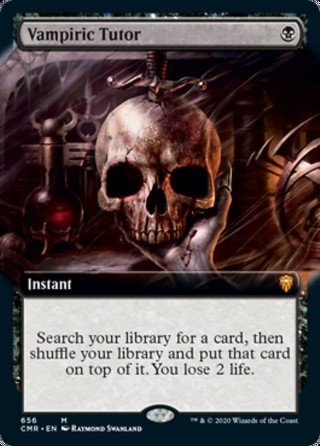 - It's pretty good I guess. Not much to say.
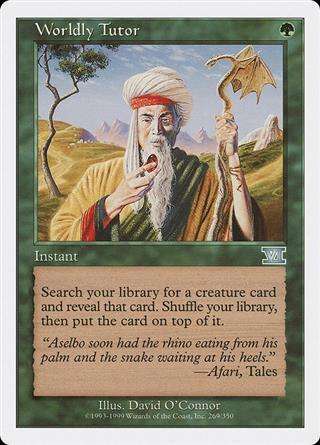
Worldly Tutor - Read the card. Not much detail, except that the fact that it goes to the top is pretty good if we need it in our GY an we have a Hermit Druid.
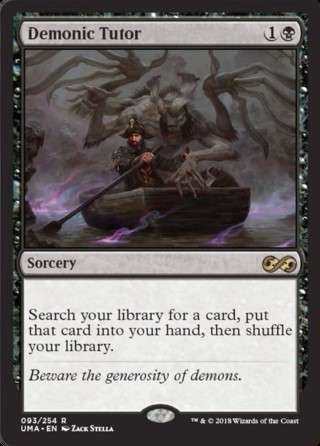
Demonic Tutor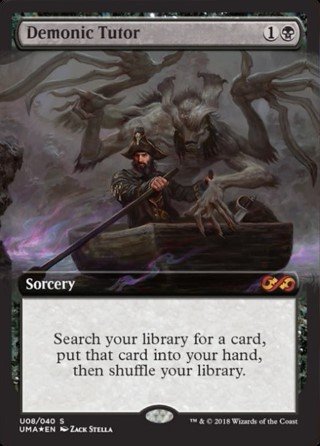 - Usually find Buried Alive early game but obviously tutor for anything. Our best tutor.
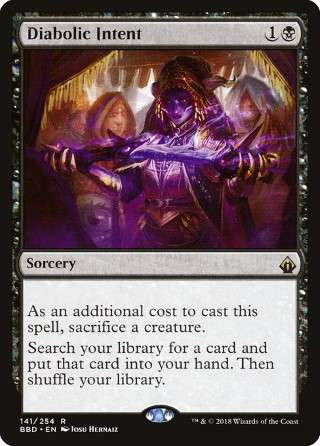
Diabolic Intent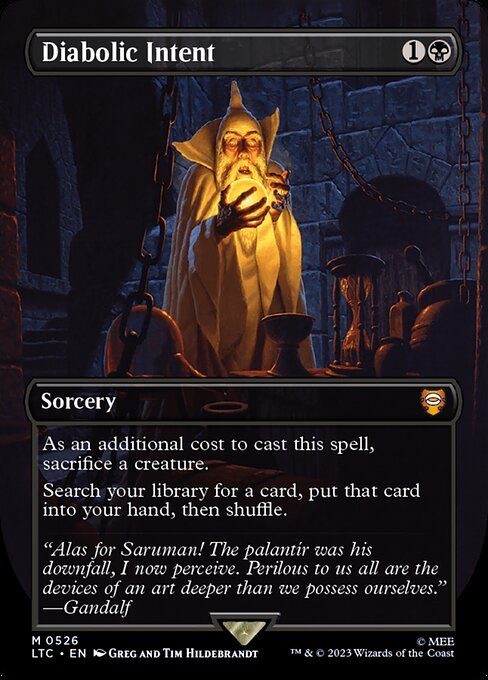 - With all the dorks in the deck, it's almost always castable. And don't feel bad about the resource disadvantage - even sacrificing a Llanowar Elves to find Mana Crypt is ramp.
Praetor's Grasp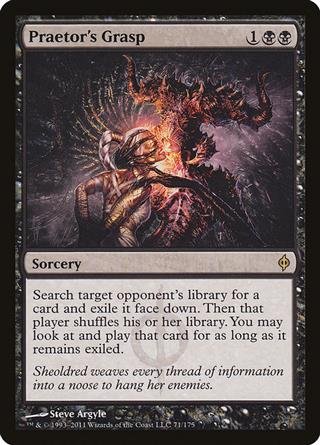 - A really nice resource to have. Usually grabs Crypt, some stapley card I play myself, or Pact of Negation to protect a combo.
Pattern of Rebirth - This card is nutty. Half the time, it's a Baleful Force or whatever, and half the time it's the second part of some combo I'm assembling.
Tooth and Nail - Finds combo pieces, wins the game. We basically always entwine it. If you're playing around gravehate or removal or whatever, just grabbing Void Winnower + Baleful Force isn't bad.
Reanimation
Reanimate - Really really good. Hits opponents' graves.
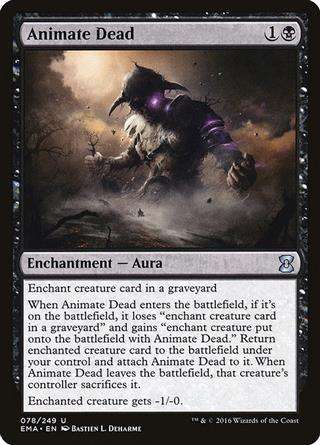
Animate Dead - Straightforward card. Hits opponents' graves.
Dance of the Dead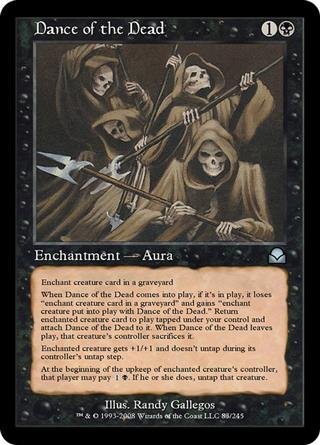 - It's basically an Animate Dead in this deck, but it sucks on Hermit Druid. Hits opponents' graves.
Necromancy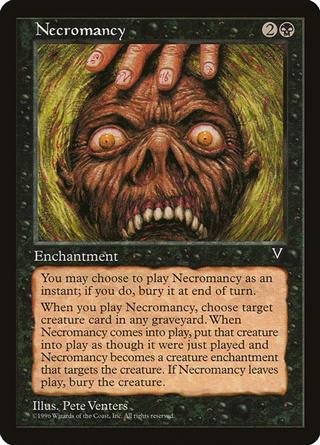 - Pretty important card. The Flash thing is good, allows me to go infinite on other players' turns or have combat tricks. Sometimes I'll target a Woodfall Primus with flash and get two triggers. There's also a bit of synergy with Mikeaus. Hits opponents' graves.
Dread Return - Great card on the combo turn when mana is tight. Otherwise... meh.
Phyrexian Delver - Mostly playable because it's a creature, so it's more easily tutored. It's a little slow but still a solid pick.
Card Selection and Draw
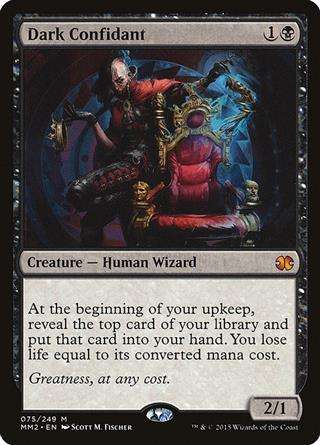
Dark Confidant - In testing.
Sylvan Library - Very nice card, though unfortunately with all the other self-damage effects in the deck we can't overcommit. Because the card counts cards in your hand you've drawn this turn, there's some marginal synergy with Phyrexian Arena and similar effects.
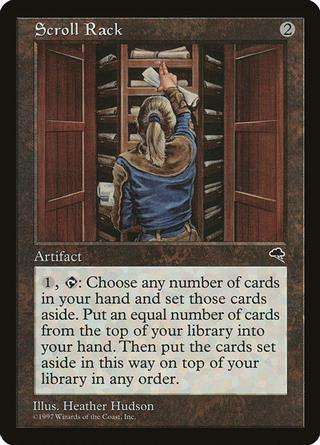
Scroll Rack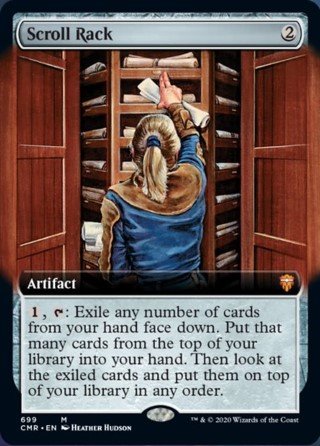 - It's ok. We can usually shuffle or mill away the useless top cards.
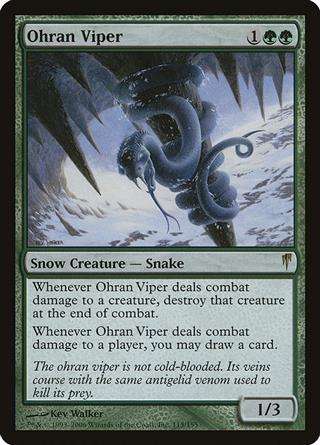
Ohran Viper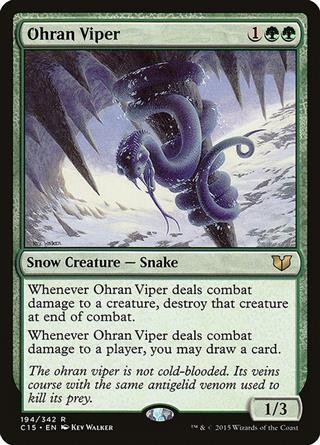 - It's basically a Phyrexian Arena that comes with all the upsides of being a green creature. You can Green Sun's Zenith for it, it wears a Pattern of Rebirth and sacrifices to Natural Order, etc etc.
Necropotence - Either wins the game or does very little. BBB is rough. One fun play is when we have a significant amount of mana - Necro for our life total minus one. Go to end step, get cards. Cast removal on Necropotence. Discard step. In the next upkeep, combo out from our graveyard.
Phyrexian Arena - One of the slower draw engines, but it doesn't require additional input, which is good. Really gets there in a slower grindier game.
Greater Good - As the name suggests, it's greater than good. A true engine. Jarad gets pretty big over the course of the game, especially when we're discarding, so don't be afraid to go hard with Greater Good.
Graveborn Muse - We use this as a second Phyrexian Arena. Notably, Jarad along with Mike and Delver are Zombies.
Latest Articles
Created: 20 Apr 2020
1953 230 0
Enter The Battlefield Prepared
With the MTGA Assistant deck tracker| 21 | 15 | 52 | 10 | 1 |
|---|---|---|---|---|
| 0 | 0 | 0 | 1 | 0 |
| Symbols | Percentage | Lands |
|---|
Card name

Being a TCGplayer Affiliate enables Content Creators to earn revenue on making content on Aetherhub. All links to Cards in the Decks and Articles of Content Creators that are affiliated with TCGplayer are linked with their affiliate ID. When users buy cards via links from Content Creators they earn revenue from the purchase you make.
AetherHub welcomes more Content Creators to our TCGplayer Affiliate system, read more about it here.

![DeckHub]() DeckHub Twitch Extension
DeckHub Twitch Extension
The DeckHub Twitch extension is used by Twitch streamers to display their currently played deck in the video overlay. After a quick install you can select any public deck on AetherHub to be displayed in your overlay, here is how you set it up: DeckHub Guide
Install DeckHub Twitch extension on Twitch.tv- Install DeckHub on Twitch by clicking this link