
March of the Machine - Limited Archetype Guide

Prerelease for MTGs newest set, March of the Machine is officially upon us. Regardless of whether you're drafting or playing sealed, understanding the deck archetypes in the set is invaluable. Not only will it help you build stronger decks but will also help you know what cards to look for when you land in certain colors. Furthermore, being familiar with the available strategies can be quite useful for defeating opposing decks. That said, today I'll review each of the March of the Machines archetypes. Let's jump right in.
The March of the Machine limited archetypes are as follows.
- Orzhov (Black, White) - Phyrexian Tribal
- Gruul (Green, Red) - Battles
- Simic (Blue, Green) - Transform
- Golgari (Green, Black) - Incubator Tokens
- Dimir (Blue, Black) - Mill
- Selesnya (Green, White) - +1/+1 Counters
- Boros (Red, White) - Backup
- Rakdos (Black, Red) - Sacrifice
- Azorius (Blue, White) - Knight Tribal
- Izzet (Blue, Red) - Convoke/Spells

With that very general info out of the way, let's move into a more in-depth description of each of these. I'll cover what each archetype is looking to do, and the "signpost" uncommons, payoffs, and bombs for each one. As well as offer some insight into good commons for each deck. Without further ado, let's kick things off with my personal favorite color combination, Orzhov.
The Archetypes
Orzhov (Black, White) - Phyrexian Tribal
Sign-Post Uncommons


Phyrexian Tribal is the primary archetype you'll be playing if you end up in black & white. However, with phyrexian tribal you'll have some natural overlap with incubator tokens as well. When building this you'll want a critical mass of creatures with the phyrexian creature type and there are quite a few to look out for. Again, this also includes anything that makes incubator tokens, so keep that in mind.
With enough phyrexians in play, you have several lord effects, things that generate value when phyrexians die, ways to tax opponent's non-phyrexian creatures, or simply flood the board with tokens and swing in.
Here are a few examples of cards and payoffs:
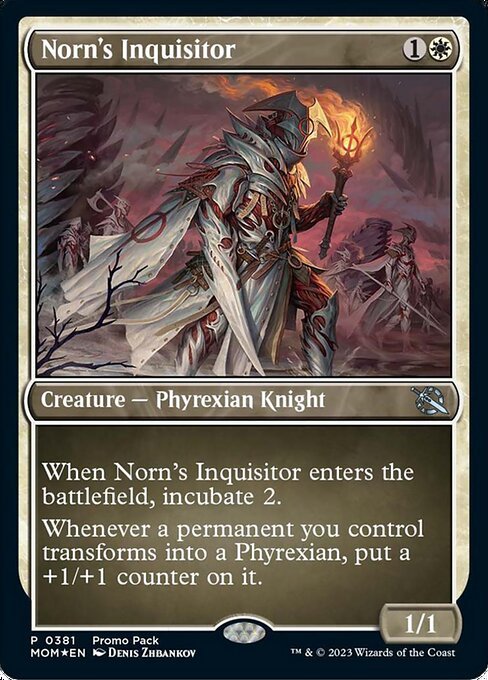
- Norn's Inquisitor

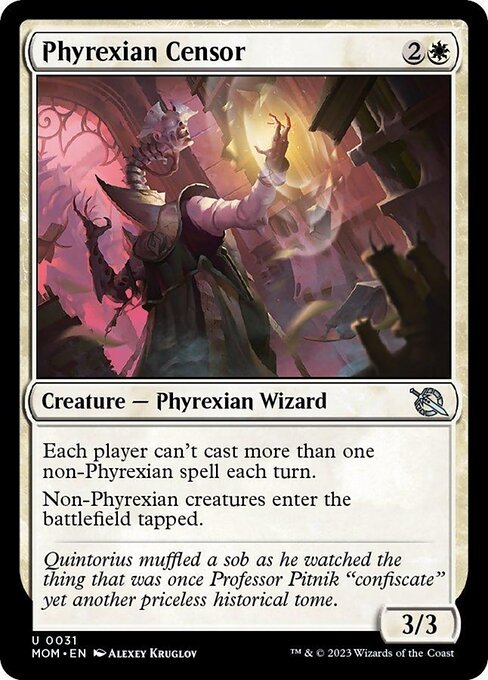
- Phyrexian Censor
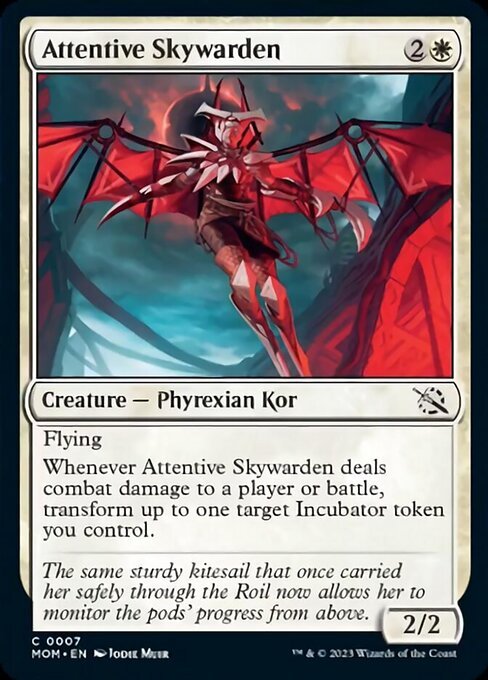
- Attentive Skywarden
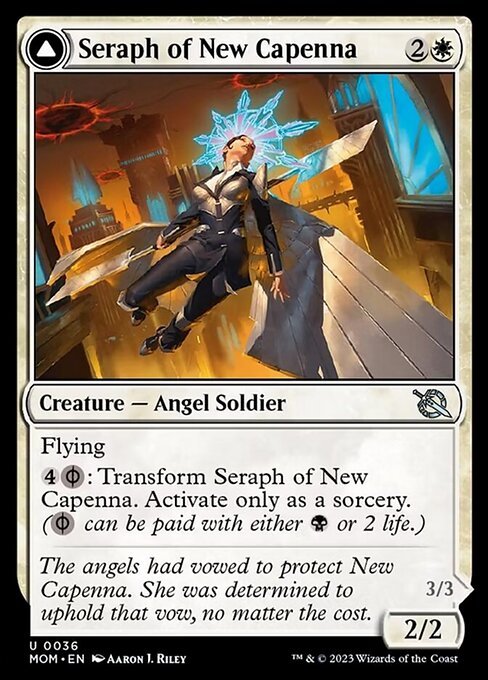
- Seraph of New Capenna // Seraph of New Phyrexia
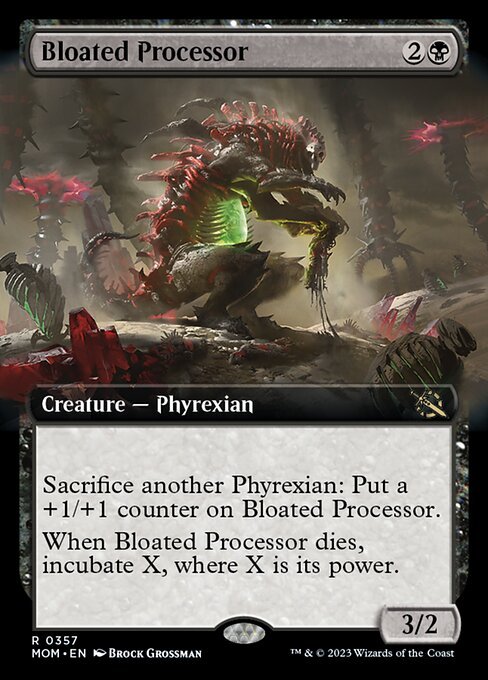
- Bloated Processor
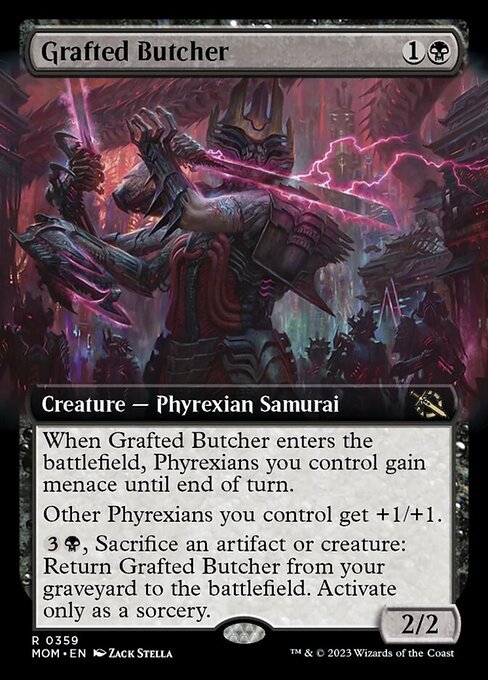
- Grafted Butcher
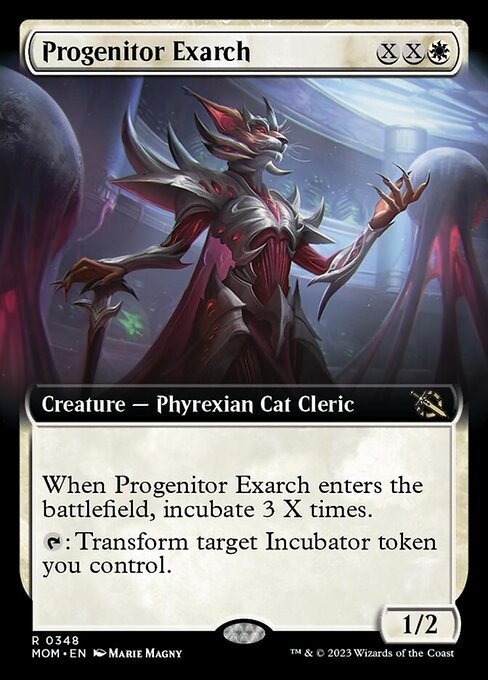
- Progenitor Exarch
- Sculpted Perfection
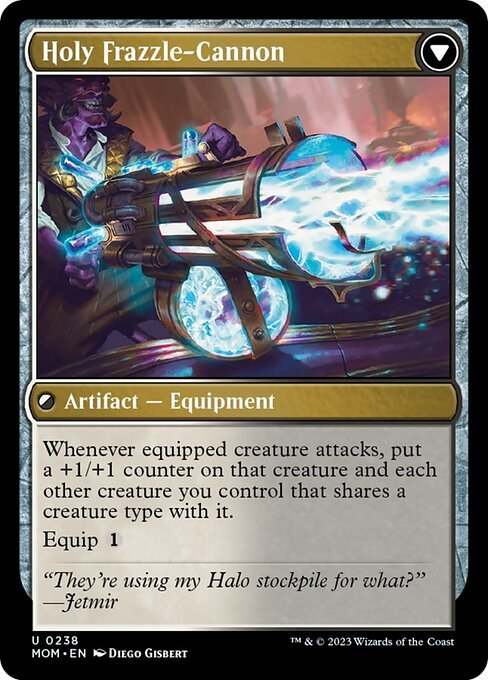
- Invasion of New Capenna // Holy Frazzle-Cannon
It's also worth mentioning that Teysa Karlov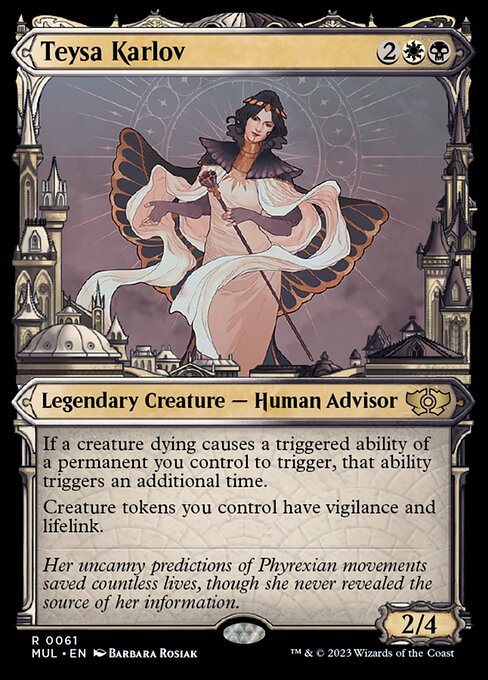 is in the Multiverse Legends sub-set for March of the Machine and would make an excellent addition to this archetype if you happen to find her in your card pool.
Play Tips
As mentioned, you'll want to load your deck up with the minions of Elesh Norn. However, don't feel like you're locked into being able to play only phyrexian creatures. As a matter of fact, I would recommend slotting in whatever big bombs you may come up with that are in B/W. They won't diminish what tribal synergies you do have and could possibly give you a greater threat density.
Next, this archetype plays like a midrange strategy more than aggro. You'll be flipping incubator tokens, saving things for value, slowing opponents down, and attacking when it's beneficial to do so. That said, be sure to pick up some quality removal if you're drafting phyrexians.
Gruul (Green, Red) - Battles
Sign-Post Uncommons


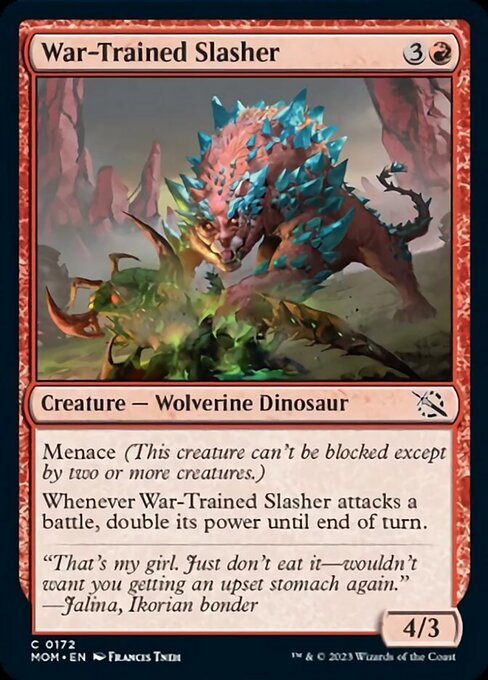
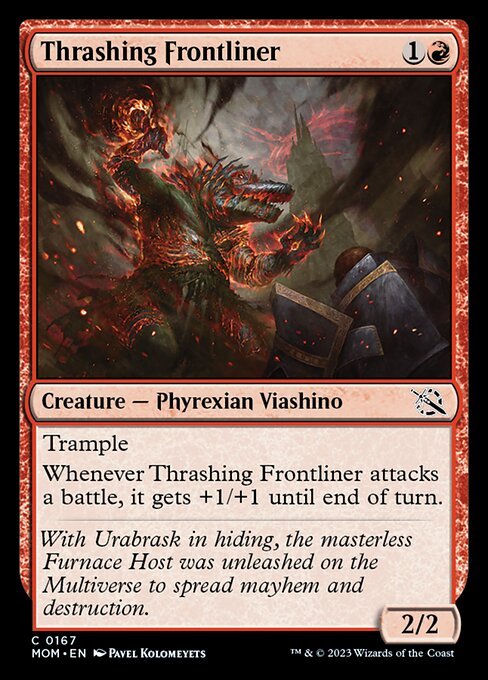
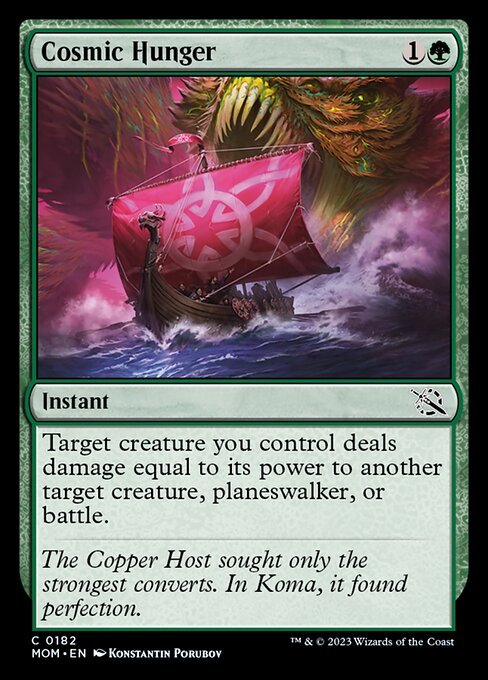
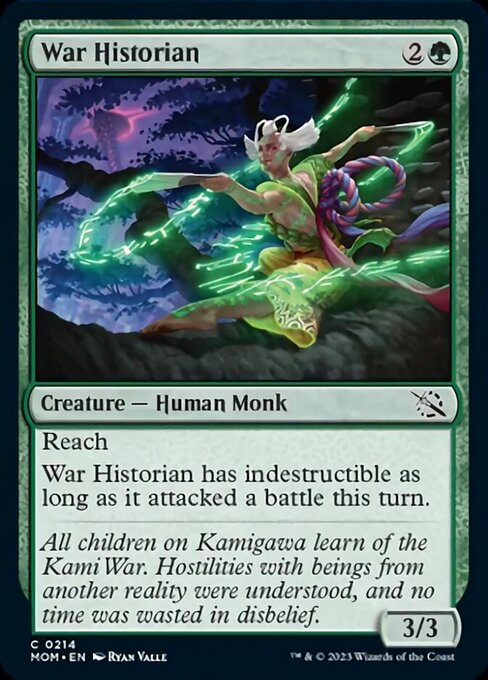
Looking at Rampaging Geoderm for guidance will point you at exactly what you want to be doing if you're playing G/R. Not only are there several good battles in these colors but there are several benefits to interacting with them - Including payoffs for attacking them, ways to damage them directly, and ways to tutor up battle cards from your deck. Examples include:
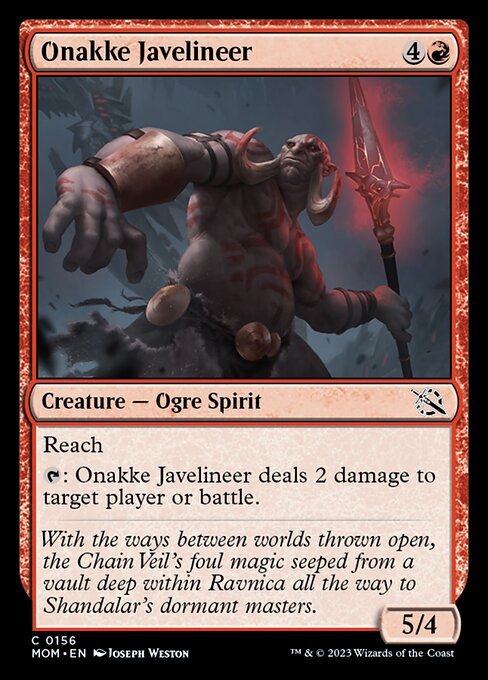
- Onakke Javelineer
- War-Trained Slasher
- Thrashing Frontliner
- Rampaging Geoderm
- Cosmic Hunger
- War Historian
- Portent Tracker
- Invasion of Regatha // Disciples of the Inferno
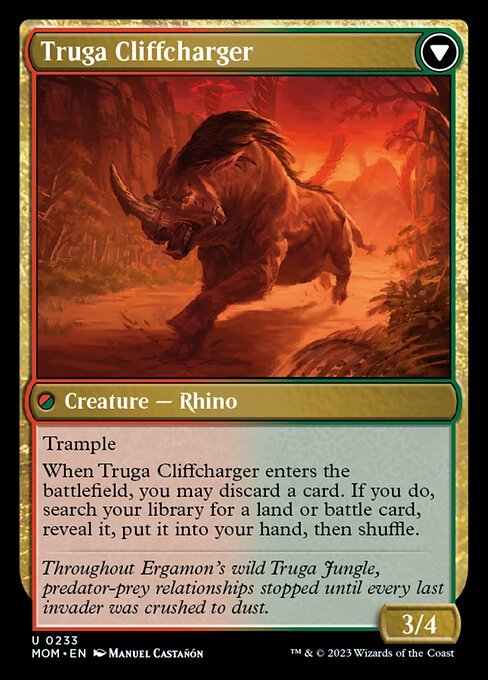
- Invasion of Ergamon // Truga Cliffcharger
Play Tips
If you find yourself building sieges, you'll need to make sure you have a decent ratio of creatures, battles, and payoffs. Arguably the most important of the three is creatures. After all, if you play out sever battle cards and don't have the manpower to attack into them and flip them, you'll likely be in trouble. On the other hand, a creature-heavy deck will be far more likely to flip a relatively small of amount of battles.
And a tip for playing against battle decks - Commit to the board early and often. If an opponent drops a battle on you and you can't defend it, the value they generate from an easy flip will quickly have you falling out of the game. So, regardless of which side of the matchup you land on creatures and the ability to answer them are going to be key.
Simic (Blue, Green) - Transform
Sign-Post Uncommon


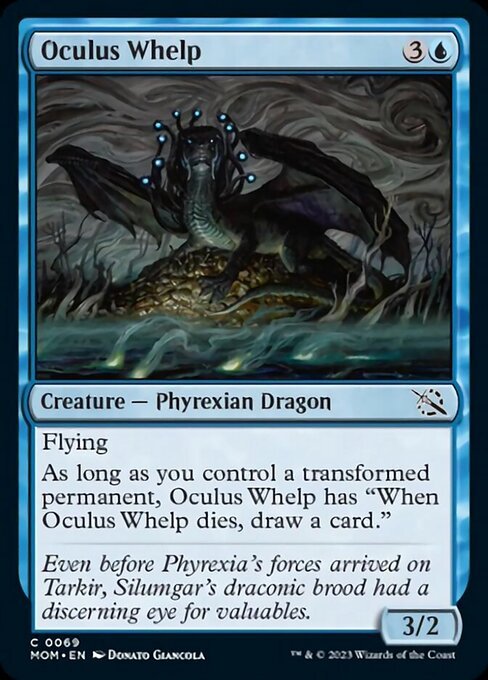
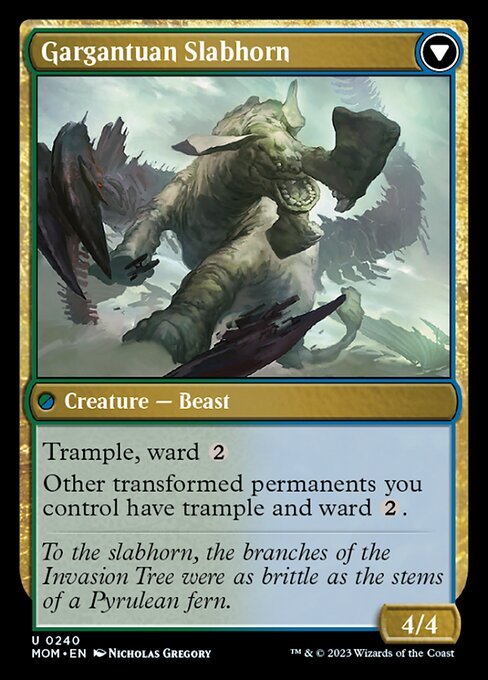
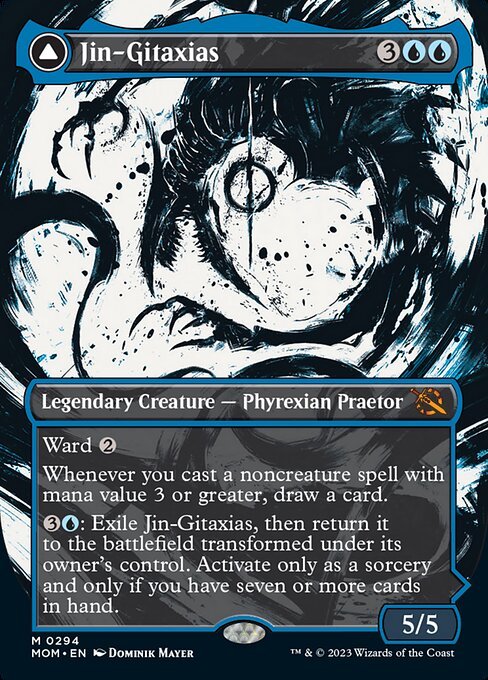
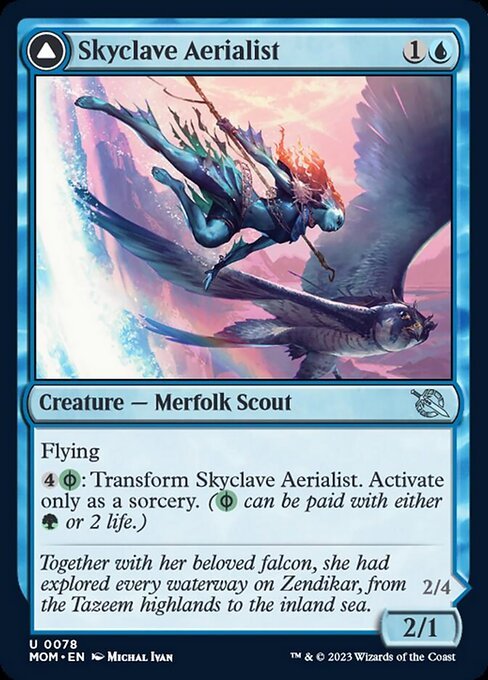
The Simic archetype is a bit of a unique one for MOM. As you can see from Mutagen Connisseur it cares about any card that transforms. This includes incubate tokens, battles, and the creatures that transform for phyrexian mana. Not only are there a lot of cards that transform in some way (some of which are very powerful) but there are some great payoffs that make every transformed card even more valuable.
For example, several cards reward you with card advantage if you control flipped permanents, while others protect them and others allow you to churn through your deck to find them. Let's take a look at some of these payoffs.
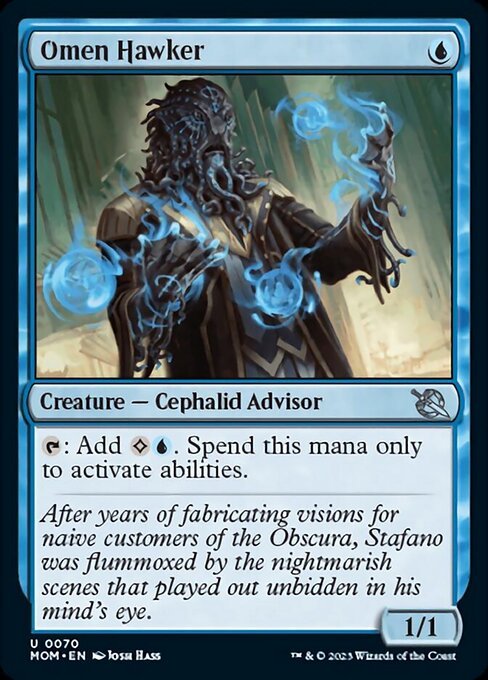
- Omen Hawker
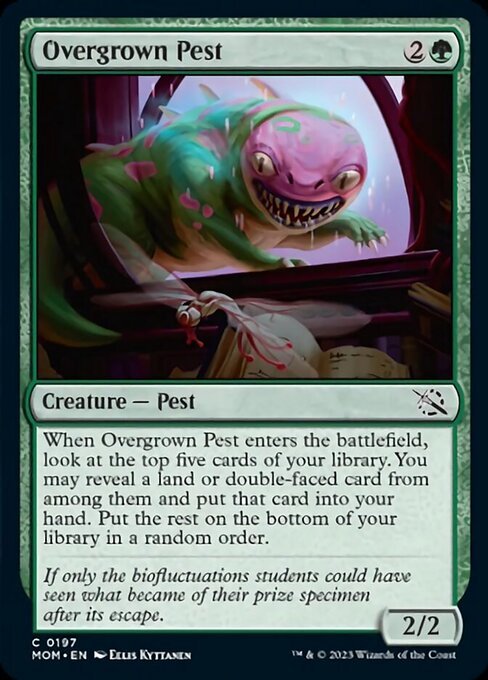
- Overgrown Pest
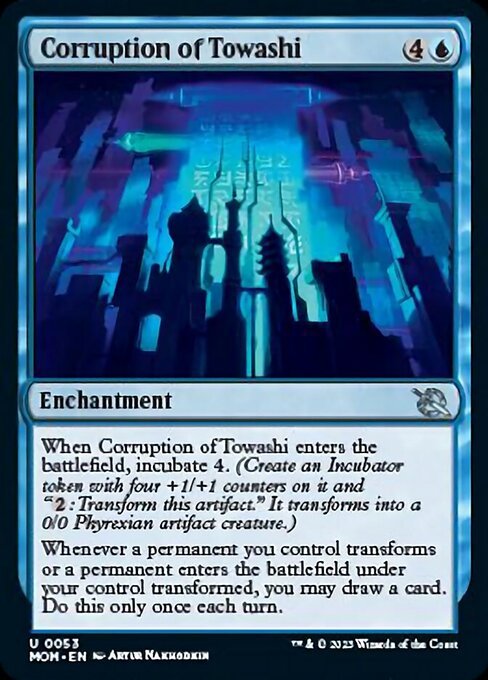
- Corruption of Towashi
- Oculus Whelp
- Invasion of Pyrulea // Gargantuan Slabhorn
- Jin-Gitaxias // The Great Synthesis
- Skyclave Aerialist // Skyclave Invader
- Gnottvold Hermit // Chrome Host Hulk
- Vorinclex // The Grand Evolution


Play Tips
I think there are a few things to consider if you want to build around transforming cards. Many of the cards for the archetype could fall into a lot of different categories. For example, any blue or green battle card or card that makes an incubator token could go in the deck but could also fit into Gruul battles or various blue decks. As a result, there are a lot of options for the deck but they may not be overly cohesive with one another. So, it's important to prioritize getting some of the payoffs mentioned above.
If you can land a few of the cards mentioned above, the cards that actually transform into something else should come to you somewhat easily. You don't want to get stuck with a pile of transforming cards that don't have much in common aside from flipping and not having the payoffs to make the lack of synergy worth it.
Golgari (Green, Black) - Incubator Tokens
Sign-Post Uncommon

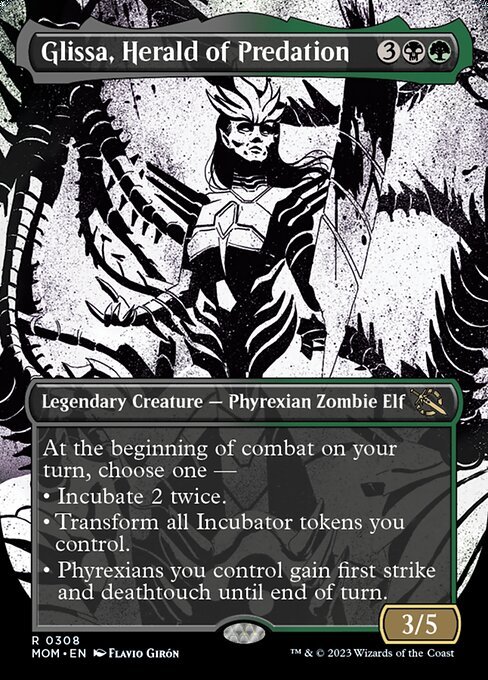
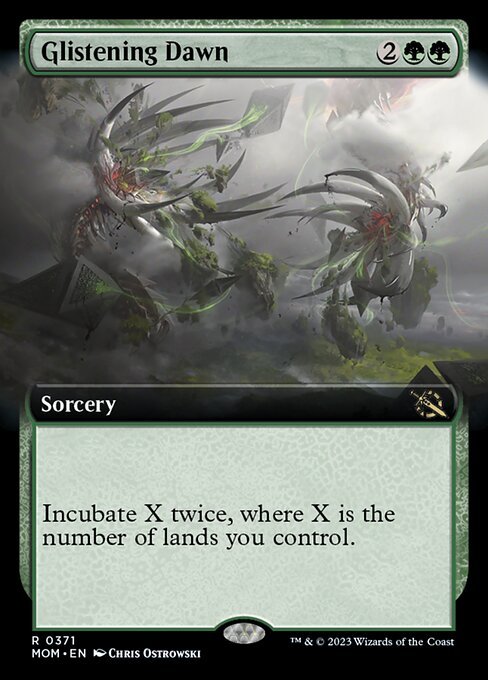
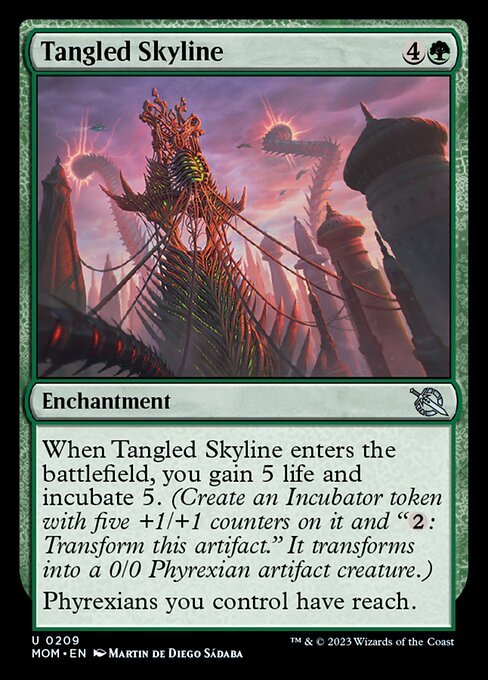
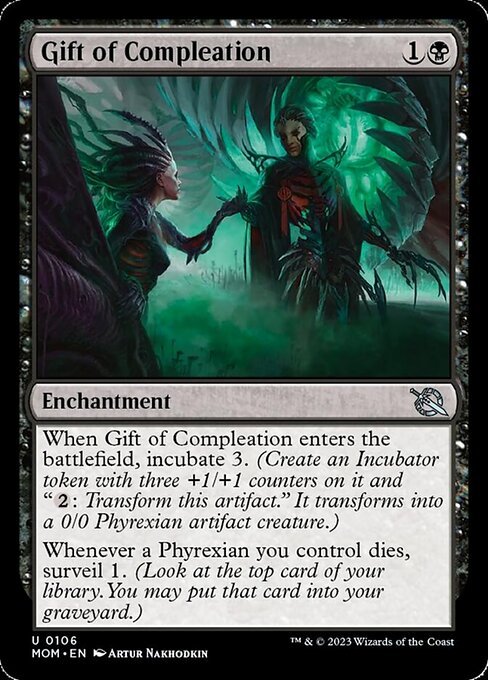
As mentioned, a few of the other archetypes can make you of incubation tokens. However, none more so than B/G can. So, if you find yourself with some of the more powerful incubator cards, this will likely be the direction you'll want to take your deck. Overall, the strategy is pretty straightforward. You'll want to incubate early and often and scoop up some of the cards that let you cheat by flipping them to their creature side. Here are some key cards to look out for:
- Glissa, Herald of Predation
- Glistening Dawn
- Grafted Butcher
- Elvish Vatkeeper
- Bloated Processor
- Tangled Skyline
- Gift of Compleation
Play Tips
Much like I mentioned with the Simic there aren't massive amounts of specific payoffs for incubating. There are some but at the end of the day, you'll mainly just be playing creatures. And creatures that are coming in a bit delayed most of the time at that. So, my advice to anyone playing this archetype is to embrace a midrange strategy, scoop up some ramp spells and be sure to have some efficient, powerful creatures in your even if they don't necessarily synergize. With a solid base of ramp, removal, and a decent threat density you can outvalue other decks with even a few incubator cards.
You May Also Like: 4 Incubate Decks of Wild Possibilities in Standard
Dimir (Blue, Black) - Mill
Sign-Post Uncommons


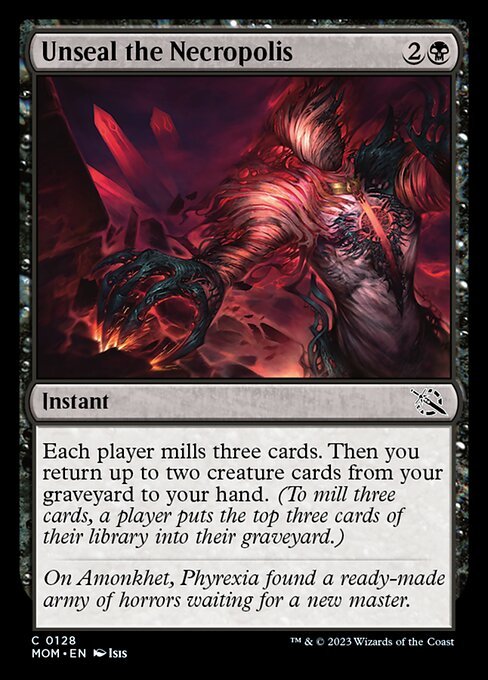
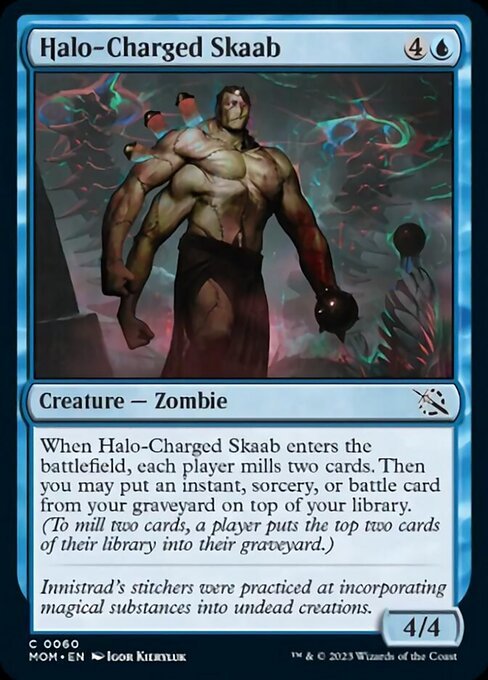
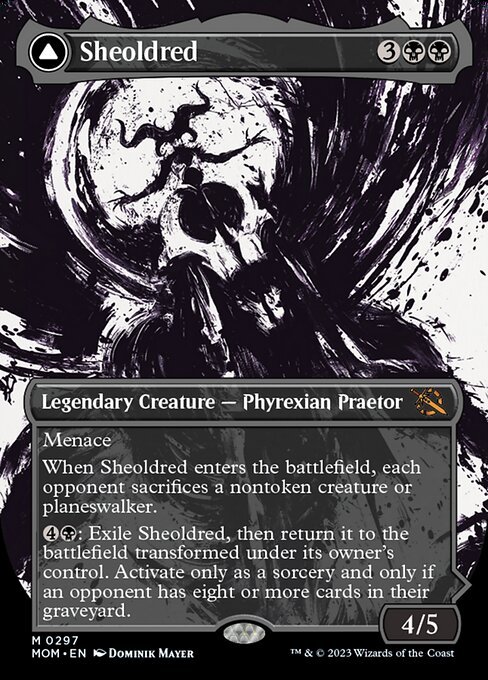
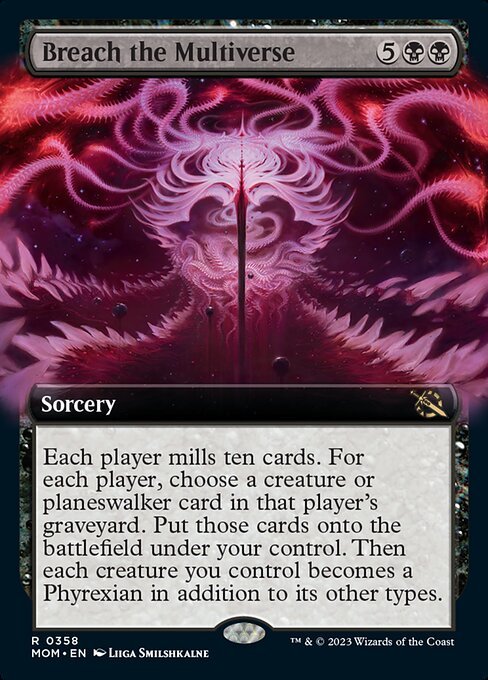
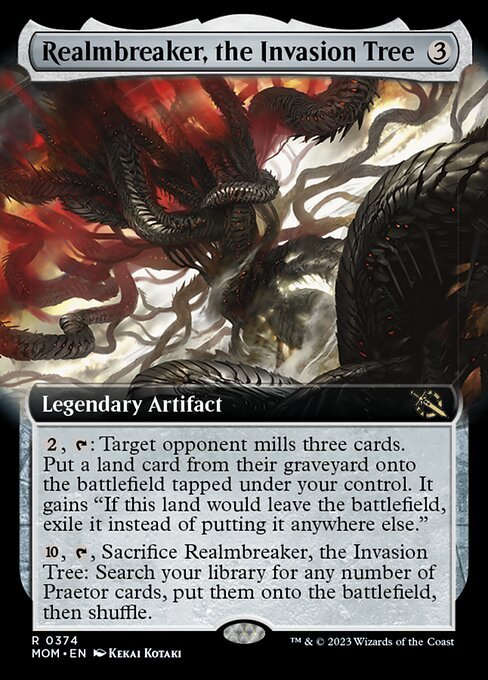
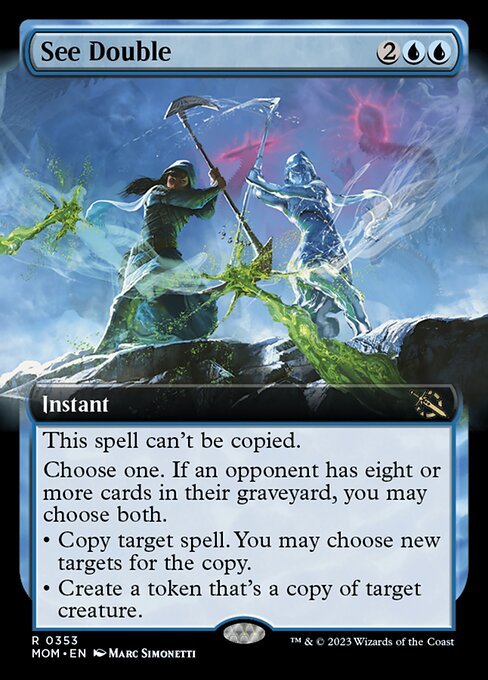
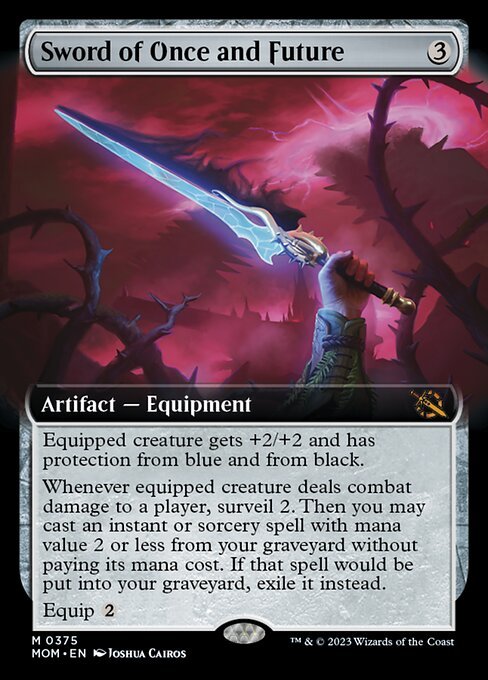
For Dimir archetype for March of the Machine is mill. More specifically milling your opponent (and yourself) simultaneously and casting spells and reanimating creatures or battles from with graveyard. I like the fact that most of these spells I'm about to mention do milling both players and allow you to interact with all graveyards instead of just one or the other.
In a limited environment, it's totally possible for you to mill over your opponent's bombs/key cards and leave them without reliable ways to close out games if they don't have much redundancy in the threat department. And of course, adding insult to injury you can then reanimate the cards and use them against them. Here are some of the mill-focused cards to keep your eyes out for.
- Unseal the Necropolis
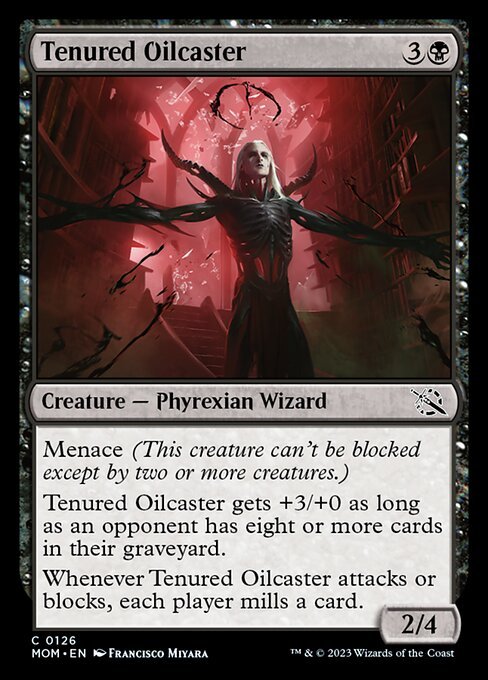
- Tenured Oilcaster
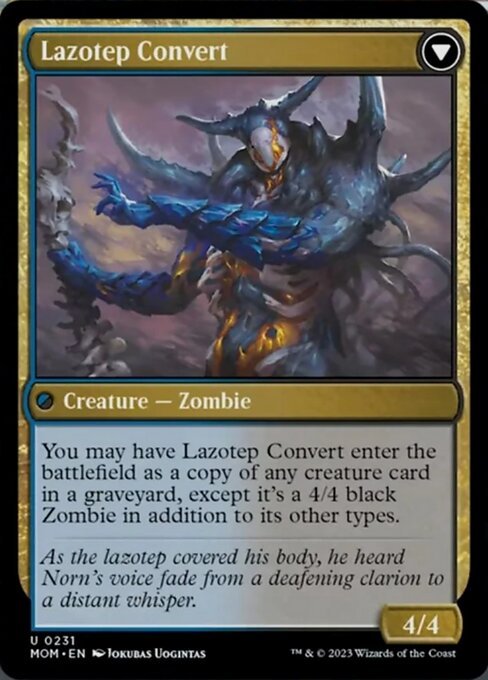
- Invasion of Amonkhet // Lazotep Convert
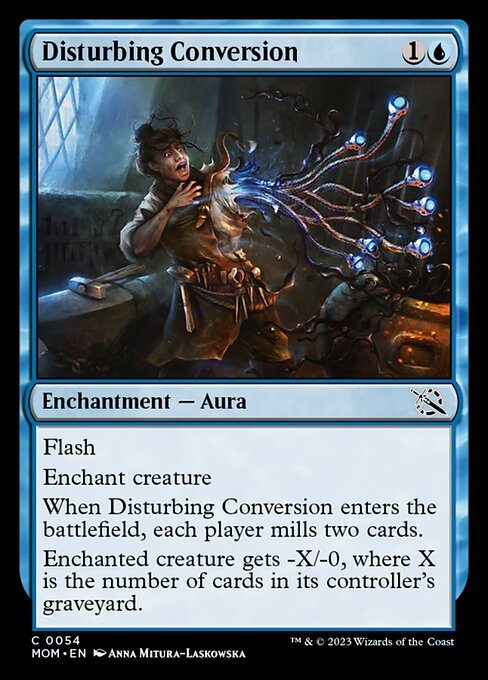
- Disturbing Conversion
- Halo Forager
- Halo-Charged Skaab
- Flitting Guerrilla
- Sheoldred // The True Scriptures
- Breach the Multiverse
- Realmbreaker, the Invasion Tree
- See Double
- Invasion of Amonkhet // Lazotep Convert
- Sword of Once and Future

Play Tips
Most of the cards mentioned above have a good thing going for them - For the most part, they all mill and have a mill payoff wrapped up in a single package. However, it's important to remember that none of these cards enable mill to the point where you're going to win the game for milling your opponents out of the game. That said, you'll want to use these cards to reanimate generally strong cards and use that as your means to victory.
I also wanted to mention that several of the Multiverse Legends cards can be powerful for this strategy. If you manage to pull Emry, Lurker of the Loch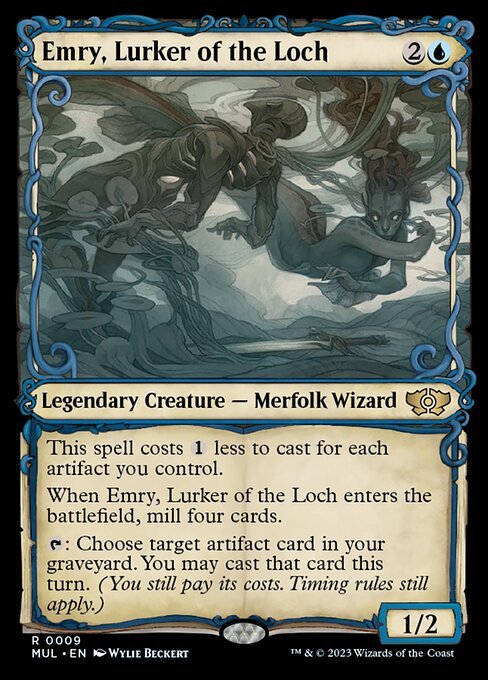 , Sheoldred, Whispering One
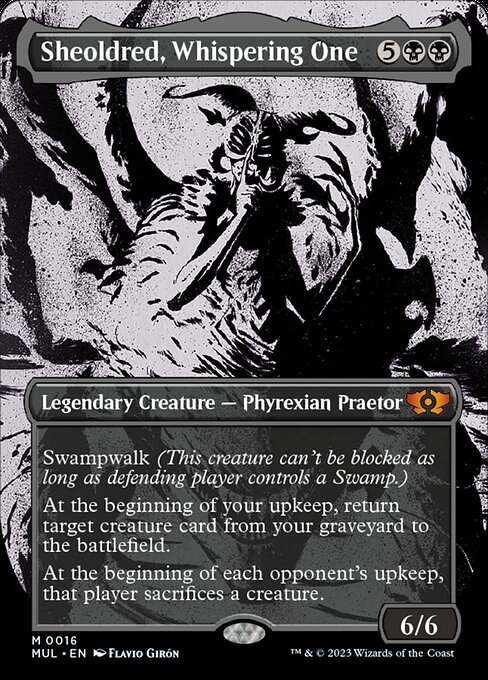 , Gyruda, Doom of Depths
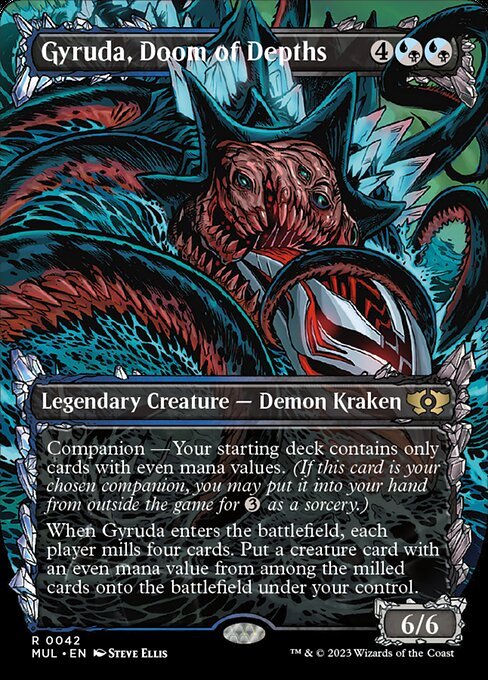 you could certainly pull off this archetype with a few more pieces.
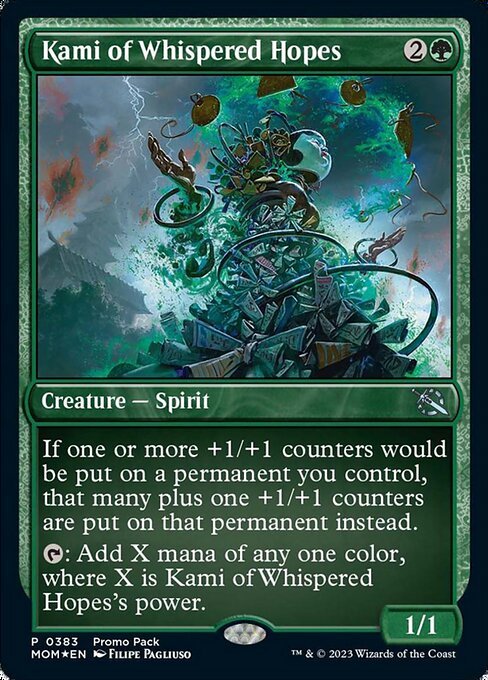
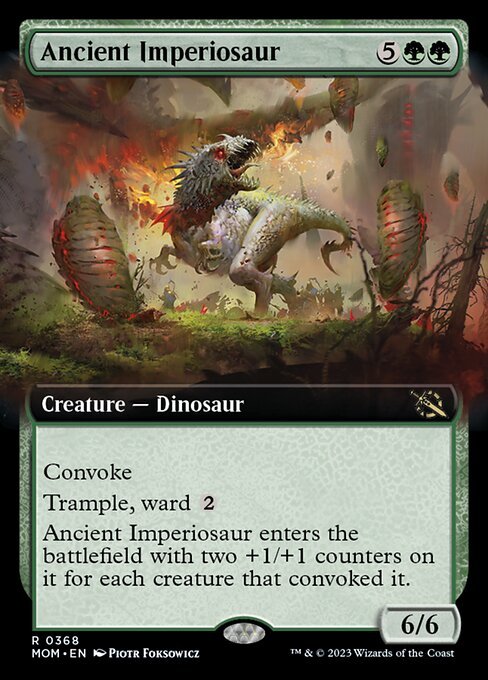
Selesnya (Green, White) - +1/+1 Counters
Sign-Post Uncommons


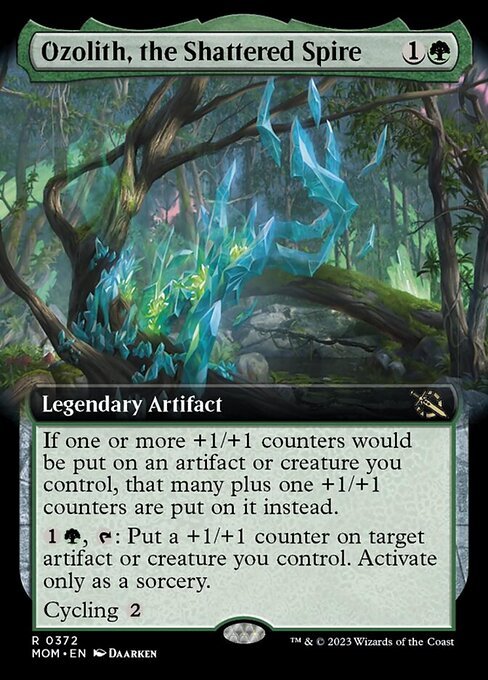
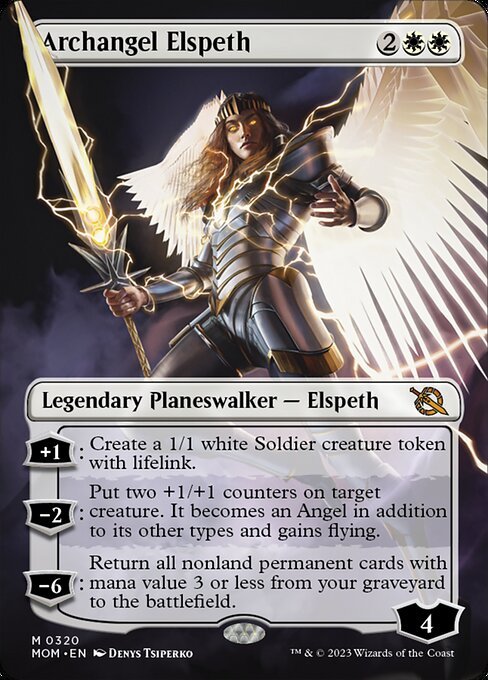
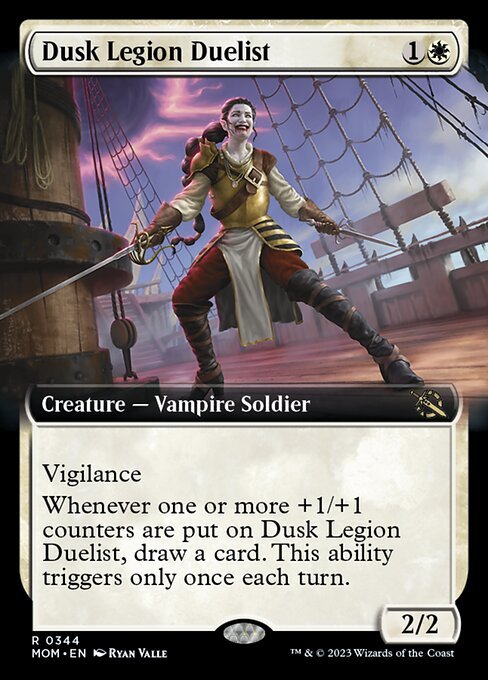
This archetype is fairly straightforward - You'll want to be putting counters onto creatures, growing them into bigger threats, and generating extra value from doing so with things like Dusk Legion Deulist and Botanical Brawler. Not only does this archetype play well but it has the added benefit of being able to use all backup cards and incubate cards as well, which means the majority of the mechanics from MOM contribute to it in some way. Here is a look at a few of the mana payoffs.
- Ozolith, the Shattered Spire
- Archangel Elspeth
- Invasion of Moag // Bloomweaver Dryads
- Dusk Legion Duelist
- Botanical Brawler
- Kami of Whispered Hopes
- Enduring Bondwarden
- Ancient Imperiosaur

Play Tips
As you build this, you may start to realize that there aren't too many things that reward you for applying +1/+1 counters to your creatures. Don't let that deter you, there aren't a ton of them because putting counters on creatures is already very solid. Therefore, just make sure you have a few payoffs and you'll be good to go.
Moving on, make sure you have a solid number of creatures in general for your deck, and try to make sure you have a good curve. Having creatures to put onto the board early and consistently as the game progresses will ensure that you always have something to dump counters onto.
Lastly, creatures with evasion like flying or other abilities like trample are even better than usual with decks like this since they'll give you more bang for your buck for your counters. Some of the MVL cards to be on the look for if you're building this deck are Anafenza, Kin-Tree Spirit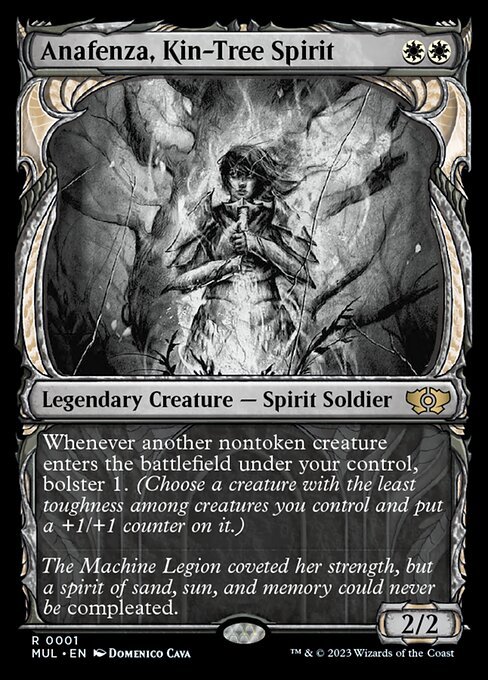 and Lathhiel, the Bounteous Dawn.
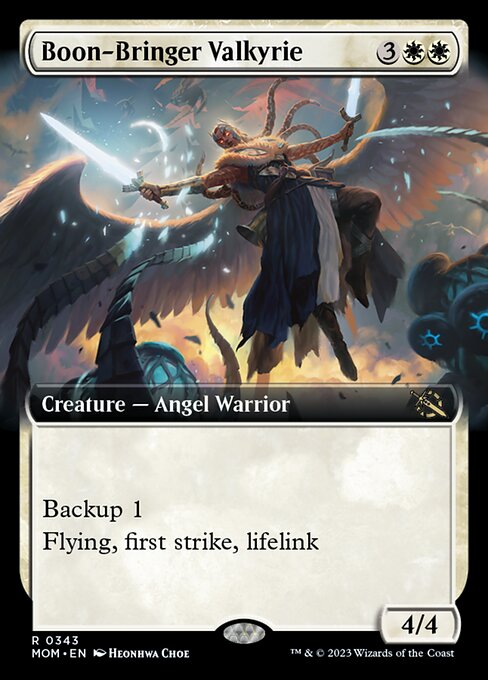
Boros (Red, White) - Backup
Sign-Post Uncommons


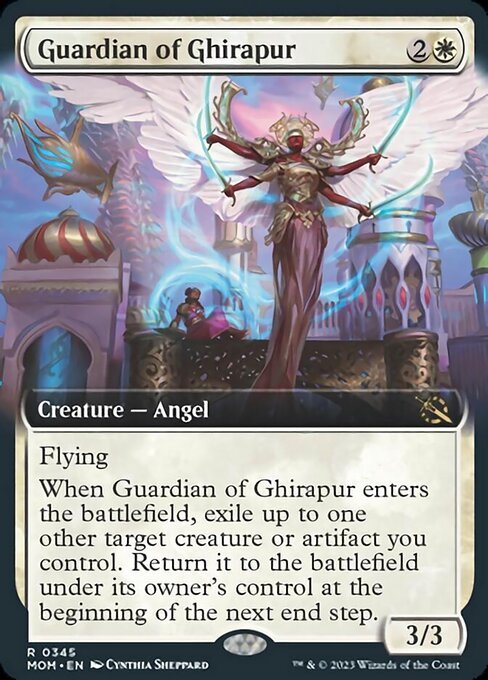
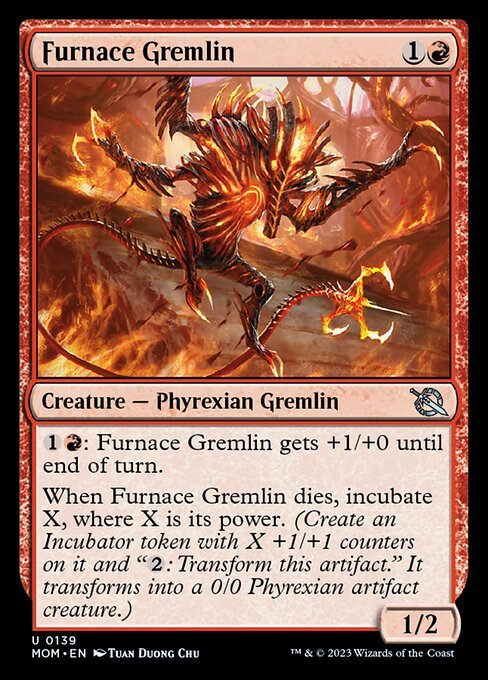
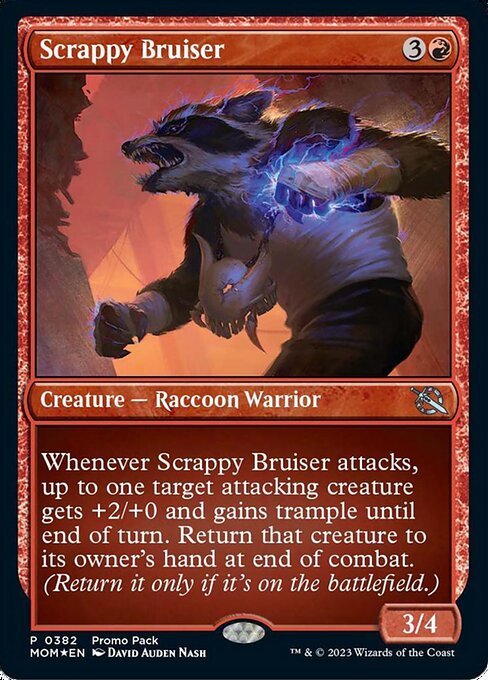
The backup mechanic lands squarely in Boros colors and cares about two things - Putting +1/+1 counters on your creatures and allowing them to share abilities. There are a few spells that can blink your creatures too which is useful given that backup triggers when your creatures enter the battlefield. If you can manage to blink them, you'll get the +1/+1 counters, and whatever ability sharing may transpire again. Here is a look at the payoffs and key cards for Boros Backup.
- Boon-Bringer Valkyrie
- Dusk Legion Duelist
- Guardian of Ghirapur
- Mirror-Shield Hoplite
- Furnace Gremlin
- Scrappy Bruiser
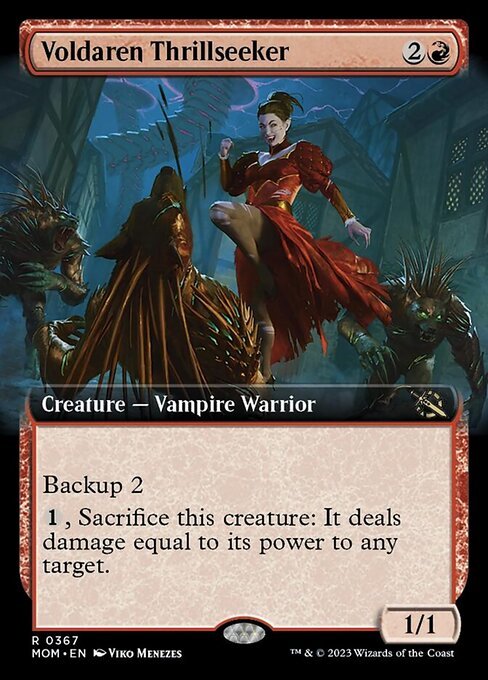
- Voldaren Thrillseeker
Play Tips
This is probably the most aggressive of the MOM archetypes and you'll want to play/build it accordingly. Much like the Selesnya counters archetype from above you'll want to make sure you play enough creatures and you'll want to be as constant as possible with the curve. Playing early-game creatures will not only pressure your opponents but will make sure you have something to put backup counters onto as you move into the late game.
You May Also Like: Jund Battles: Insane Value In March of The Machine Standard
Also playing with a high number of creatures means that the deck can make great use of the convoke cards (which I haven't talked about yet) in the set. So, keep that in mind when drafting or looking through your sealed card pool.
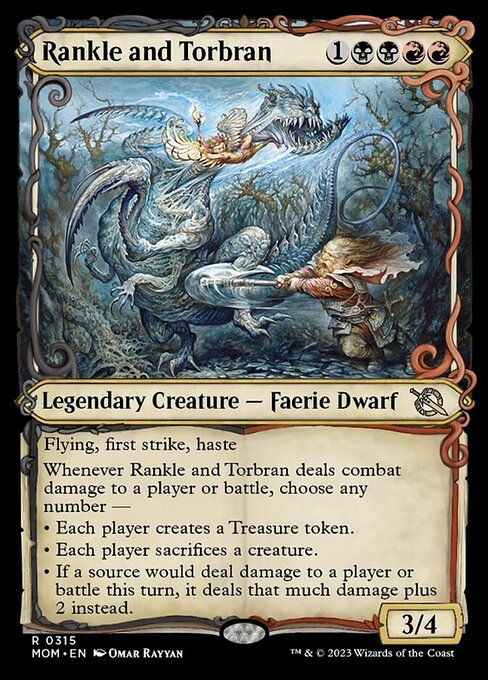
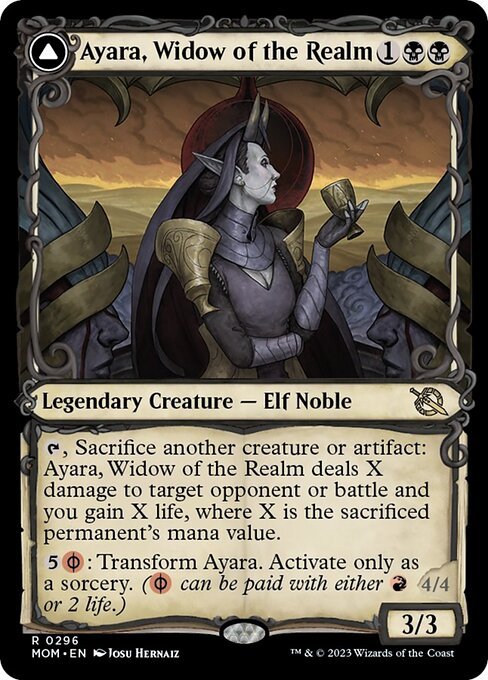
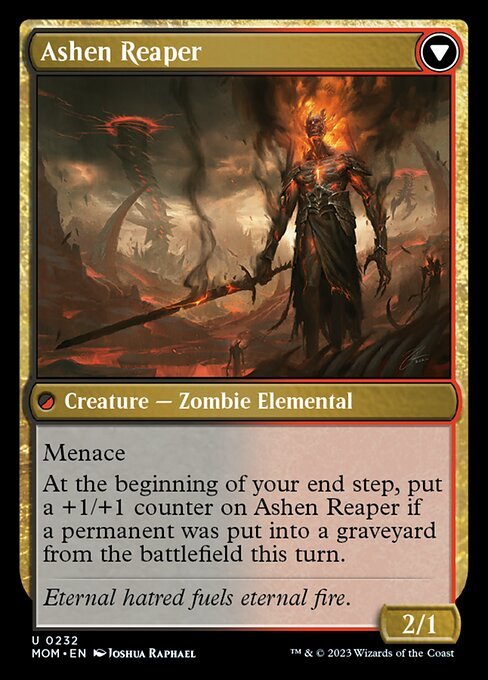
Rakdos (Black, Red) - Sacrifice
Sign-Post Uncommons


Ah, aristocrats. This is a pretty common limited archetype for the Rakdos colors, which revolves around sacrificing your creatures (or other permanents) to generate value from their deaths. In MOM many of the sacrifice outlets also generate value which is nice. Sometimes you'll sac a creature to draw a card and other times you'll sac something to incubate. Whatever the value may be, you want creatures, ways to sacrifice them, and payoffs for things dying. Here are the cards that fill these roles.
- Compleated Huntmaster
- Scorn-Blade Berserker
- Stormclaw Rager
- Voldaren Thrillseeker
- Rankle and Torbran
- Ayara, Widow of the Realm // Ayara, Furnace Queen
- Invasion of Azgol // Ashen Reaper
Play Tips
As mentioned above, aristocrats need three things to function well - You need cheap, insignificant things to sacrifice (sacrifice fodder), ways to sacrifice them when you're ready (sacrifice outlets), and something that gives you something for sacrificing things (sacrifice payoffs). That said, some are more important than others.
Luckily, in this set, many of the sacrifice outlets (Compleated Huntmaster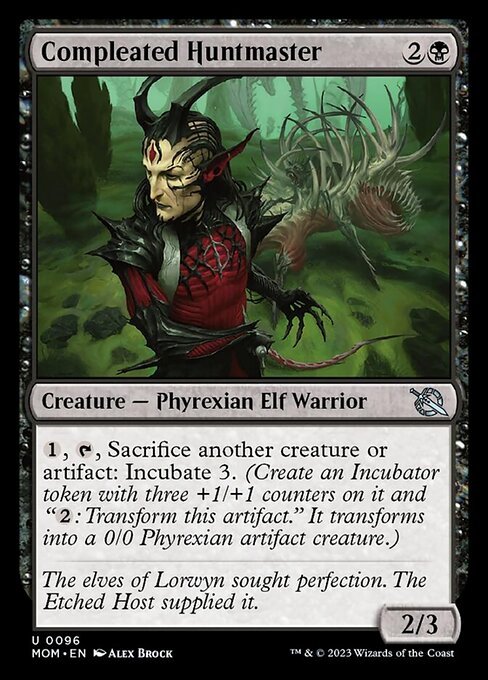 , Scorn-Blade Berserker
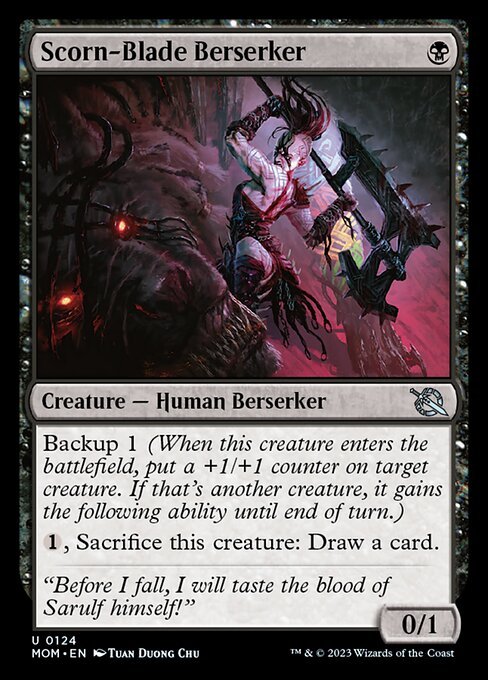 , Stormclaw Rager) fill two roles by allowing you to sac things and reward for doing so. That said, you'll want to focus on having creatures to sacrifice and some big enough threats to help close out the game.
Much of the value you'll be generating from your creatures dying is just that, extra value. In other words, simply having creatures die probably won't win you the game on its own even with the payoffs. Therefore, you'll have to make sure you have enough finishers to close out games as well as balance the ratios mentioned above.
Azorius (Blue, White) - Knight Tribal
Sign-Post Uncommons


Knights don't quite have as much support as some of the other archetypes do but it does have a few things going for it. First off, it's streamlined. Knights know what they care about and the cards that contribute to it are pretty focused. Secondly, the deck manages to be disruptive to opposing strategies while simultaneously being aggressive. Here are some examples of what I mean. Lastly, many of the good cards for the deck come at low rarities which means getting multiple copies isn't too hard.
- Protocol Knight
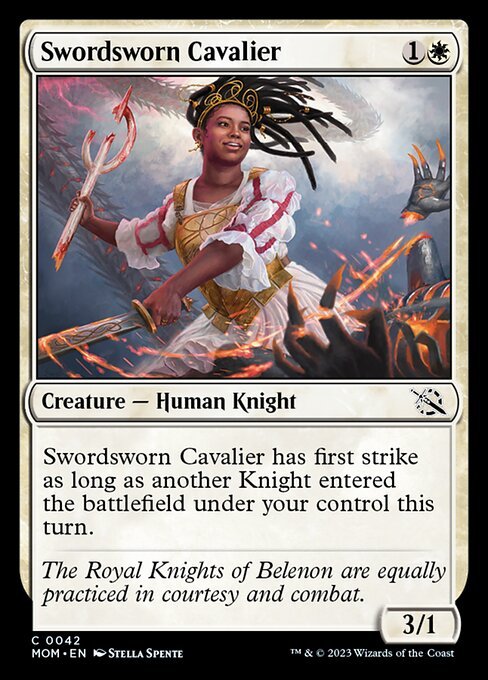
- Swordsworn Cavalier
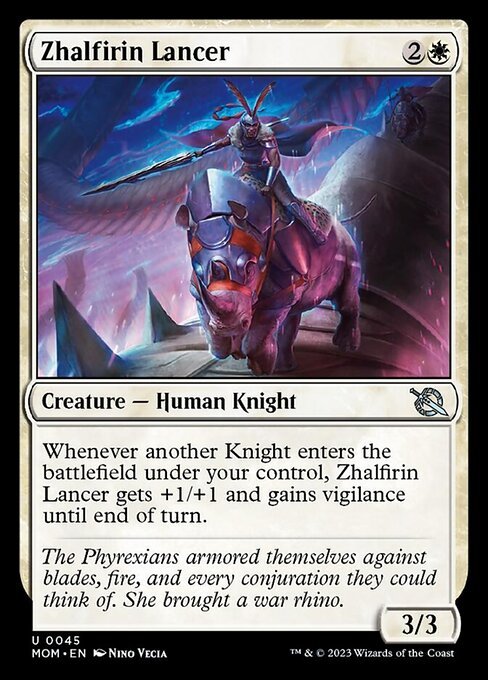
- Zhalfirin Lancer
- Invasion of New Phyrexia // Teferi Akosa of Zhalfir

Play Tips
As you can see from the list above, the list of support cards is short compared to many of the other archetypes. However, there are a few caveats. As I mentioned, almost all of these cards are common and uncommon. Therefore, it won't be hard to land multiple copies of these cards. Furthermore, most of the knight cards don't have much overlap with other builds. This means that if you're drafting these cards aren't likely to get coincidently taken.
A word of advice if you find yourself building knights - Embrace the tempo role. Many of the knights can tap down opposing creatures, which can greatly swing the tempo of a match in your favor. You can further lean into this by picking up a few efficient counterspells and bounce spells for your deck.
Izzet (Blue, Red) - Convoke/Spells
Sign-Post Uncommon

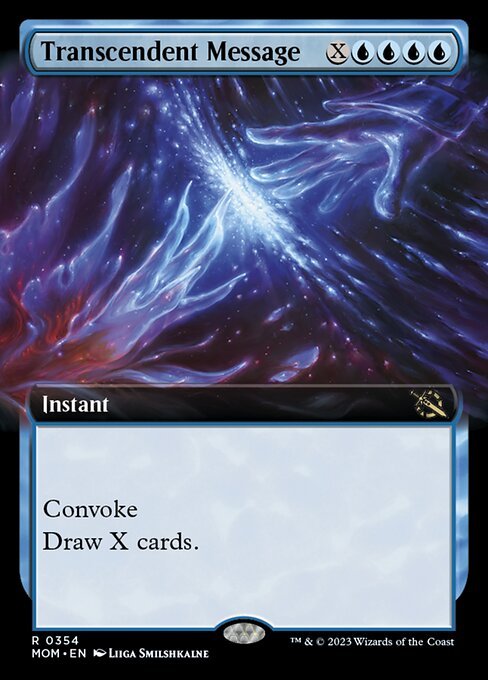
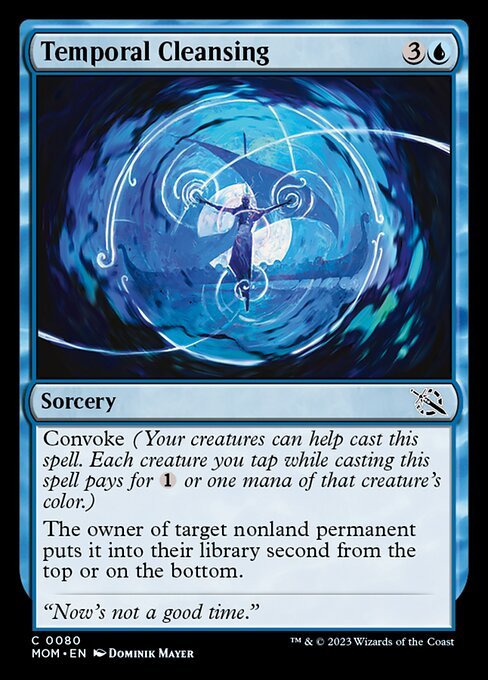
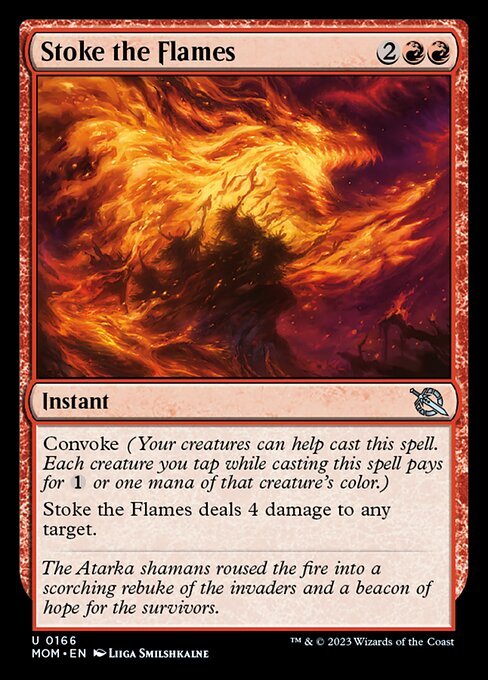
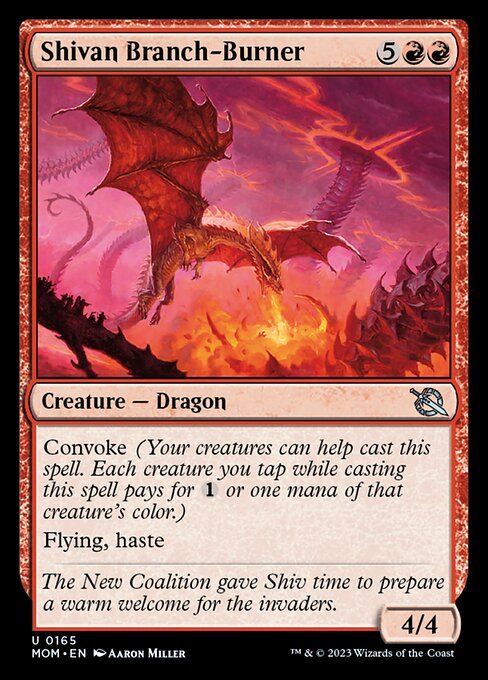
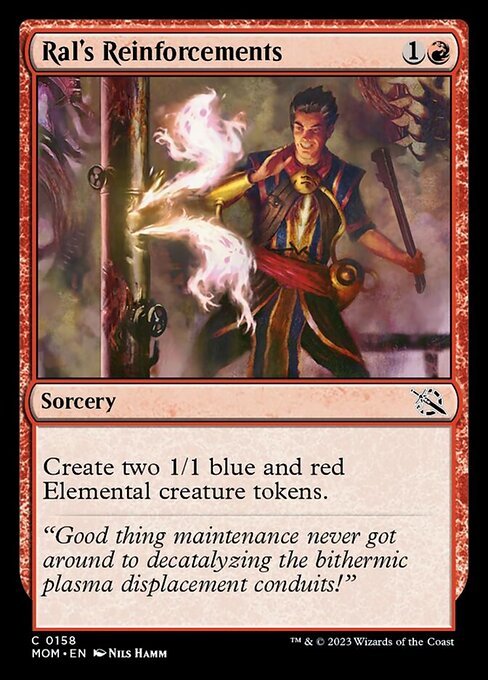
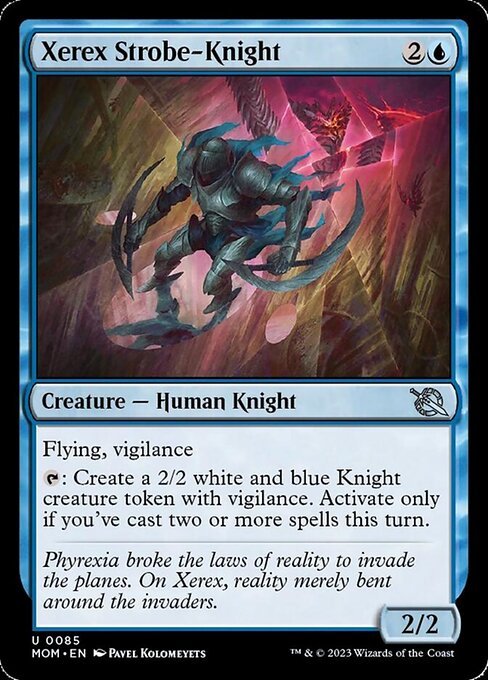
Most of the time Izzet gets some variation of "spellslinging" as its limited archetype and while it's still somewhat present the color combination is more invested in convoke for this set which is cool. There are two components to the strategy - Cards with convoke and things that produce multiple bodies to power them out. Here is a look at some of the good cards for either category.
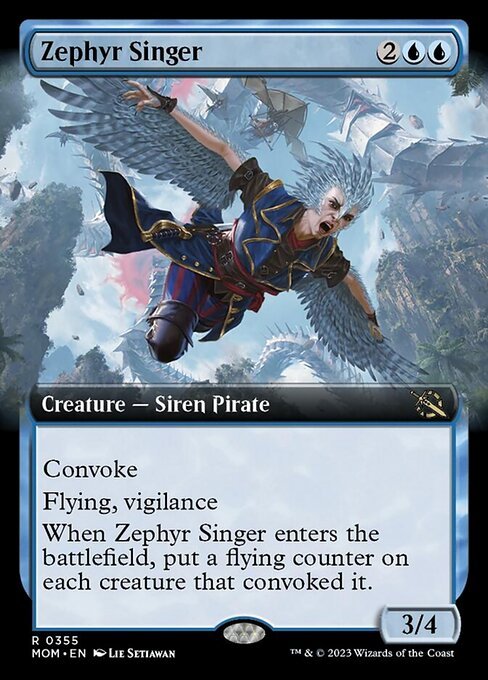
- Zephyr Singer
- Transcendent Message
- Temporal Cleansing
- Stoke the Flames
- Shivan Branch-Burner
- Ral's Reinforcements
- Preening Champion
- Xerex Strobe-Knight

Play Tips
While you do have to manage your ratios a little bit, convoke is interesting in this department for a few reasons. First, you can pretty confidently pick up any convoke cards in U/R that you can get your hands on. Granted you will need creatures to convoke them out ahead of the curve but every creature you put on board can convoke any of your spells and can even convoke multiple spells if they stick on board.
This puts Izzet in a great spot. The ingredients for your recipe to succeed are few and they enable each other very well. Having said that limited games very often come down to the board state. So, be sure to think over the board state before tapping down your creatures to power out a spell.
Conclusion
There you have it my friends, the March of the Machine limited archetypes, how they play, and which cards enable them to do their thing. Overall, MOM has some very interesting possible builds. If you're looking to play a draft or sealed I hope this guide helps you decide what play style fits you best and what options you have available to you. Now, get out there and play some MTG!


