Standard - 60-70% Winrate - Saproling Death-Army
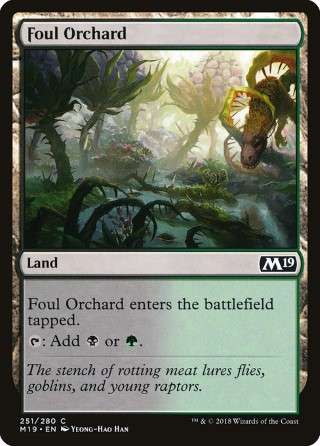
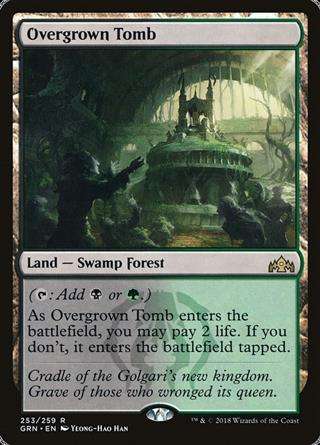
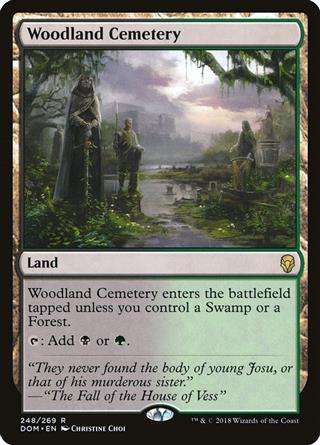
- Deck contains 18 invalid cards for this format: Costly Plunder (XLN), Tendershoot Dryad (RIX), Woodland Cemetery (DOM), Sporecrown Thallid (DOM), Slimefoot, the Stowaway (DOM), Spore Swarm (DOM), Saproling Migration (DOM), Foul Orchard (M19), Poison-Tip Archer (M19), Chaos Wand (M19), Overgrown Tomb (GRN), Vraska, Golgari Queen (GRN), Severed Strands (GRN), Vicious Rumors (GRN), Growing Rites of Itlimoc // Itlimoc, Cradle of the Sun (XLN), Journey to Eternity // Atzal, Cave of Eternity (RIX), The Immortal Sun (RIX), Impervious Greatwurm (GRN)
Main 70 cards (17 distinct)
| Instant, Sorcery, Enchantment, Artifact (22) | |||
|---|---|---|---|
| $0.27€0.150.03 | |||
| $0.25€0.110.03 | |||
| $0.15€0.100.03 | |||
| $0.20€0.150.03 | |||
| $0.38€0.170.02 | |||
| $0.25€0.160.03 | |||
| Creature (18) | |||
| $0.33€0.200.03 | |||
| $0.16€0.060.03 | |||
| $0.25€0.160.03 | |||
| $1.06€0.880.03 | |||
| $8.70€4.710.03 | |||
| Planeswalker (2) | |||
| $3.60€2.680.02 | |||
| Land (28) | |||
|
9
Swamp
|
$0.99€0.140.04 | ||
|
9
Forest
|
$1.12€0.160.03 | ||
| $0.24€0.120.03 | |||
| $11.77€10.530.15 | |||
| $1.60€1.110.02 | |||
Side 8 cards (4 distinct)
| $4.42€1.350.03 | |||
| $15.87€11.850.03 | |||
| $4.20€3.170.02 | |||
| $6.28€4.920.02 |
(Simplified, true algorithm in MTGA not revealed by Wizards yet)
COMPARE WITH AETHERHUB COLLECTION
Add at least 100 different cards to your collection and set it as your Compare Collection on the manage page to see what cards from this deck you are missing.
COMPARE WITH MTG ARENA COLLECTION
Compare your MTG Arena Collection with AetherHub decklists or any other decks found on the web with the MTGA Assistant extension. Syncing your account will automatically upload your collection so you can see what cards you are missing right here.
Learn more Download For Windows
This Deck had a win rate of 60% - 70% in MTG:A competitive so far, depending on my mana luck.
### How to win your games! A strategy guide to the Death-Army:
It actually has three winning conditions. Which is why I fu**ing love this Deck so much!
First winning condition - Aggro, Minions:
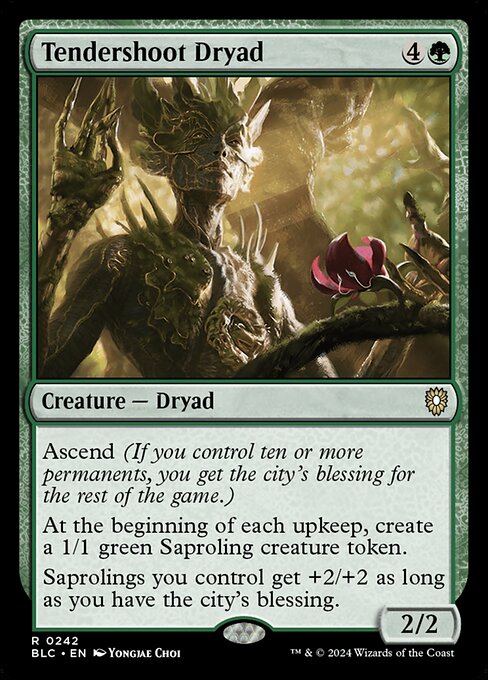
You win by overrunning the opponent with a LOT of 1/1 Saproling s.
s.
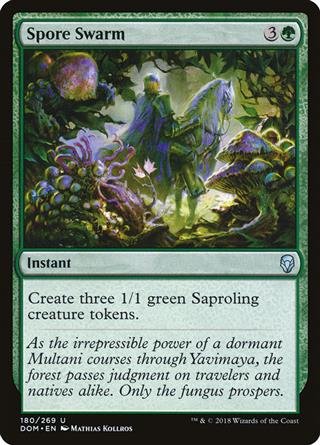
For that you've got Saproling Migration , Spore Swarm
 , Sporecrown Thallid
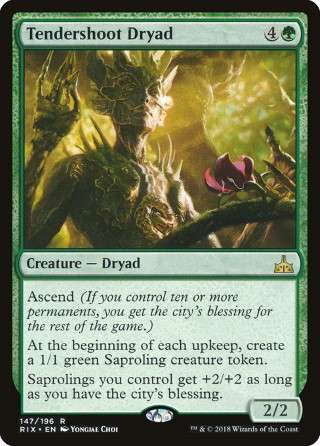
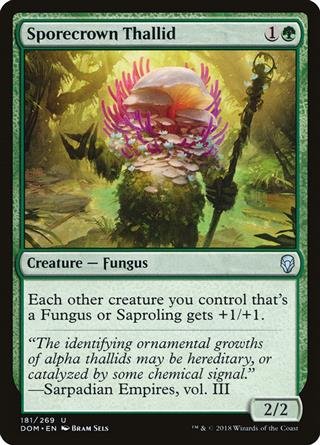 and Tendershoot Dryad
Second winning condition - Deadly, Discard, Sacrifice:
You win by strategically sacrificing all your small creatures, to weaken the opponent's board as much as you can and deal as much damage as you can while doing so.
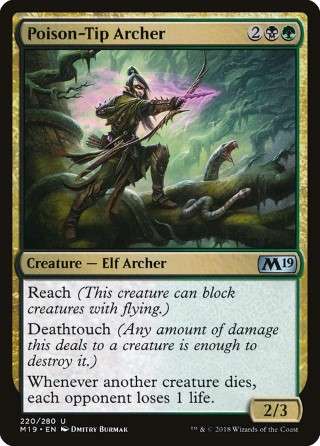
If you've got Slimefoot, the Stowaway and Poison-Tip Archer
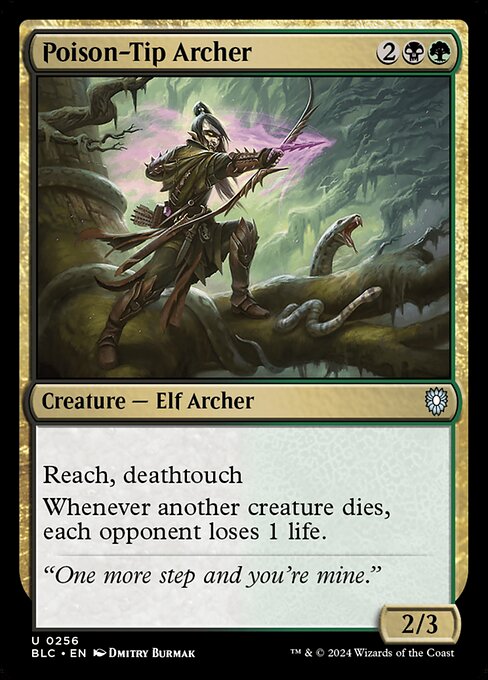 on hand, you probably wanna go for that route.
You'll also have a lot of fun with Costly Plunder , Severed Strands
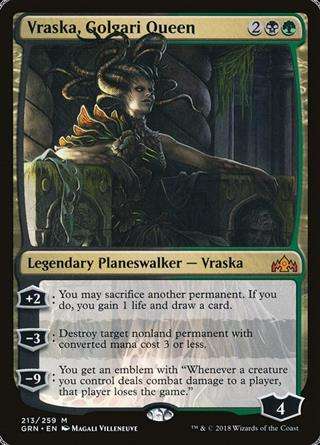
 and Vraska, Golgari Queen
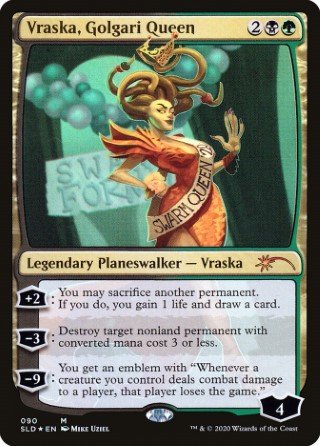 , as they allow you to sacrifice your creatures if the enemy just won't block them to death.
This is also the reason why I chose to put 4 x Deathbloom Thallid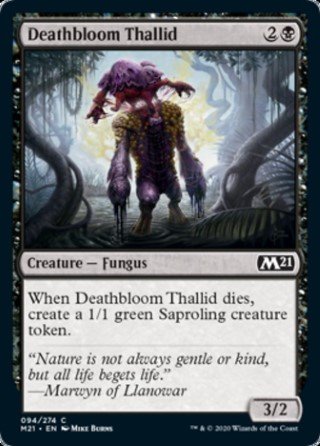 in the deck, instead of Yavimaya Sapherd
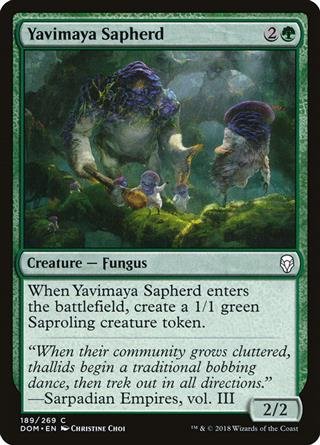 , since you got even more reasons to sacrifice your creatures then.
(If that happens, just let your creatures do damage to the opponent and sacrifice them afterwards. Double the fun!)
Third winning condition - Discard, Cardkeeper, Play with your opponents cards:
You drain the opponent from as much of his cards (mainly instants/sorceries) and use his cards against him.
(Especially effective against red)
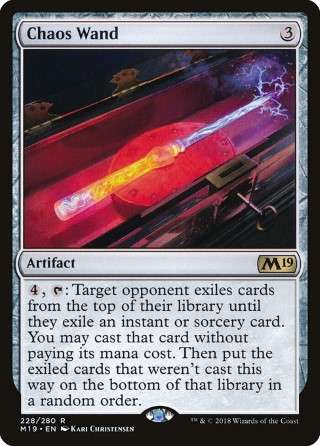
If you've got Chaos Wand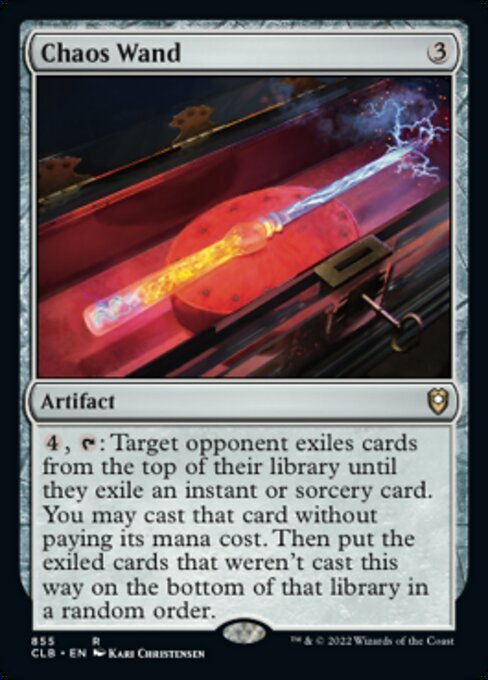 in your hand at the beginning of the game. You probably want to go down this road.
The first two rounds you play whatever you can, most likely you'll be playing Saproling Migration to get two 1/1 creatures, with which you'll run through each round, dealing not much, but enough damage.
In the third, you play Chaos Wand no matter what and go for its ability from the fourth round on.
Very helpful for this route, is Vicious Rumors , as you drain the enemy of 2 cards and 1 life for just one mana.
### General strategy information:
You can 80% of the time start with just 2 mana in your hand, as you get more soon enough. The perfect starting Hand contains between 2-4 Mana and Vicious Rumors at least once; also look out for Saproling Migration
 . If you don't have any of those two cards in hand but you are within the 2-4 Mana range, do not instantly go for a mulligan, it is still very likely to have a good start!
Do not fear to sacrifice your minions, if you can take a bigger creature with them. But do not blindly sacrifice them either, as they might be much stronger in a round afterwards, and then you might want to take 7 damage just to have 6 4/4 creatures instead of just 2 of them.
In addition to that, there is no most/least important card in this deck, which makes it even more worth playing.
### Sideboard:
As said below, Vraska, Golgari Queen is not important at all, and if you feel like it, you may certainly switch both of her with Impervious Greatwurm
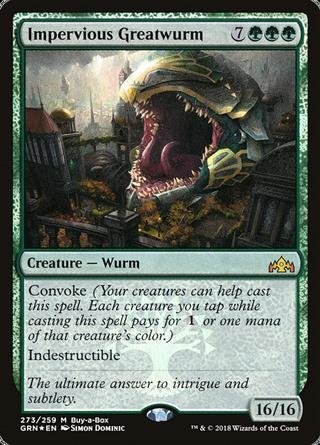 and/or The Immortal Sun
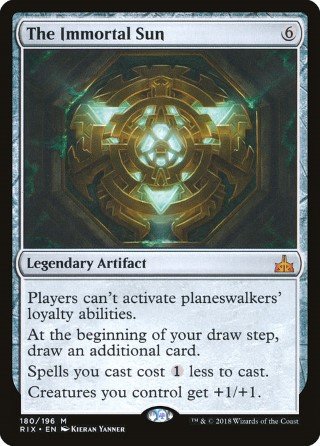 as you'd like.
Also, it wouldn't hurt too much if you'd think to switch one or two Tendershoot Dryad s for those cards. Since they are only 2/2 creatures, they might get destroyed or removed quickly, depending on the opponent you play against.
Growing Rites of Itlimoc // Itlimoc, Cradle of the Sun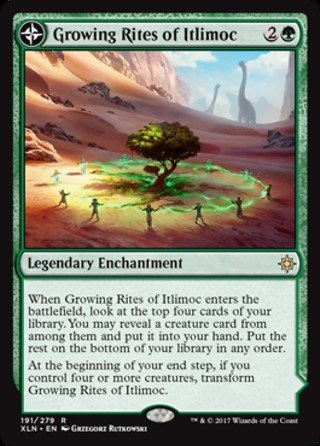 should be self-explanatory, since this is mainly a token deck. I don't have that card yet, so I don't know how much of a difference it would actually make.
Journey to Eternity // Atzal, Cave of Eternity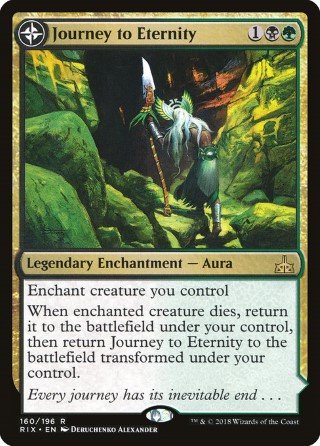 may be best used on either Tendershoot Dryad
 or [Impervious Greatwurm]], as the creature comes back when it dies. Also, you get a nice land with a graveyard removal ability, which can win you the late game.
One last hint: Vraska, Golgari Queen is not at all a winning condition by herself, as she will be attacked by the opponents' creatures for sure. Let it happen, and if you can spare a creature or two, then block enough so she won't die. But do not sacrifice all of your creatures for her. She is just a nice to have card draw effect. I was never able to and never intended to get her ultimate ability.
But, theoretically, her effect would make for a fourth winning condition.
Have fun playing! ;)
Latest Articles
20.Jan
Login to comment
3 comments
Created: 19 Oct 2018
6488 168 3
| 22 | 14 | 14 | 2 | 0 |
|---|---|---|---|---|
| 0 | 0 | 4 | 4 | 0 |
| Symbols | Percentage | Lands | |
|---|---|---|---|
| 24 | 50.00 | 14 | |
| 24 | 50.00 | 14 | |
| Average Converted Mana Cost: 2.86 | |||
| Recommended Lands: 30 | |||

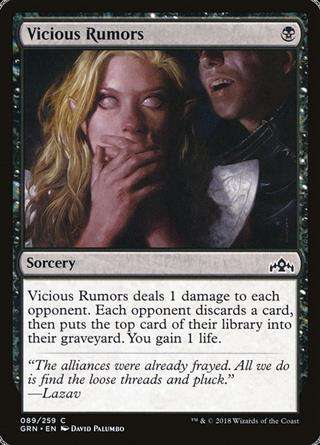
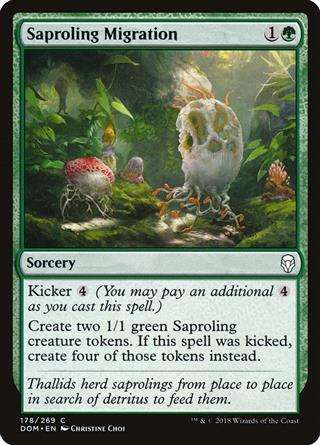

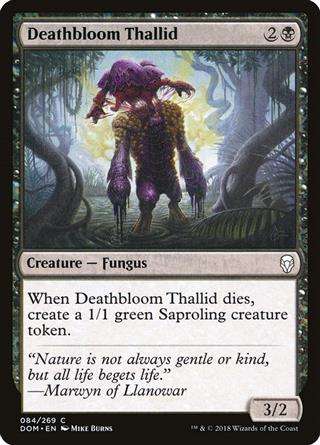
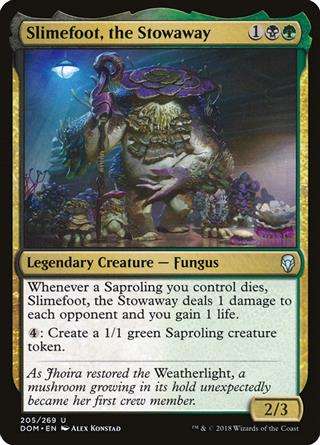




Also I find this deck to be very slow to start, as there is nothing to play on turn 1 or even 2 besides Vicious Rumors, which doesn't really do anything in the beginning of the game, and Saproling Migration.
It was losing to a lot of faster decks. I was basically forced to add 4 Llanowar Elves to speed things up.
Also Ritual of Soot was helpful for me - if you have an Poison-Tip Archer out, casting Ritual of Soot is often instant game over for the enemy.