
How To Draft Better - Five Tips To Improve Your MTG Draft Skills

Draft is a format that requires an extensive skill set to master. You have all of the usual gameplay strategies and tactics to worry about. As well as advanced deck-building capabilities, as your deck one card at a time out of a booster pack. You'll, of course, need to pick up on the signals as to what other players are picking to be sure you'll have access to the cards you need later on. Draft is one of the hardest formats to excel at, and I'm here to help. Today, I'll give five tips for improving your MTG draft skills.
I'll cover some general tips, the things mentioned above, and more. Including how to prioritize picks, pick up on signals, and all the nuances of a proper mana curve and land. So, without further ado, let's jump into the guide and get you in tip-top draft shape for your next limited event.

Five Tips To Improve At Draft In Magic: The Gathering
Some are more technical than others, but they're all essential in my experience. We'll start with some that happen long before you ever sit down at the table and more into specific concepts that depend on the deck you're drafting.

1. Know the Set And Archetypes
This may not be something you want to do, but it's something you need to do if you're going to crush your next draft. You don't have to be familiar with every card in the set (it wouldn't hurt to give them all a once over), but knowing the draft archetypes, the quality removal spells and interaction, and the biggest bombs is a must. The Aetherhub Draft Sensei can be a great tool.
Each set usually has 10 built-in archetypes, one for each two-color pair combination. Knowing this info goes a long way in helping you know what builds could be open to you, what others may draft, and what your potential answers to their biggest threats are. It will also make you much more comfortable and confident in your skills and make you a faster drafter because you'll recognize the good & bad at a glance.
You May Also Like: Wilds of Eldraine Draft Archetypes Are Based On Fairy Tales
If you don't have time to research beforehand, look at the two-color, uncommon creatures while drafting to get some ideas. These are called "signpost uncommons," and can show how that color pair works with the set and what they want to do. Here are some examples from the upcoming Wilds of Eldraine:
![]()


You can/should also practice drafting the set online. There is no secret sauce that can replace good old-fashioned research and practice.
2. Stay Open In The Early Picks
Aim for flexible cards that can fit into multiple archetypes during the first few picks. This keeps your options open and prevents you from prematurely committing to a specific strategy. As the draft progresses, narrow your focus based on what presents itself. To be clear, I don't mean it's wrong to take particular cards if they're bombs, but in general, you don't want to be 100% locked into a strategy right off the rip.


For example, let's say you have an Agatha of the Vile Cauldron or Obyra, Dreaming Duelist in your first pack. They're not bad cards, but both would lock you into a particular strategy and color combination. While something like Solitary Sanctuary or Food Coma
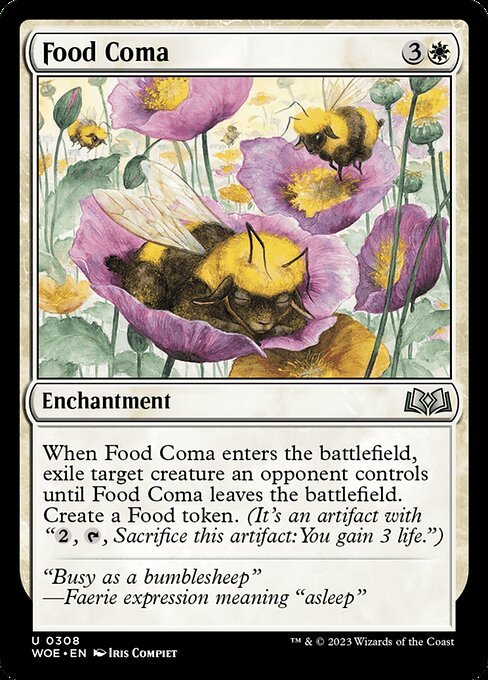 (while less flashy) can go a B/W or G/W enchantment build, a W/U deck that cares about tapping down creatures, or a W/R deck that could use the +1/+1 counters.
Remembering to keep your options early at the start of a draft will make your life much easier come the later packs. And you'll find you have the tools or the foundation to build whichever archetype or strategy presents itself as the strongest.
3. Remember The B.R.E.A.D Acronym
As mentioned, rare and mythic cards can be exciting or flashy but dictate your picks. Focus on the overall power and synergy of the cards. A well-rounded deck with strong commons and uncommons can often outperform a deck centered around a few random rares. But games often come down to who lands and keeps the bigger bomb on board first, so you'll need some raw power to close games. The BREAD acronym stands for Bombs, Removal, Evasion, Aggro, & Dirt, prioritizing what type of cards you want to pick up from each pack you touch.
Here is how it breaks down:
Bombs


Bombs are cards with significant power that will likely win you the game if/win they resolve. In other words, these are your finishers. And they should be what you take, almost above all else. If you've got a bomb in your pack that fits your colors, you'll rarely pass it over for something else.
Removal


Other drafters will also be picking up bombs, and you'll need to answer them. Drafts are often decided by who has the bigger, better creatures on board for the longest, and having an adequate amount of quality removal will shift things in your favor. That said, removal spells are your second priority, behind only finishers.
Evasion


As mentioned, everything comes down to the board state - Who has more creatures, stronger creatures, and access to better attacks and blocks. And creatures with evasion are worth their weight in gold because they skew things in your favor. Evasion is anything that makes them better at getting around enemy creatures and landing for damage.
Even cards that may not look stellar can be crucial pick-ups if they have evasion. Things like flying, menace, and trample are all perfect examples of things that can swing a stalemate in your favor and put you ahead, so keep your eye out for them.
Aggro


The general idea is that if a pack doesn't have much in the way of anything mentioned above, take the most aggressive card. Something that can quickly pressure an opponent (even without much other strategy) and wear down their life total is good. However, I want to give you a pro tip that helps me out - Something of a sub-consideration for this category. And that's to use this section to fill in holes in your curve.
To elaborate, sticking something on the board as often as possible will increase your overall aggro ability, even if the creatures aren't anything special in the power & toughness department. So, for example, if you lack three mana creatures, try and pick one up if there's nothing else. That way, the chances you'll have something to contribute to your board come turn three go up.
Another important thing I want to mention is to avoid taking things that don't contribute to the board. In my experience, too many cards like Soul-Guide Lantern , Candy Trail
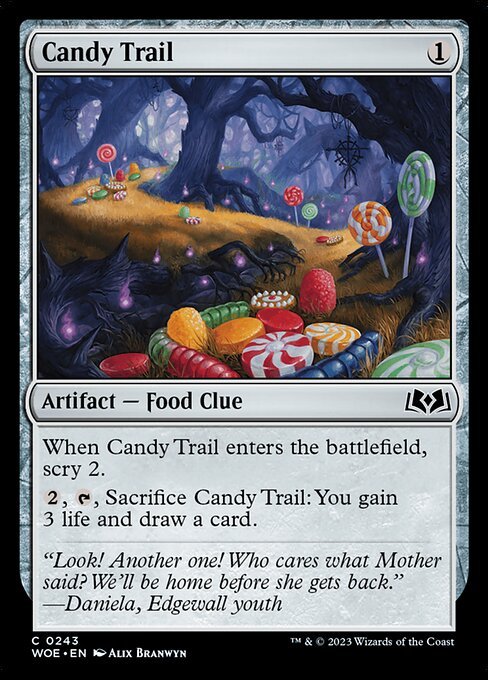 , and Hopeless Nightmare
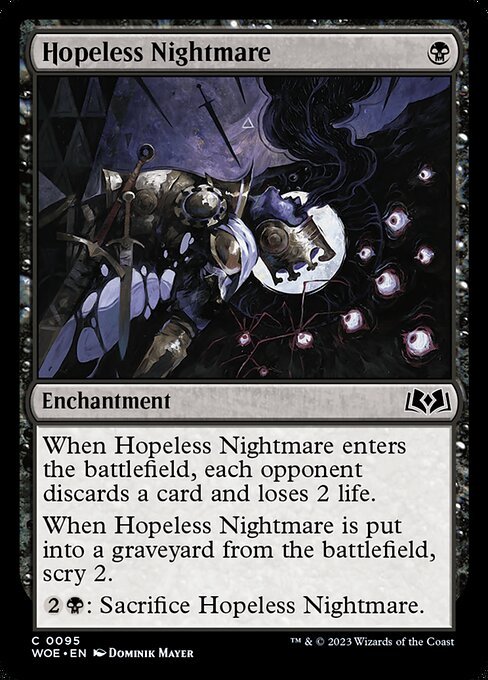 can leave you feeling like you more-or-less skipped your turn. If it's not directly related to your strategy, ensure it falls into one of these four categories.
Dirt
You get the point: dirt, duds, "don't touch," whatever you want to call them. Duds are cards that are generally not worth playing either because their mana cost is too high for their benefits; they fall outside your strategy or their odd cards with no support in the set. Whatever the reason, you'll not be picking these things under any circumstances where you have a choice.
4. Pay Attention to Signals
Signals are the breadcrumbs of info left behind by the drafters before you. Paying attention to what cards "wheel" around the table and which cards are passed to you can indicate which colors or archetypes are being passed up by your opponents. By observing these signals, you can gain valuable insights into the open colors or strategies and adjust your draft accordingly.
The concept of signals in drafts is a bit complex and daunting, so I'll keep it simple. At its core, signaling can be understood like this: You want to be drafting something other than what the person passing you cards is. If the person handing you cards is drafting blue, they'll pick the best of them before you get to, making your life hard.
You May Also Like: MTG Commander Politics - A Guide To Diplomacy At The Table
The process begins with the first few picks. During this time, it's wise to opt for flexible cards that don't lock you into a specific color combination or archetype. As the draft progresses, you may notice strong cards in specific colors consistently being passed to you; this might indicate that those colors are open and be a cue to pivot your strategy and lean into those colors.
You can adjust your strategy based on the cues. Perhaps the strongest example of a "signal" you could get is a powerful card being handed to you late in the draft. When this happens, that's a clear indication that the color is open to you.
Paying attention to signals allows you to balance your initial strategy and the draft's evolution. Identifying which colors and archetypes are open allows you to make informed decisions, increase the quality of your deck, and ultimately enhance your chances of success.
5. Curve and Mana Base Matters
Mana Curve


Tip five is to keep your mana curve and land base in mind. And worry not, I've got a few things (and specific numbers) to make this easy for for. Let's start with the mana curve. In short, this refers to how many spells you have at each mana cost. In general, you want to peak out around the three or four-mana mark and have fewer 1-2 and 5-6+ mana spells. If your curve is too low, your cards will be overpowered as the game progresses. If it's too high, you won't have anything to cast for several turns and fall behind.
That's the idea; you'll need to watch your curve as you draft. To do this, I sort my cards by mana cost as I draft, so as I pick, I can quickly count and make sure there are no glaring holes. That said, in Limited, go with a slightly higher curve because you want a high threat density. Even the best two drops will be outpowered by an opposing eight drop.
It's also very important to consider the turn you'll actually want to cast a card. For example, you'll never cast Not Dead After All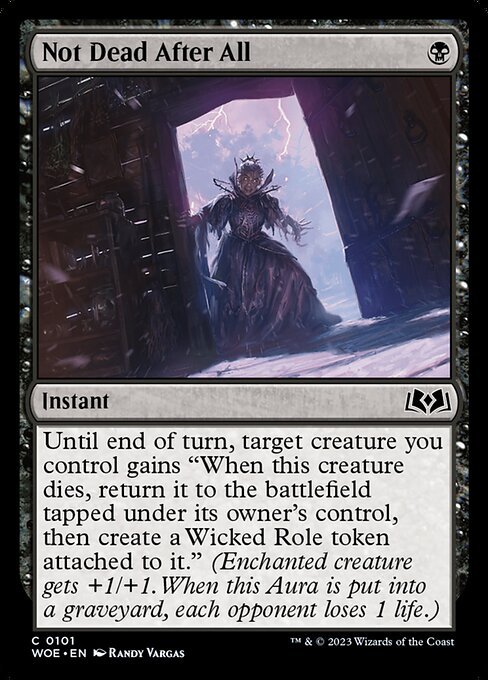 on your first turn of the game, because there wouldn't be a creature to target it. So, this doesn't really count as a "turn-one" play. It's also worth mentioning that adventure cards from the upcoming set count as two spots on the curve.
Mana Base


This is the big one, ladies and gents. You can draft all the bombs in the set, and you'll lose if you get mana screwed and can't cast them. The first step in this portion is knowing the set - Are their dual lands for certain color combinations? Are their mana dorks or other color-fixing cards? You'll want to know these things.
Now for some general numbers. You'll usually play 16 or 17 lands. I know, that means you only get like 23 cards to play, but you'll regret it if you skimp on lands, so don't. You'll need no less than 10 sources for each primary color and six for each secondary color. If you build a primarily red deck and splash some green, the math could be simple - 10-11 mountains and 6-7 forests. But you'll also have to consider where your secondary lands on the curve.
You may need more green if you hope to cast Agatha of the Vile Cauldron on turn two. On the other hand, you can get away with fewer if you're splashing for a Hamlet Glutton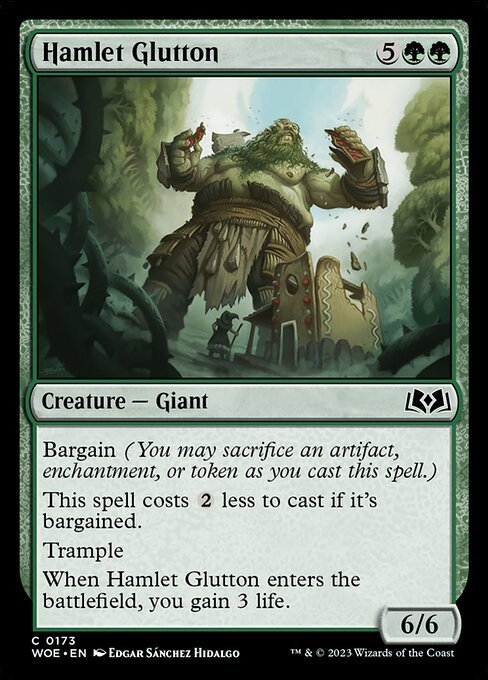 because you'll have more time to draw a green source. Cards like Crystal Grotto
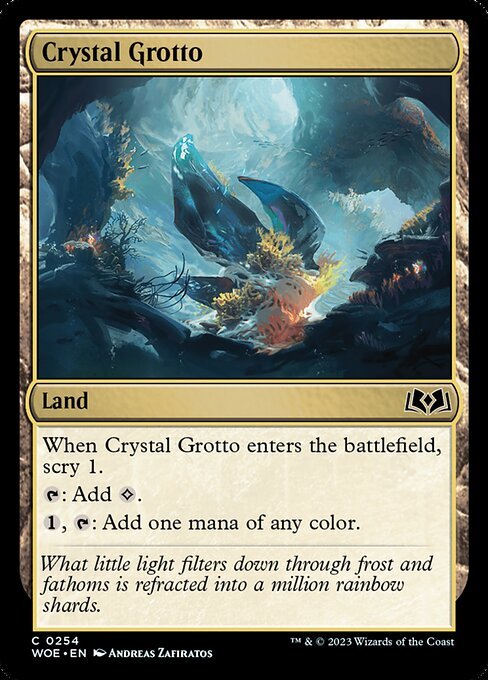 , Prophetic Prism, Scarecrow Guide
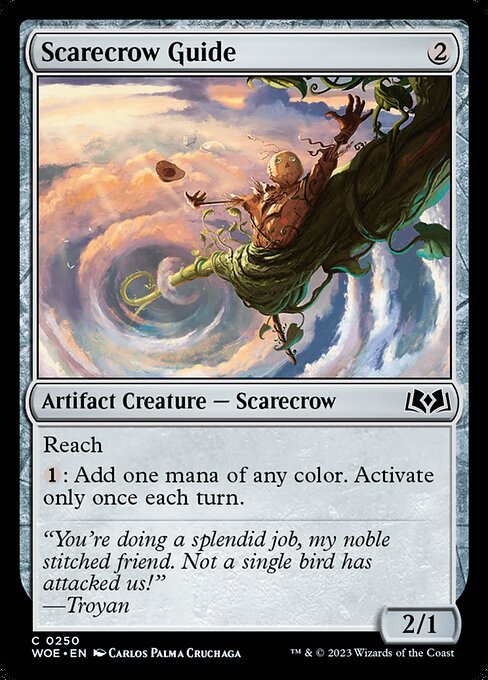 , and Evolving Wilds
 can be counted as one of each color you need.
Conclusion
Draft is a fantastic, rewarding format, but it's also skill-intensive and sometimes overwhelming. That said, if you want to improve at draft in MTG, I hope you found my tips helpful. If you find them helpful the next time you draft, I'd love to hear how you did. And remember, you can't win them all, so be sure to have fun either way. Until next time, comment and let me know your favorite to draft. Mine's War of the Spark!


