
Arena Standard - Kaya Kombo
Combo
The aim is to establish a stable board that your 4+ threats will be able to tip into your favor.
Position and timing are key, look to starve your opponent's board of only their key threats and stalling with token blockers or rapidly digging through with clues/bloods to stack your graveyard. Beseech gets Sheoldred to further the stall and draw out big removal ahead of Kaya who will want to be in play any time there's a Token on the battlefield, a mainphase to use her ability and Graveyard target to either surveil for or execute the opponent with.
Early game - Focus on establishing board presence and filling out your mana to 7 ideally. This will turn on hard-casting for your most powerful late game threats or stack them straight into the graveyard for mid-late game cloning. You can't always count on your graveyard being the source of your power so be prepared to fight for every life point by keeping your token counts high and falling back on stablizers to buy time.You need to be holding resources for mid-late game so only play what you have to survive and what your opponent doesn't seem to be able to deal with. Trades early are not going to be common as Novice Inspector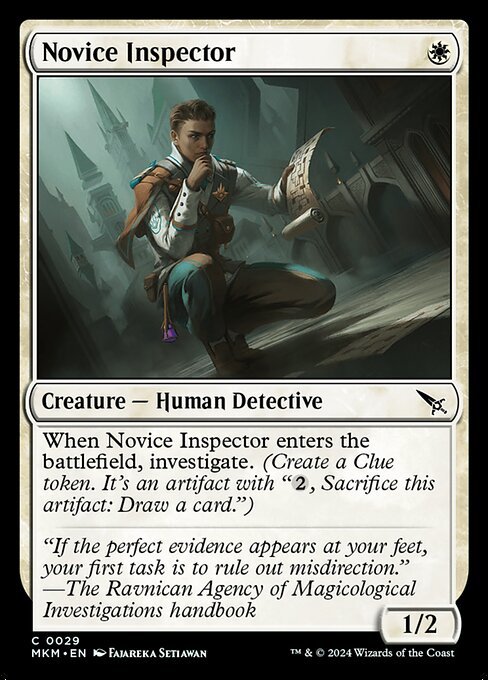 will be resigned to chump blocking at best after he's made his clue token and doesn't benefit from returning unless it's through [Illicit Masquerade] which has much better targets after mid-game has finished filtering through the cards you'll draw for the game.
Mid game - start looking for more surprise openings to sneak in Ghalta. By now you are aiming to have enough tokens for Kaya to make a dino eat their face and a clear target for removal to open a hole. Most midrange decks and Control oriented decks will be either clearing your early game efficiently or letting little pieces stick around for your use. Domain thinks Leyline Binding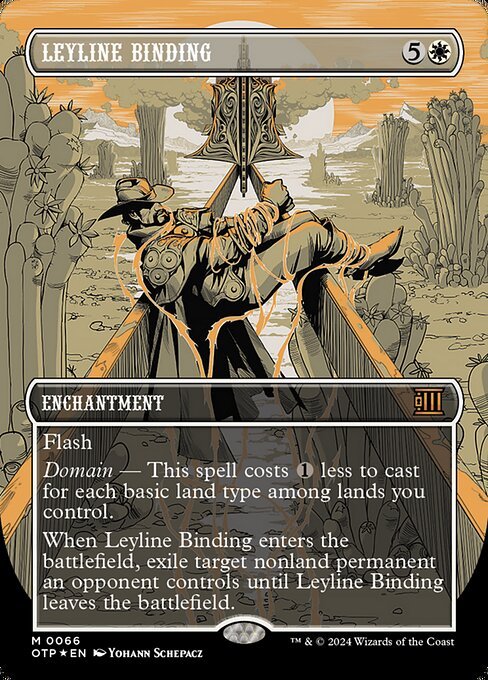 will save them but we have many ways to get our stuff back and activate their ETBs a second time. Additionally, their sorcery speed sweepers can't stop a rampaging clue-turned-dino if they don't suspect that as a means of attack. If you're feeling sturdy and like the game will drag on, I recommend saving opposing leyline bindings for targets with Big Kaya in late game as they will typically yield little Kayas or Sheoldreds PLUS your own chance to use the Leyline against them.
Late Game - This is the least stable side of the deck. You're either in a rock-solid board state and just waiting for a closer or desperately seeking the closer to inch out a win against an overcommitted opponent. You will need to keep your vulnerability to spending all your handfixing resources/interaction in the mid-game in mind before giving up too much interaction and this is typically when you start wishing you had more options to over-run an opponent. There are consisent engines for producing more board presence that should at least have you in a position to turn a tight game into a win off your ability to cycle through and whittle away. Disappointgly, in main-deck mode, all your win conditions are in the 4 mana range of power if you've fallen prey to instant speed removal stuffing all 3 Ghaltas earlier and can't find (or find use for) big Kaya to turn the tide.
Token Mode Sideboard - Combo decks in BO3 fall victim to the adaptability of an opponent's sideboard. After a succesful game 1 an opponent in BO3 is sure to adapt to what they will suppose is the primary operation of the deck: slam Ghalta into your face. This is where Mondrak comes in; because Kaya can bring him onto the field for doubling purposes there are late game scenarios when your "dealt with" Mondrak (removal meant for Ghalta or stuffed by Mondrak's activated ability [tokens galore for sacrifice]) creates a massive board off just a couple spells for 0 mana and Surveil 2. It only takes a single round of efficient creature token creation to edge a win after the way this deck's grueling early game becomes when cheap sweepers and board protection is brought in to respond to silly things like graveyard hate that will sit stale while Mondrak comes down without needing Kaya (though greatly improving her +1 when she is around). Timing battle cry attacks with huge boards will be key and using the board-wide protection spells to preserve an established one through a sweeper will be the pivotal moments to look for. Priorities for search spells should begin to favor protection for the late game swings over Kaya herself. This gear shift in strategy and play style should be enough to allow an edge in game 2. [Kaya, Geist Hunter] Becomes an attractive option for maximizing the effect of this mode for the deck.
Novice Inspector - Value for days, the clue is integral to Kaya's passive and may often be better left untouched until it can become a dinosaur later on, when the timing is right, to close a match. These are numerous enough to have a play turn 1 frequently and to allow for additional chances at a clue to target later on but, not overcommitted in case there isn't opportunity to extract the early-game value it provides.
Get Lost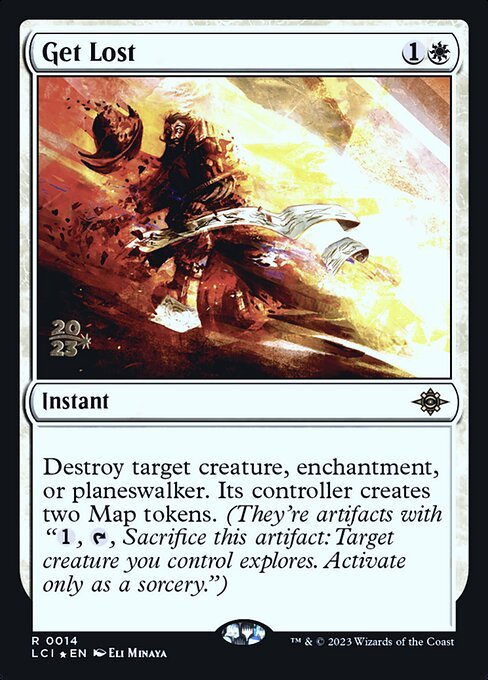 - Versatile removal that also has some small cases for use at self in order to enable larger Kaya payoffs in a pinch. Absolutely necessary for the domain match up and is typically best saved for critical targets in faster, high-pressure matches.
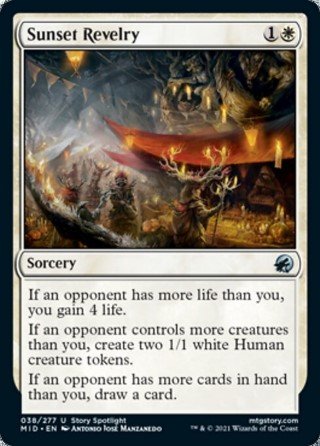
Sunset Revelry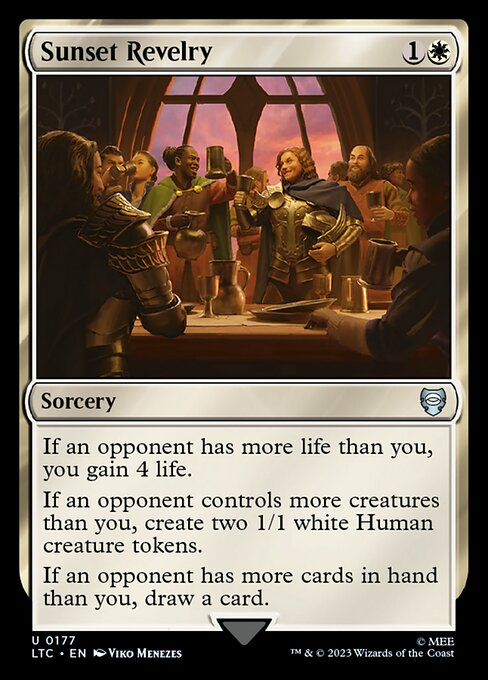 - provides stabilization, sideboard copies available for control match ups and when-on-the draw
Wedding Announcement // Wedding Festivity - Similar token development to Sunset Revelry (often getting 2 1/1s) but generally more aggressive and allows on-the-play vs aggressive games to eek out advantage that becomes too hard to push through. sideboard copy available to accentuate when needed.
Bitter Triumph - Downside of discarding a card allows for instant-speed graveyard stacking allowing for very heavy swings in power when used with appropriate timing. Can also server its roll as spot removal in a pinch when there are no good discard targets it is flexible enough to provide swings even when you have to accept the 3 damage for a planeswalker. Use removal wisely and with the end-goals in mind and treat health as a resource that you'll likely have too much of most games if you aren't prepared to pay the 3 at times.
Case of the Stashed Skeleton - Creates a token for Beseech which also activates both of Kayas' abilities in meaningful ways. Dark tutor after the skeleton has traded for a 2 toughness creature or 2 1 toughness creatures feels amazing at all times. Can also be beseeched itself if you need the creature token to squeeze in a bit more damage or server as a target for Kaya.
Vampire's Kiss - Extra damage, a little healing and 2 tokens to play with are just what this deck needs at such a bargain. The tokens are both able to get Ghalta into the graveyard and be a target for Kaya in the same turn, they also activate at instant speed and create opportunities to drop the dino or a deathtouching praetor in front of an attack pay off. Blood tokens are great, healing is gravy and the damage at the top might end up mattering when you're trying to line up a solid 12 trample for a KO later in the game.
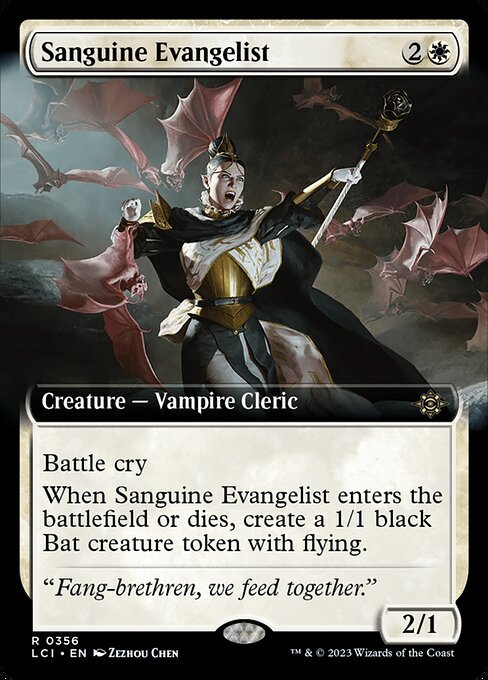
Sanguine Evangelist - Creates bats and not the worst target for Kaya to exile and copy from the graveyard given that battelcry will let the bets get to try for 4 damage potentially twice instead of just the first time it attacks. Another contentious card as it doesn't draw us closer to ending the game with Kaya as much as just providing some mid-game fuel and board presence when the early game hasn't quite gone to plan.
Sentinel of the Nameless City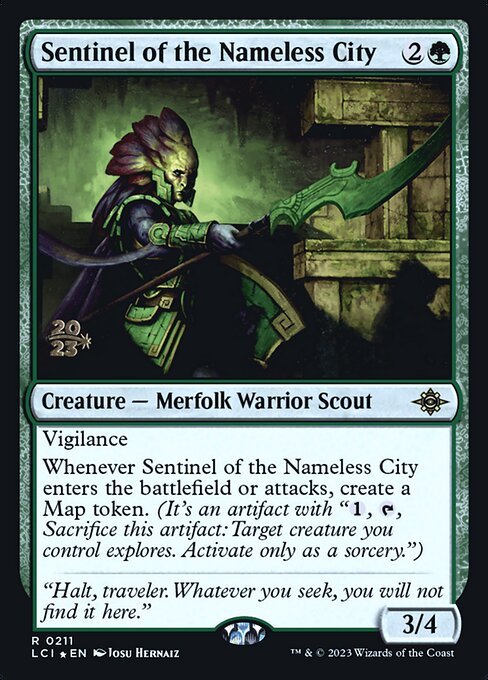 - When trying to find something to make out of Kaya on attack triggers, or abilities that occur for free at/before the beginning of endstep, are necessary because her clone targets existing tokens that shouldn't be summoning sick. The statline is just incredible on this thing and it's hard not to play it when green is involved and token targets are needed. Maps especially help this deck by rifling past lands or stacking the graveyard. Only keep cards on top that you intend to play immediately or discard for Bitter Triumph to swing the board to yourside for a KO. The +1/+1s from finding a nonland can mean the difference between a KO, with Ghalta later, and not so be prepared for this to draw removal on its own.
Illicit Masquerade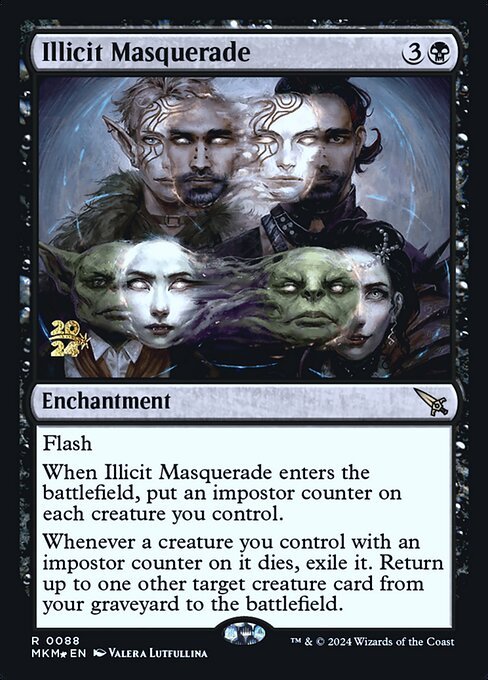 - Everything in this deck likes coming back to the battlefield and there are usually plenty of fodder around to flash this in after they've finished chump blocking for a decent surprise swing in board state.
Sheoldred the Apocalypse - Removal magnet and all-around stabilizing threat. Great target for beseech when Kaya isn't looking able to push the board state into winning. We draw plenty of cards throughout to make extra use of the lifegain side and can possibly ensure we benefit if she's gotten late enough. If she ends up in the graveyard, beeseech for illicit masquerade instead to bring her back permanently when the opponent thinks the cost is clear.
Beseech the Mirror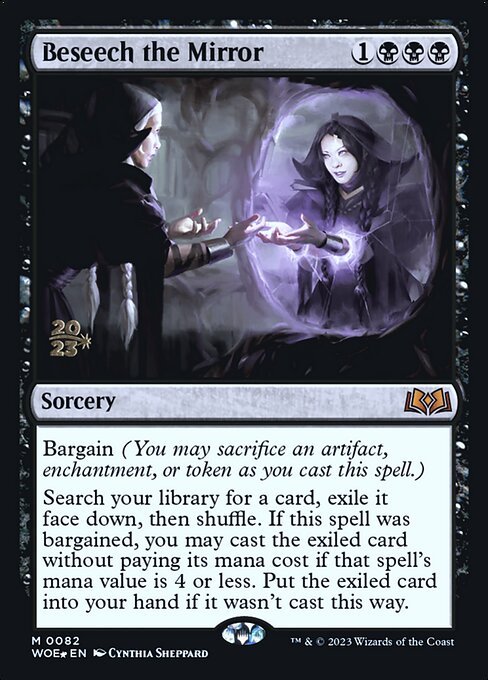 - We generate tokens to clog the board and to transform them into more fun things like Sheoldred and Kaya. Illicit Masquerade is a tertiary choice that makes sense when the graveyard is stacked and it's late enough your opponent is trying to seize initiative through your board of fodder. Sideboard action empohasizes this card's diversity and utility by enabling new targets when the opponent gets comfortable thinking Ghalta is your only way to close games.
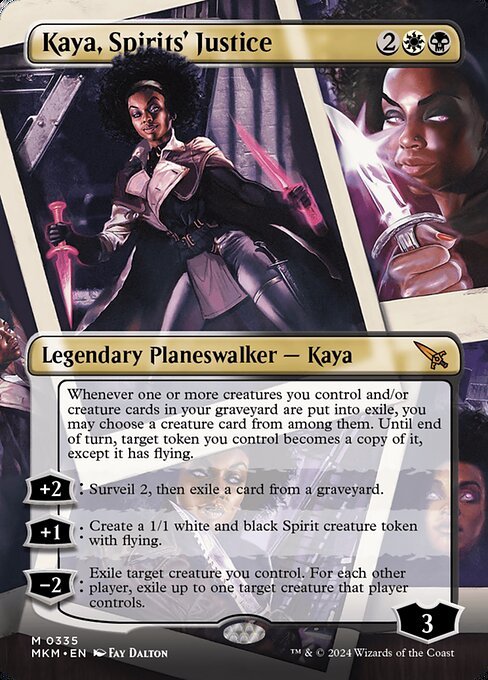
Kaya, Spirits' Justice - The shining star of the deck, the main goal with this build was to enable all facets of this new cards' abilities to shine as brightly as possible. +2 is great for both strengthening her position on the board and making her harder to remove while providing meaningful card selection and the ability to both stack the graveyard AND potentially launch a threat straight into the opponent provided your board is meaningfully filled with various tokens to target with her passive. +1 creates token creatures when there are no meaningful targets and there's need to keep her around a turn before trying to execute a combo, any planeswalker that can protect itself with a body and grow is worth considering even if it won't be the most used effect she can bring. -2 adds another layer of control for dealing with an immediate threat the turn she comes down, she'll still be able to user her more powerful +2 the next turn since this doesn't necessarily remove her from the battlefield immediately and getting to the turn after with her is usually what's best to properly combo off any-way. One thing to note about the passive is it's hard to find appropriate pay-offs that take advantage of only being around for the single turn she can clone a token. I've prioritized this effect as the last-strike for this deck and rely on surveil and discard cost in removal to enable a large pay-off but often times balancing the pay-off to the reaching a point a pay-off can happen limits the available options to the deck without it being an all or nothing game plan.
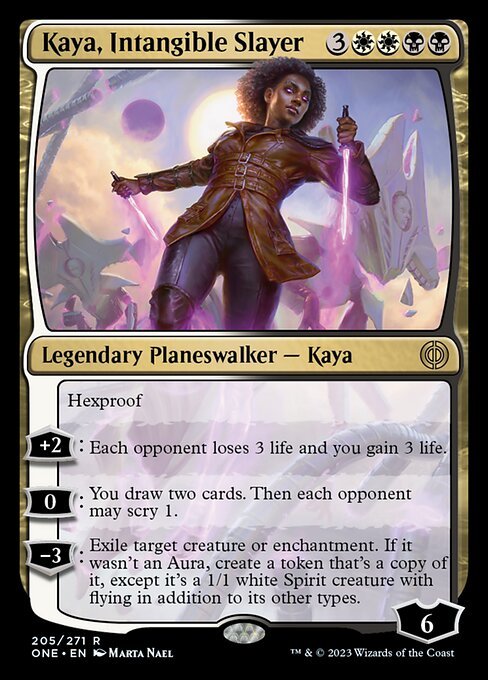
Kaya, Intagible Slayer - Late game bomb to finish sealing off the board in your favor and ensure there are no enchantments that you wouldn't also benefit from on your opponent's side. Flipping Leyline bindings to your own side and then freeing up a combo piece is very satisfying but she also helps make sure you haven't run completely dry or at least can dig for a closing piece 2 cards faster. Using the +2 only really matters when you've weather the storm of an aggro deck long enough that the extra 3 life gain pushes the scales your way to close out the match.
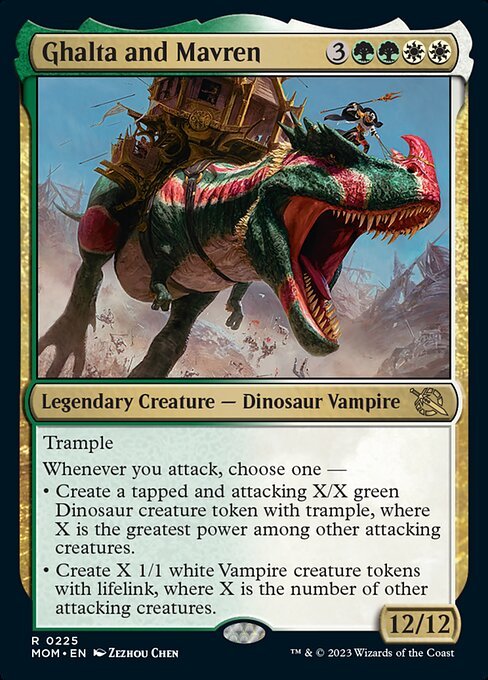
Ghalta and Mavren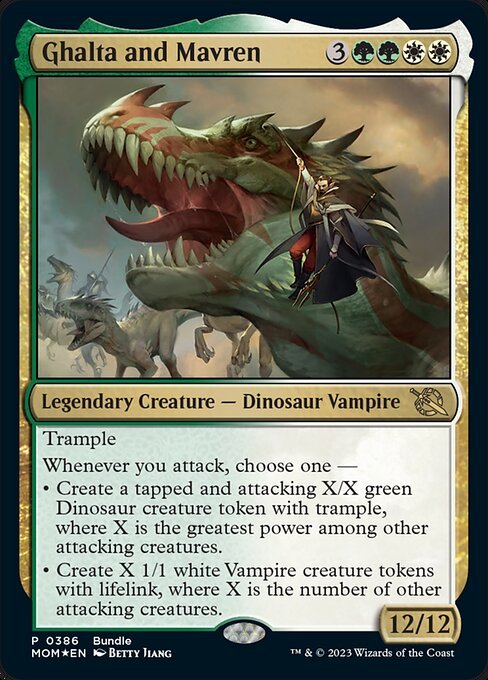 - The Haymaker at the end of the rainbow. This card will Usually be able to also create a creature token for future use when it comes in swinging. You'll likely see it coming out of the graveyard as a copy over one of your other artifact or creature tokens with Kaya's passive ability when she triggers her +2. Open to other suggestions for this slot, but 12/12 trample is a nice chunk of damage and getting the extra fuel on the attack trigger is some of the better value available to such a large beat stick coming out as early as turn 4.
The Mana base is meant to provide opportunties to fill the graveyard through the surveil lands and plenty of fast/slow duals for maximum chance at timing mana for hitting low-curve spells. Green is present at all to ensure Ghalta has the ability to be hard-cast above 50% of hands after turn 8 and was therefore around often enough to allow Sentinel (or the other green spells in the alternates below) to also be curved out on turn 3 in a comfortable majority of hands. Pain lands enable untapped flexible mana but i limited them to ensure I'm not spending too much in the face of casting Bitter Triumphs for 4 life in the worst possible cases. Takenuma is in here twice to have more shots at sticking Kaya to the battlefield but can also be used to stick Sheoldred if the game needs to stretch out longer before trying to close and because the primary mana draw is against black, having the extra available swamp AND the channel effect is likely to prove useful with such tight restrictions on functional dual lands. If drawing into land is becoming too much of a problem I recommend shrinking Vampire's Kiss for whatever basic you feel you're missing the most. Green sources are only to enable the chance of hard-casting Ghalta but most matches would prefer to cheat the stats and attack trigger in. Eiganjo may not be strictly necessary but there are use cases for its defensive channel and there is no fetch in this deck to wiff on finding a plains. Extra swamp over single forest because the deck relies heavily on the availability of black mana to keep control of the board and is pivotal in the mid-late games scenarios for powering surprise threats and seeking relevant stall or board developments.
SideBoard
Mondrak, Glory Dominus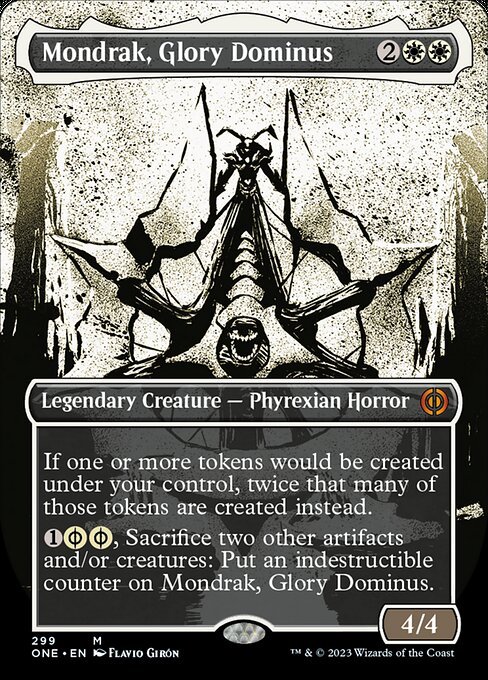 - Allows the deck to pivot to a "token" mode to close games with an overwhelming board instead of a sneak attack. a Lot of decks may be hoping to rely on graveyard hate to defeat us but allowing Kaya to generate 2 tokens for her +1 is significant enough for the rest of the build to allow Mondrak to slide in place of a pair of Ghalta (or Big Kaya and a Ghalta) for a nice pivot that might render your opponent's sideboard responses irrelevant.
Wedding Announcement // Wedding Festivity - Able to flex into on-the-play over Sunset Revelry when a faster aggressive pace is needed. Mondrak compliments it well when trying to deceive the opponent into playing their spot removal while your board is growing wider than ever. Sunset Revelry - Played over Wedding Announcement // Wedding Festivity when on-the-draw to ensure a stabilization can occur. Mondrak turns the a strong swing into a turned table if timing is observed properly.
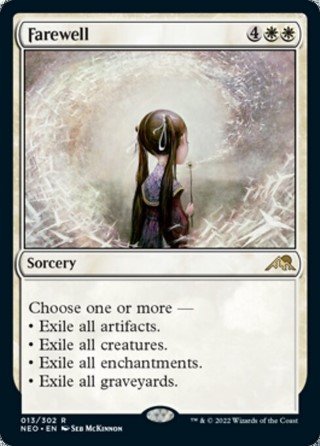
Farewell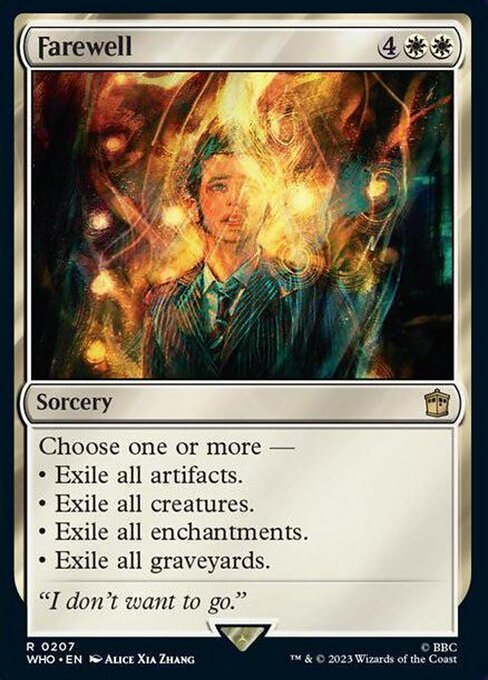 - a little dangerous as there are plenty of targets on our end to hit, however, This will all but entirely end a domain player who has gotten too comfortable with wiping the board themselves and stacking their enchantments against your sunsets.
Path of Peril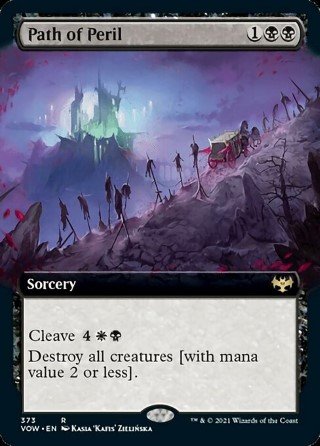 - Sometimes the opponent is coming down the line much faster than you can respond, this will allow stabilization against extremely quick, low-cost, aggressive decks that may out-pace in game one if you're not able to draw a fast hand of your own.
Surge of Salvation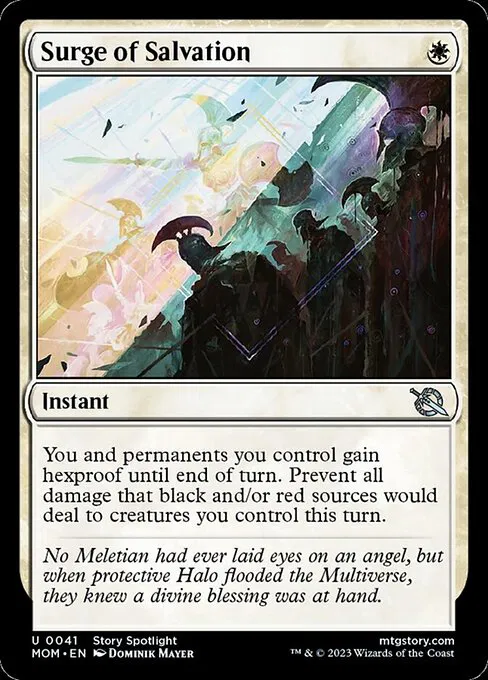 - Protects the board you spend time developing, makes sweeper-heavy decks that aren't able to exile at the time regret wasting a turn and can also be used to stop Kaya from direct target effects for a very efficient cost. Stops opposing board wipes and protects our stuff from our own boardwipes when "Token Mode" is active and we need the board state to be cleared on one side only
Soul Search - Take a peak card that gives no chance for them to get the removed card back where Deep-Cavern Bat
 might enable the opponent to recover for the same cost. Bonus value when you take a 1 mana play away; there are plenty of 1 mana threats and generators to consider, when taking a peak, from all colors.
Cut Down - Instant speed value most of the time, can be dead or used on tokens at best so remains in the sideboard for the game 2s it can find specific purpose in.
Tamiyo's Safekeeping - Protecting Kaya or a cheated in threat often means the opponent won't have enough responses to keep themselves from falling to the kombo and a helps Kaya do her job efficiently. Healing is always nice into aggressive matchups.
Other Options to Consider:
Sentinel of the Nameless City - There are other spells for this slot at roughly the same cost that impact the early-mid game differently depending on taste and preference to consider over this. I've selected what I feel to be the most efficient but below are options to consider
Treacherous Greed - Full gas pedal that plays very nicely with our evasive bat and skeleton tokens. If you can get wide enough in "Token Mode" you won't need evasion to find a nice hand refiller at the end of the rainbow for the low low cost of one creature token. Running the body Sentinel provides over the card draw and 3 life of stabilization this provides is a tough argument to make since the sentinel will usually require at least 1 card from the opponent while Treacherous Greed can still stall slightly, edge the opponent closer to that ever important 12 life and a grant 1 extra card in advantage during the exchange. Ultimately, using the stale green mana available for late, uncheatable, Ghaltas is about the only significant difference if Sentinel isn't able to buy a whole turn from staring down an enemy board with 3-4 power.
Jewel Thief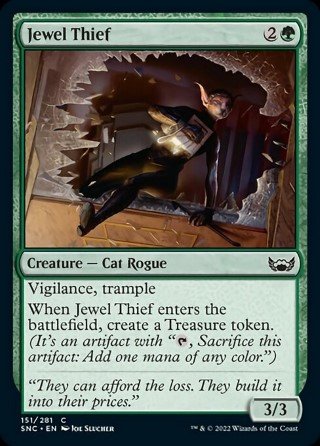 - I Just like this card and the 1 extra cost I don't think is throwing this curve so far over the edge. Trample also makes it a better secondary target for Kaya than Jadar when either has been dealt with. The treasure on cast doesn't get value from Kaya and is probably only good when it enables a double-spell turn.
Warm Welcome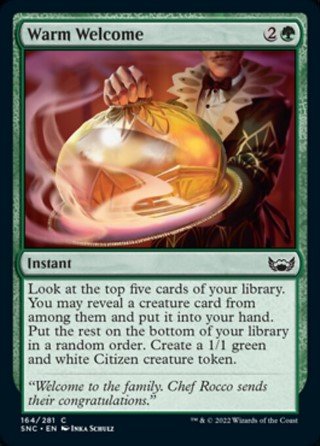 - Immediate card selection and filtering to ensure Ghalta or Sheoldred are in the right place at the right time. Generates fuel for Kaya and plays into the Token win condition in Mondrak mode.
Old Rutstein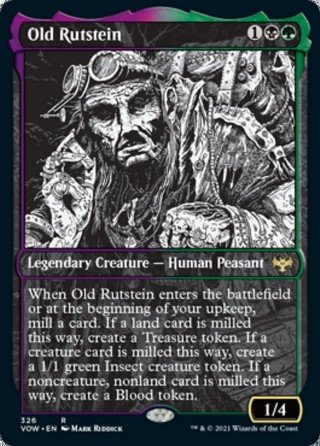 - Similar to Vampire's kiss, there isn't anything his trigger does that we don't like creating 3 valid tarets for Kaya's payoff and each is uniquely suited to accelerating the game plan based on what was given up for the token.
King Darien XLVIII - Ability is useful when copied out of the graveryard by Kaya since pumping the team in "Token Mode" can be used to secure wins as well as the activated ability will leave the buff token on the copy for future use along with creating more fuel for the future.
Queen Allenal of Ruadach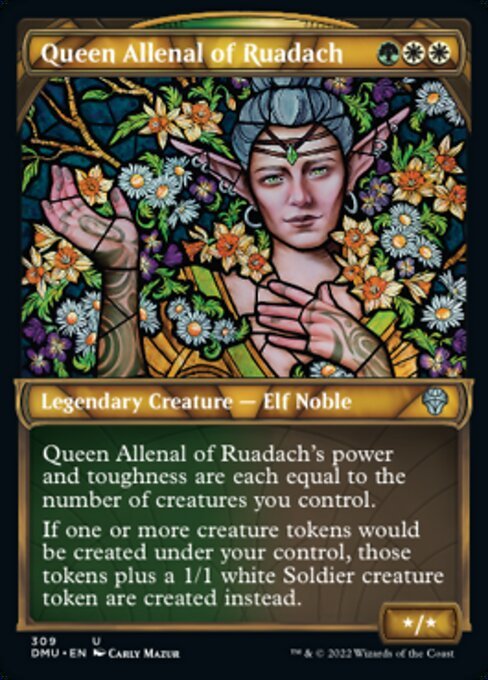 - Ability is useful for widening the board drastically over a single turn, will often have a strong attack to contribute when copied and is cheap enough to post on the battlefield to wait for removal.
Jinnie Fay, Jetmir's Second - Ability allows a single turn of presense to tailor a token bomb into extra strength value while also being reasonable to play on its own and draw further attention away from the Ghalta plan or to capitalize from the sideboard when "Token Mode" is deemed necessary to secure victory.
Tatsunari, Toad Rider - If Leaning heavier into enchantments, this little value boat might be nice, however there aren't many means to get the toad token out of it in the current setup and it might need more drastic changes to fully fit in.
Join the Dance - Two tokens up front and maybe two more later can help ensure your board has viable targets when it comes time to close the match and all other resources have been expended. This lets there be a back up waiting later on when chumping with your 2 blockers has payed off vs only having 1 blocker and some sacrifice fodder or possibly even 3 damage instead of 2 against an open board? Hard to say since there is potential to get 3 tokens out of Jadar before 4 tokens from this spell.
Voldaren Bloodcaster // Bloodbat Summoner - Slightly more Kaya friendly as the blood tokens help setup the graveyard AND draw towards the payoffs, however, she requires death to produce her bonus value and nailing all 3 Vampire's Kiss to flip her isn't the goal of the deck.
Fake Your Own Death - Because you also get the treasure, this protection spell could prove useful in playing into the end-game goals while preserving momentum towards a stable board by forcing an extra response for an established threat like Sheoldred or a cheated-in Ghalta you're trying to have stick for a turn. Lets Sanguine Evangelist double-dip on its ability a little as well by enabling a battle cry that generates a extra bat and sets up another one next turn.
Spellbook Vendor - Creates targets for Kaya and Bargain while also giving the Novice an upgrade it could use to generate advantage even further isntead of sitting around waiting to get Shock
 ed or used as a chump blocker.
Resolute Reinforcements - Flashing in a couple of troops with one able to be bargained or transformed is a nice thought over repeatable zombie fodder but may prove too low impact to be meaningful
Kellan, Daring Traveler - Provides use for stale green in the early game by generating maps for Kaya to target later, better on the draw as there's a chance to get 2 maps if the opponent has their own artifact token generator on the play ahead of you. Attack trigger means Kaya can get some value out of her 1 turn of copying a stuffed Kellan and finding a 7/37 to get out of the way of more important pieces is better than nothing and can also setup a surveil to get a revealed card where it belongs.
Clay-Fired Bricks // Cosmium Kiln - Stablization and mana fixing that can trigger Kaya through crafting if there's a chance for a second copy-effect to make a splash. The anthem reinforces the "token mode" win condition when trying not to rely on Ghalta to close games.
Novice Inspector - Sometimes early value like this is needed to ensure the kombo flows smoothly out of the deck from turn one, other times it shows up way too late to make meaningful impact
Tamiyo's Safekeeping - This increases the utility of the green mana that may or may not only be used as white leading up to the payoffs later in our plan. This spell enables those later payoffs succintly for one mana and might prove more valuable if preserving Kaya from targeted removal ends up being more prevelant. As it stands, the damage that removes Loyalty from her will render the indestructability useless when on the defence from creatures though and most meta threats are using creatures to apply pressure and close games meaning the relevant utility for this is not as common as it might need to prove better than the Novice.
Spiteful Hexmage - Much more cute to copy out of the graveyard when there are no better targets after a failed +2 to surveil for one. If there's one already out, Kaya helps it along into its final form because you can actually turn the existing cursed role into a Spiteful Hexmage from the graveyard for a cute double 3/2 hexmage attack. This might sound fun, but if the hexmage is removed then the primary directive of "produce a token I can target with kaya or beseech" is lost and throws a wrench in the combo potential relative to the Novice. There may be a more aggressive iteration of this deck that takes better advantage of this, but it is not our only goal and certainly not our most final of win conditions so having it is more of a "gravy" option than a main course engine to rely on.
Vampire's Kiss/Case of the Stashed Skeleton - Each of this are nice transitional pieces that help to stabilize or secure a combo piece.
Titheing Blade - Serves similar stablization as above by removing a creature without targeting but offers the opportunity to add extra damage for match closing when crafted in exchange for card selection or additional token generation
Thalia and The Gitrog Monster - As a prime target for Beseech and supported coincidentally by the mana base, there may be room for Thalia to add more control to your board and also create openings. Sticking her is about as easy as any of the other 4 drops here but she specifically throws a massive wrench into an opponent's turns with huge disruptive impact. Having the attack trigger means the passive tap effect is not the only value that can be gleaned from this very interesting 4 drop. With no Abzan triome available in standard, there's less consistency for hard casting her than might be tolerable.
Created: 10 Feb 2024
1242 96 0
Mainboard - 60 cards (27 distinct)
| Creature (13) | |||
|---|---|---|---|
| $2.49€1.340.02 | |||
| $0.50 | |||
| $0.25€0.270.03 | |||
| $1.00€1.13 | |||
| Instant, Sorcery, Enchantment, Artifact (19) | |||
| $0.85€0.870.02 | |||
| $0.29€0.400.03 | |||
| $2.30€1.68 | |||
| $23.23 | |||
| $0.400.02 | |||
| $0.20€0.150.03 | |||
|
2
Get Lost
|
$6.01 | ||
| $2.99 | |||
| Land (23) | |||
|
2
Swamp
|
$0.15 | ||
| $2.14 | |||
| $11.35 | |||
|
1
Plains
|
$0.33€0.240.04 | ||
| $9.95 | |||
| $14.700.76 | |||
| $0.60 | |||
| $2.060.15 | |||
| $3.50€3.780.38 | |||
| $7.96€9.010.72 | |||
| $7.22 | |||
| $1.46€1.470.02 | |||
| Planeswalker (5) | |||
| $0.750.12 | |||
| $0.49€0.330.02 | |||


Sideboard - 15 cards (9 distinct)
| $39.830.71 | |||
| $2.02 | |||
|
2
Cut Down
|
|||
| $0.85€0.780.03 | |||
| $0.20€0.150.03 | |||
| $0.15€0.080.03 | |||
| $2.99 | |||
|
2
Farewell
|
$5.60€5.493.94 | ||
| $2.75€2.530.03 |
Add deck to your favorites
Please log in to be able to store your favorite decks for easy access under My Decks in the main menu.
Enter The Battlefield Prepared
With the MTGA Assistant deck tracker| 8 | 5 | 37 | 9 | 0 |
|---|---|---|---|---|
| 1 | 7 | 5 | 2 | 0 |
Card name
