
Boros Insta-Army
The lizard's maw engulfed the soldier before he could raise a word or sword in defense. A thunderclap of teeth, and that was the end of it. All the platemail did was add a satisfying crunch to the meal. But as the great dinosaur contemplated where to nap and digest his shiny lunch, another soldier sprang into view. Then another. And another. It seemed lunch had brought friends with him. Friends who were none too happy to see their colleague made into mealtime for a wandering tyrant. Chopping down on one trooper was easy enough, but the beast should've known better. When it comes to the Legion, there was never just one.
In practice, card advantage isn't linear. We've become so accustomed to equating the concept of card advantage to the simple-but-tantalizing phrase "Draw a Card" that any other form becomes easy to overlook. This holds especially true in colors notorious for lacking direct card draw. Poor ole' Boros is practically the poster-child for this.
So let's change that, shall we?
Boros Historic Pauper Insta-Army
Main 60 cards (19 distinct)


Lands - 23
Main 60 cards (19 distinct)
Lands - 23
Main 60 cards (19 distinct)
| Creature (16) | |||
|---|---|---|---|
| $2.43€1.510.03 | |||
| $0.19€0.040.03 | |||
| $0.15€0.040.03 | |||
| $0.25€0.180.03 | |||
| $0.15€0.030.04 | |||
| Instant, Sorcery, Enchantment, Artifact (21) | |||
|
3
Pacifism
|
$0.15€0.280.03 | ||
| $0.15€0.020.03 | |||
| $0.19€0.080.03 | |||
| $0.19€0.160.03 | |||
| $0.25€0.240.03 | |||
| $0.15€0.020.05 | |||
| $0.19€0.070.03 | |||
| $0.20€0.070.03 | |||
| $0.20€0.100.03 | |||
| Land (23) | |||
| $0.220.76 | |||
|
9
Mountain
|
|||
|
10
Plains
|
|||
| $0.29€0.230.04 | |||
| $0.25€0.210.04 | |||
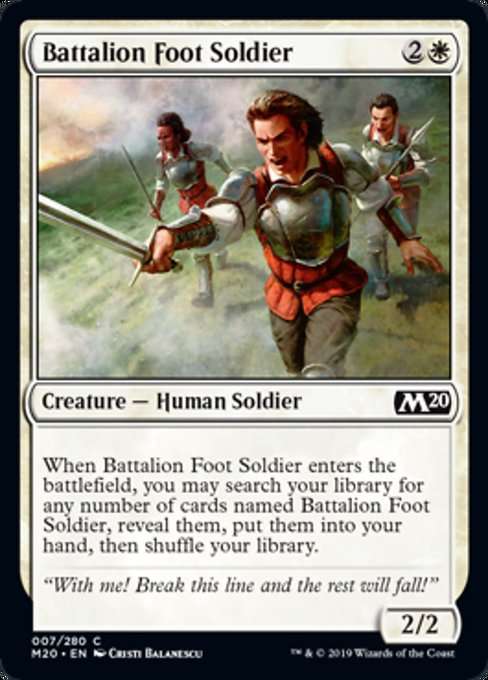
Arena's Historic Pauper Event offers what would otherwise be merely "meh" Limited filler creatures a chance to shine. Legion Conquistador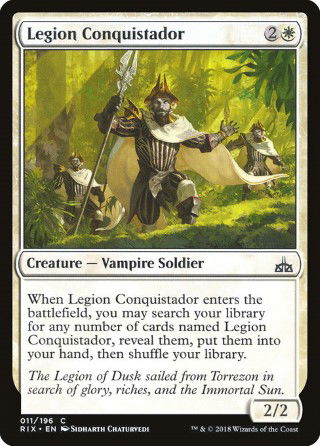 and Battalion Foot Soldier
 may appear suboptimal on paper.

Gray Ogre got outclassed an eon ago, after all. But what about a Gray Ogre that brings along three friends?

In Limited, you'd only consider playing these cards if you could get your hands on enough of them. But in Pauper, you're guaranteed to "draw three" every time. Sure, the three cards in question are over-costed 2/2's. But we're not talking about size here. We're talking about numbers.
Simply stated, the purpose of this deck is to keep up a steady stream of creatures, mainly through our 'tutor-Ogres' and a suite of token generators. The power is in the consistency. In the early game, don't hesitate to trade with opposing creatures, as you'll quickly rebound with another group of creatures. Thus, "Insta-Army". You're looking to deploy multiple troops with each piece of cardboard you lay down. As the game goes mid-to-late, you'll often find your opponent's board much smaller than yours, allowing a mass pump spell to close things out.
Play Sequencing:
Turn 1:

Although not necessary in every matchup, thus the presence of only two copies, Soul Warden can provide incredible insurance against opposing aggro or midrange decks. Insta-army is able to make especially good use of her life gain, as you'll often generate multiple creatures at once. The little lifegain gift baskets add up more quickly than you might realize, providing sufficient time to assemble enough of an army and finisher pump spell to bring the game home.

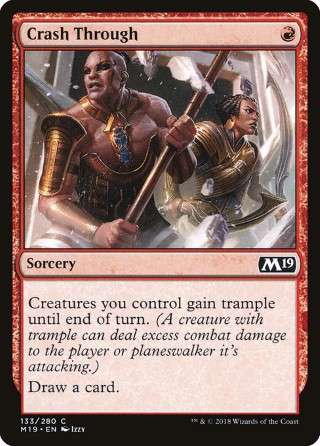
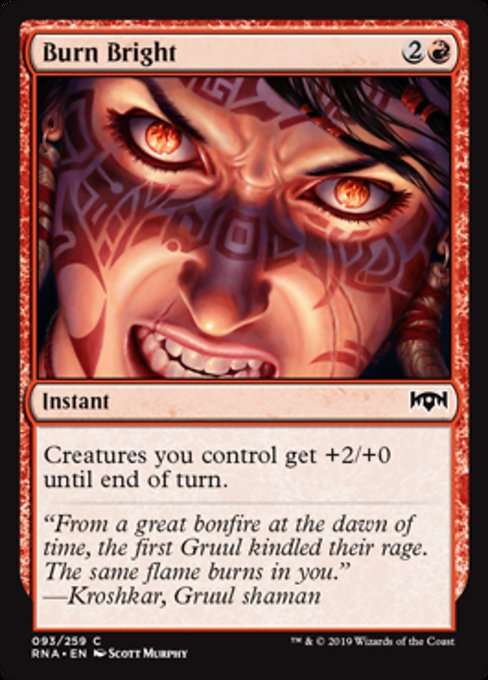
On that note, if you find the single Crash Through in your opening hand, don't hesitate to cycle it away for a card. At this point, you're looking to build up the army. Crash Through can push an Inspired Charge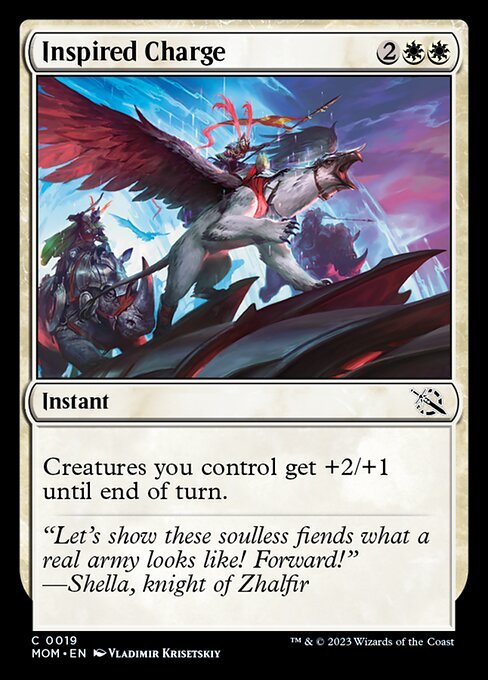 over the edge, but it'll be stuck in your hand until that time and is better spent as fuel to draw up more troops in the early game. If you draw it later and it has a pump spell to piggy-back off of, just remember that it's a Sorcery, so you'll have to cast it prior to combat. You may squeeze some bluff potential out of this, as you're broadcasting to your opponent that you have a pump spell even if you don't. This might change up how'd they block. But let's get real, 99% of the time, if you're casting Crash Through, that Burn Bright
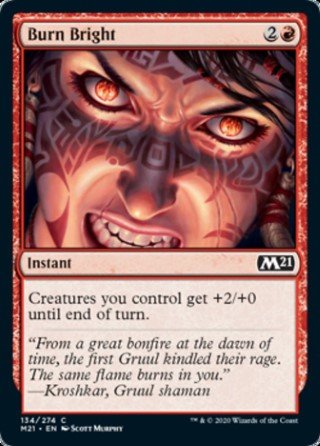 is right behind.
Turn 2:


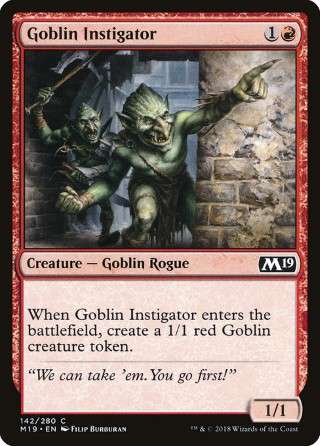
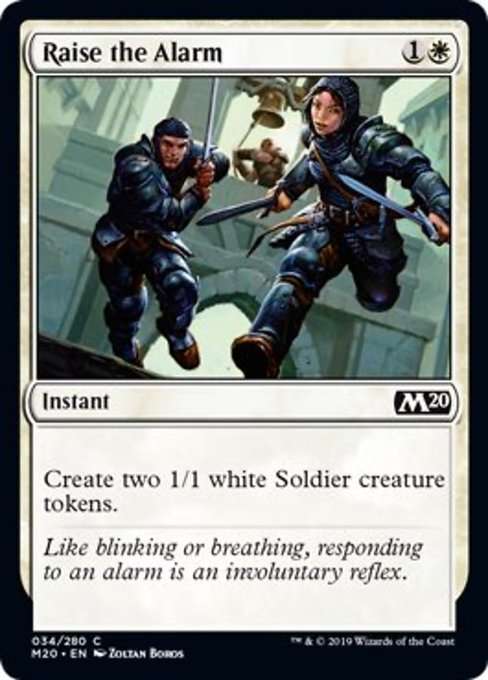
Now it's time to start the recruitment process. You'll most often be making two 1/1's on this turn via Goblin Instigator or endstep Raise the Alarm. Begin chipping in with your 1/1's, Soul Warden included, as soon as possible. The more you take little bites out of your opponent's starting life total, the better the odds your final strike will be enough to close the deal.
Turn 3:

The recruitment process continues, here bringing the "Ogre Tutors" into the mix. Each one has the ability to grab others, so be mindful not to fetch up too many at once and overshoot your hand size. It doesn't matter if you tutor for one or three when the next one can do the same thing. Legion Conquistador and Battalion Foot Soldier are what really make the deck tick, as they set up a system where, absolute worst case scenario, you can just keep right on playing 2/2's. Not the most impactful plays. But the gas keeps on coming. As your force grows, don't be surprised if your opponent woefully begins spending removal on your Tutor-Ogres. They make fantastic removal sponges, as not only do they replace themselves. They do it three times. And seeing as our token cards are making multiple bodies, too, one-for-one removal spells coming from our opponent aren't much of a concern.
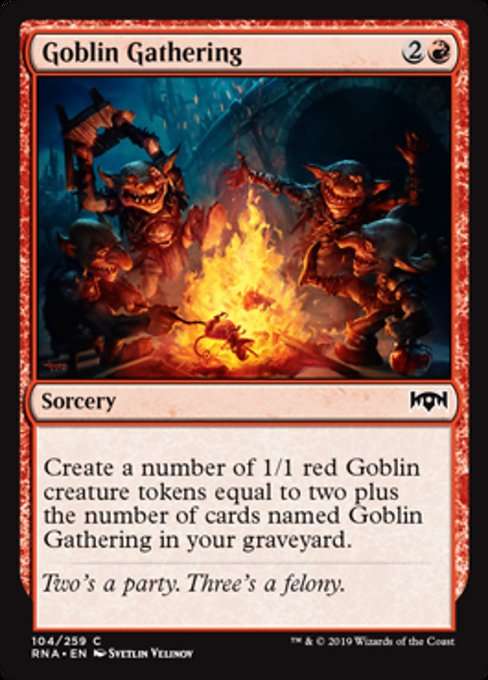
Also available here is Goblin Gathering, which is on the slow side, but offers up a significant amount of bodies if the game goes late. Ideally, you'd be looking to close things out around turns 5 and 6, but against matches like W/G Tokens or similarly grindy decks, you'll need the ability to keep the creatures coming at an exponential pace. Its inclusion is all-or-nothing, as you either run a full playset or zero. I've experimented swapping them out with other cards (Omen of the Sun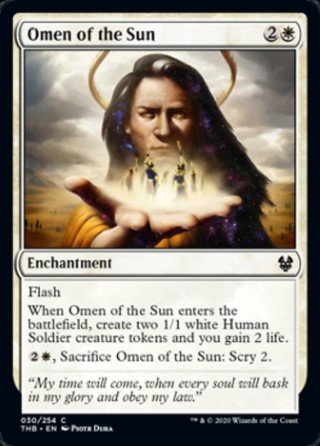 , additional pump spells), but they've proven their value enough that I'm leaving Goblin Gathering in for now.
Turn 4:


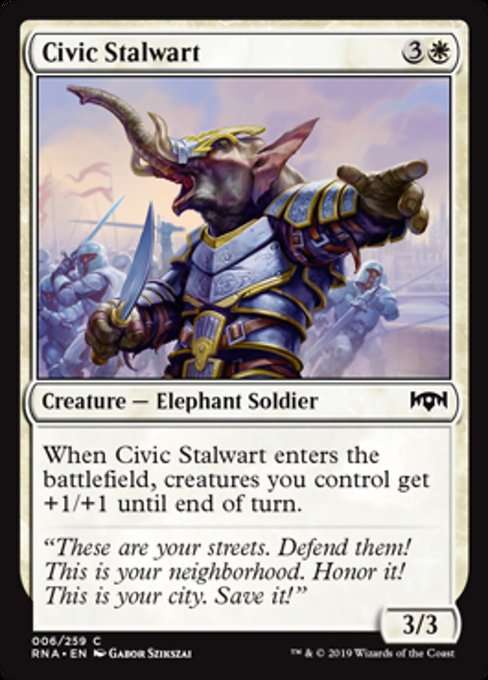
Build, build, and build away. Keep making bodies and getting in for damage where possible. Dropping a Civic Stalwart is a happy way to achieve both ends. I find him quite underrated in Pauper go-wide decks. I like the Stalwart because he continues to grow your forces while providing a damage push. His arrival puts your opponent into the awkward position of either taking a serious whack of damage or chumping their 2-drops for your tokens and vampires. You're happy either way. And there's now a Hill Giant on your side, to boot!
At this point in the game, I'd hesitate to use a Burn Bright or Inspired Charge unless I had another copy in hand to follow up with and if I expected a sufficient chunk of my army to survive the first assault. It does happen, but the safer bet is to keep on building your forces and getting in damage where able. Mass-removal isn't very common in Pauper, so much of your opponent's threats will come from spot removal, which we already mentioned not caring about, or playing large defenders.
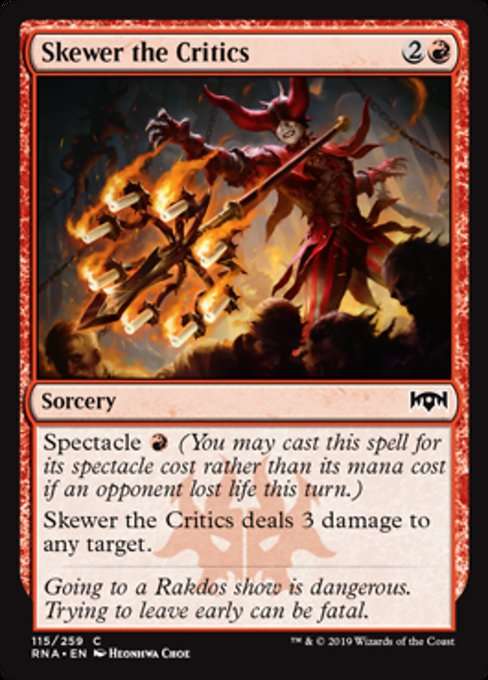
This is why we pack Pacifism. Yes, it can certainly shut down a threat, but in this deck, it's best to remove a blocker. Don't hesitate to pacify Walls or 2/2's. You're looking to get as many speed bumps out of the way as possible. The same goes for Skewer the Critics. You'd rather throw that skewer at potential blockers than shoot down an opposing flyer or evasive threat. Even more importantly, Insta-army packs a full playset of Skewer because it provides pivotal reach if you're a few points of damage short of killing your foe. With the numbers of troops you're generating, the odds of enabling Spectacle are high, so stockpiling Skewers and cashing them in at a discount is not an unreasonable assumption.
Turn 5 and Beyond:


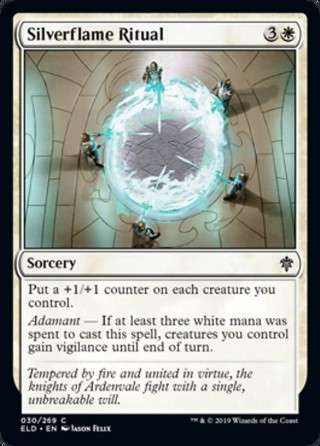
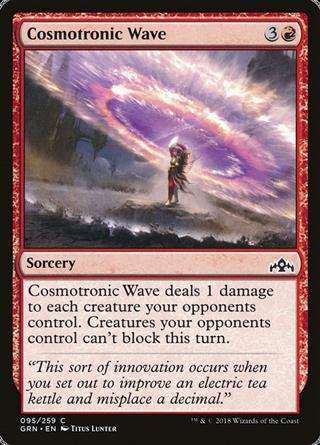
Lastly, you can't have a lethal army unless you suit em' up. After a few turns of building your forces, you'll be getting ready for the opportune moment to bulk em' up and let em' loose. Insta-army provides multiple options to do so, and I recommend you play around with the ones you like best. Burn Bright is the cheapest, but the lack of toughness boost often means you'll be losing a sizable share of your team. This might be totally fine, as your token sources and backup Conquistador/Foot Soldiers allow for quick reassembly. Just ensure you have enough in hand, and preferably another pump spell, to finish things off next swing. Inspired Charge is pricier, but the added durability makes a big difference with who comes home to fight another day. Silverflame Ritual lacks the explosive punch of the previous cards, but the perma-pump allows you to fire it off without having to commit to an alpha strike. The vigilance may or may not happen, but if it does, get in what damage you can worry-free. Lastly, a card that has won me many a Guilds of Ravnica draft, Cosmotronic Wave may not boost up your team, but it'll ensure it gets through and wipes out smaller blockers along the way. Even if your opponent survives the first assault, chances are they've lost many a future blocker. Assault number two is right around the corner. If the game goes late enough, combining the Wave with Burn Bright is usually more than enough to finish things off.
I recommend you experiment with some other choices, yourself. I personally thought Charge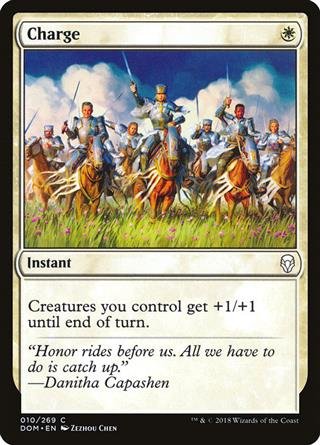 and Sworn Companions
 didn't do enough for their cost, and Angel of the Dawn
 was too pricey compared to the Civic Stalwart. Call the Calvary and/or Gallant Calvary are possibilities as well, and I may try adding one or two in the future.
Anyhow, thanks for reading and I hope you enjoy Insta-Army. It's a fun deck to pilot. It's surprisingly satisfying to refill your hand on the back of a humble Gray Ogre. Just goes to show that card advantage can come from all places, even if it's not the most obvious.
Thanks for reading and have fun!
-Matt-


