Traditional Explorer - Ultimate Rakdos Midrange

38 13
17 17 2 24
Midrange

Rakdos Midrange is currently the best deck in Explorer Best of Three and Pioneer. This guide is mostly meant for Explorer as I have never played Pioneer, but from looking at the format they seem very similar.  Today I will write a guide going over why Midrange is so good, the deck itself, the sideboard, and matchups. I hope that this is a fun guide and will serve as an updated version of my previous guide. 

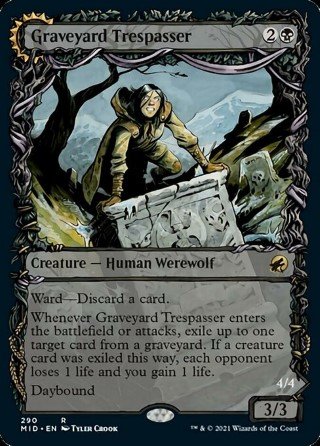
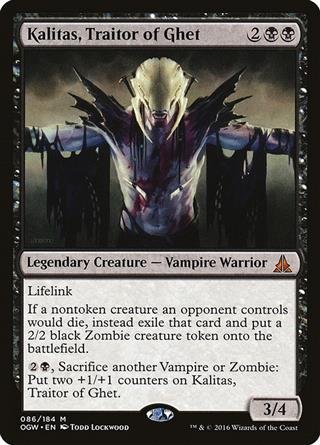
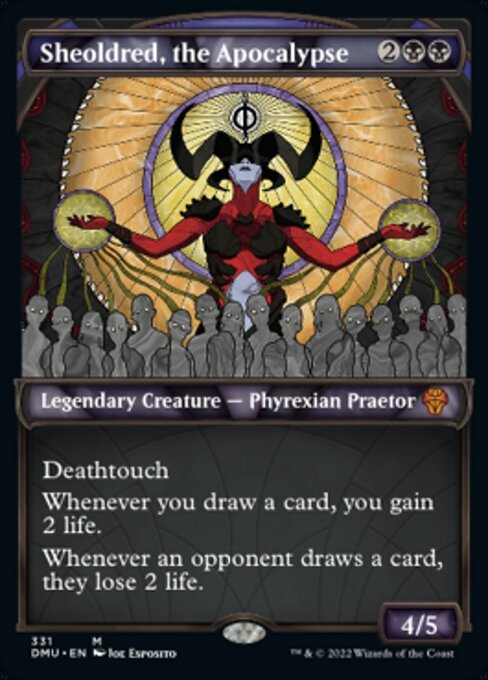
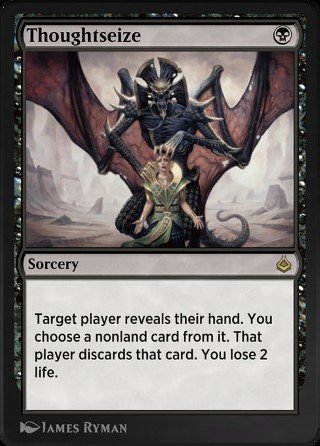
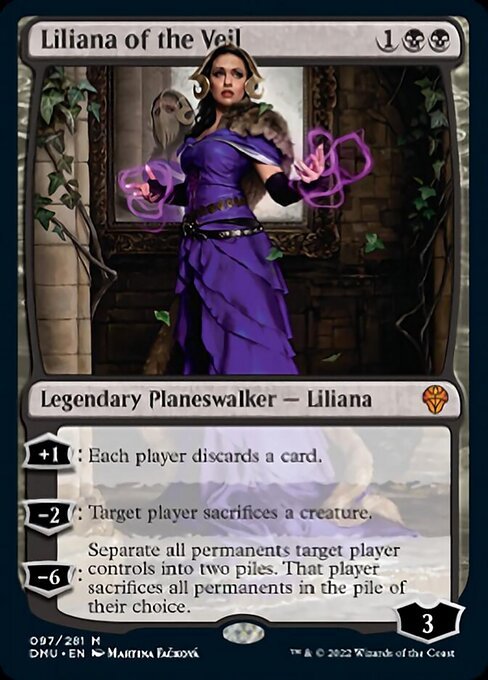
  The Midrange is mainly played for its matchups against both Aggro and Control. Aggro is a threatening deck that can be stopped by trading one-for-one in the early game with cheap interaction and then being outclassed by powerful creatures and Planeswalkers such as Liliana of the Veilimage and Kalitas, Traitor of Ghetimage. This deck gives aggro some additional trouble with the life gain that Kalitas provides as well as Graveyard Trespasser // Graveyard Glutton and Sheoldred, the Apocalypseimage. Midrange is also good because of its matchup against Control. Midrange has the ability to play rather aggressively if need be and that allows it to beat down hard on Control. In addition, there are powerful sideboard options against both that make midrange able to change what deck it plays like turning towards Aggro or more like Control depending on the matchup. The final reason that Rakdos Midrange in particular is the number one Midrange instead of Gruul Midrange is the matchup against combo. Thoughtseizeimage provides powerful hand interaction that single-handedly makes black the best color. 

As discussed above, Thoughtseizeimage is a powerful card, being able to make a matchup against broken combo decks such as Izzet Creativity and Abzan Greasefang winnable matchups, as opposed to a loss against most hands that have at least one of the combo pieces, makes the deck go from playable to an elite choice. However, the matchup against Combo isn't the only use for this card. Thoughtseizeimage has an incredible matchup against Control as if you play it on turn one there is no hope whatsoever of them countering it since there are no free counterspells in either Pioneer or Explorer. Additionally, it provides you with perfect information on what counterspells you need to play around with in order to resolve your biggest threats while possibly taking one of them away.

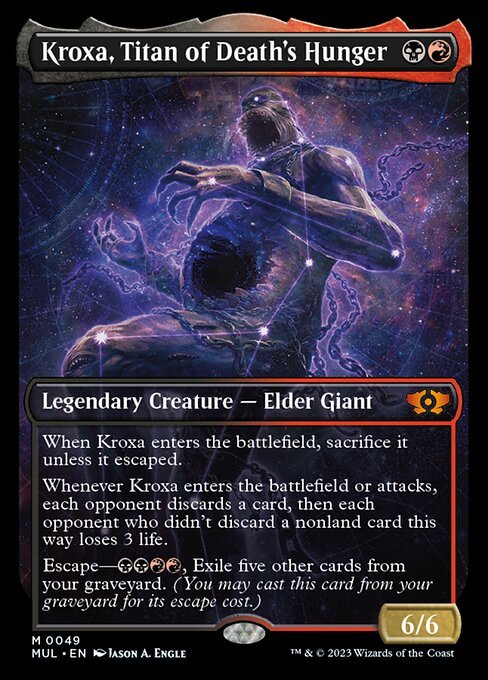
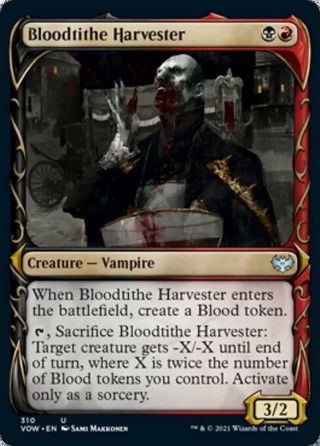
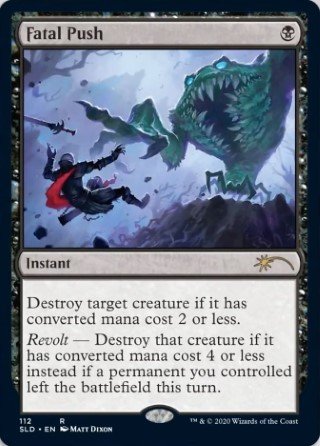
    The next one drop in Rakdos Midrange is Fatal Pushimage. In most decks, the mana curve is somewhat low being from one to five most of the time. Fatal Pushimage has the option to kill one and two drops on turn one at instant speed which on its own would see some play being able to delay till you can play your three drops which is what what you would like to do most of the time. However, once in the mid to late game, there is a new more promising mode: Destroying any creature with CMC four or less. This hits important targets such as Sheoldred, the Apocalypseimage and Greasefang Okiba Boss. Revolt can be triggered in 4 different ways in this deck: A creature dying, Bloodtithe Harvesterimage's blood tokens, Fables's Goblin shaman's treasure tokens, Fable of the Mirror-Breaker // Reflection of Kiki-Jiki flipping and playing Kroxa, Titan of Death's Hungerimage


At two CMC there is our first creature, Bloodtithe Harvesterimage. This two-mana 3/2 is above curve in power and toughness and provides card advantage! The first ability is incredibly useful because it makes Many x/2's tradeable such as other Bloodtithe Harvesters, Mana Dorks, and[Raffine's Informat]] with a +1/+1 Counter. If you draw into a second one you can kill most creatures barring some control finishers and Sheoldred, the Apocalypseimage. The blood token allows many things such as digging one card deeper for a removal spell, letting you keep some risky two landers, cycling your lands late game, and cycling extra legendaries that you have. This blood token ensures that even in the late game your Bloodtithe Harvesterimage is never useless. 

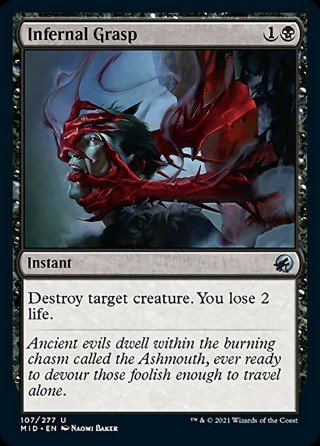
      The next two drops are relatively simple. Infernal Graspimage is just your average kill spell. However what this has over Heartless Actimage and Power Word Killimage is consistency. The ability to kill anything is relevant because in Explorer Selesnya Angels are a legitimate meta deck. And Gida, Font of Hope Provides that deck with counters making both of the previous kill spells obsolete. Because of this, I decided that losing some matchups is not worth saving a small two life but if you are against life loss Go for the Throat Might be a better replacement. 

   The final two-drop is more of a four-drop. Kroxa, Titan of Death's Hungerimage. The front end of this card is a mediocre sorcery and is better off being discarded to a blood token or Fable of the Mirror Breaker's second chapter. If you do cast it, do so only if you don't have another two-drop. The backside of this is a huge creature out of the range of most conditional removal except Fatal Pushimage. Your graveyard can easily be filled by casting your one drop and using the blood token and second chapter to fill your graveyard. Something You could do in a second game is to sideboard out your Kroxa, Titan of Death's Hungerimage because it will make all of your opponent's graveyard hate obsolete. You should do this only if you showed them the Kroxa, Titan of Death's Hungerimage or if they showed their graveyard hate in the second game, but it is an option. 


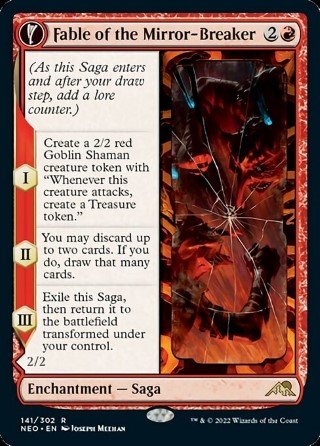
       The second most important card in your deck except for Thoughtseize is Fable of the Mirror-Breaker // Reflection of Kiki-Jiki. This is a powerful saga that provides a two-for-one and some filtering. The first chapter gives you something incredibly unique in Explorer Rakdos: Ramp. This 2/2 is a small and relatively weak body but must be killed or it will put you far ahead on mana. This allows you to consistently hit your 4th land drop post-combat because of the treasure. The Second chapter is similar to Faithless Lootingimage but don't be fooled. While Faithless Lootingimage is only played in combo decks because it is card disadvantage, the Goblin Shaman creature token means that this is an even 1 for 1 trade. Finally, the third chapter transforms into Fable of the Mirror-Breaker // Reflection of Kiki-Jikiimage. This makes the Fable card advantage as it provides two bodies for one card. Reflection isn't bad either. The ability can be used on Bloodtithe Harvesterimage to make a removal spell a turn as well as a blood token which usually translates to the game because you have repeatable removal and can fix your draws. If you have two Fables you can copy the other one on your opponent's end step as much as you have mana and untap with an army of 2/2s. This card is so powerful most mirror matches do come down to who draws the most Fables. 


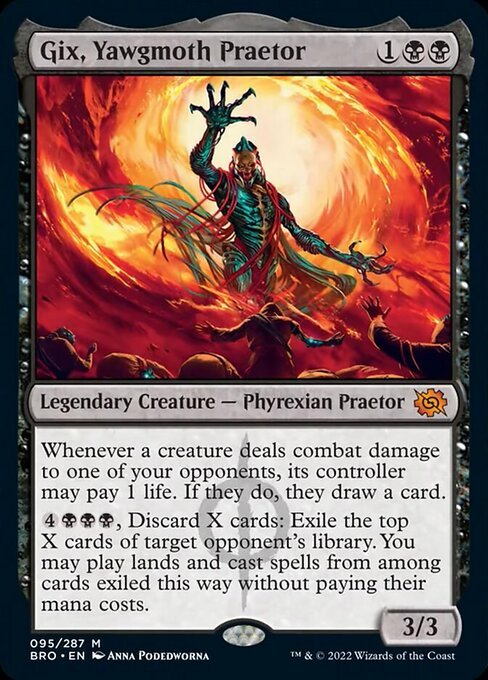
Gix, Yawgmath Praetor is a funny story. I originally used one of him as a budget option on Arena because I had one and didn't have the wildcards for Graveyard Trespasser // Graveyard Glutton but eventually he earned a permanent spot in the deck. The ability to pay 1 life for a card is amazing and if he was a 1/1 with no other ability he would still see play for that ability alone. However, Gix is a 3/3 which is an above-average stat curve that makes him a powerful card. Unfortunately, his other ability doesn't mean anything whatsoever except against some control decks because it is seldom activated, while it has the potential to be a semi-filter, you have better options.

     Graveyard Trespasser // Graveyard Glutton is our strongest 3-drop. A 3/3 for 3 mana is as big as Gix but, In the night Graveyard Trespasser // Graveyard Glutton transforms into a 4/4. This huge cheap threat can end games if unanswered and is difficult to answer. The ward-discard a card means that if a deck wants to remove this monster with a  spell they will have to 2 for 1 themselves. Exiling a card from the graveyard ability is incredibly useful in some matchups and having a way to hate on graveyards pre-sideboard is something that can give you an edge and avoids situations where you have to win two games in a row. Against aggro decks, this life gain can be incredibly useful by post-boding your death till you draw into removal, letting you play more aggressively. It is even good against Memory Delugeimage which Control likes to flashback. 

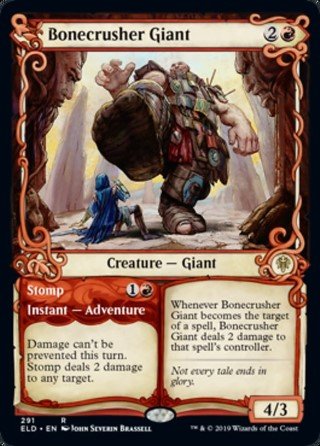
Bonecrusher Giantimage is an incredibly versatile card. Adventure as a whole was a powerful mechanic as it almost always was a two-for-one in terms of effects. Bonecrusher Giantimage though was an actual two-for-one as its first part Stomp is removal or burn. It can hit minused Planeswalkers such as Teferi, Hero of Dominariaimage after going -3 or Liliana of the Veilimage. Stomp, in reality, is unimpressive but still somewhat useful. Despite this, it is nowhere near as useful as the creature that comes after it. A three-mana 4/3 is an above-curve card and while you expect it to be vanilla at this point or even maybe a downside, it has an upside instead. The ability to burn your opponent is not quite as good as Graveyard Trespasser // Graveyard Glutton but is still phenomenal considering that it is already an above-par creature. 

Liliana of the Veilimage is the first planeswalker in this deck. She has 3 amazing abilities and comes at a low mana cost. She is almost always a 1 for one trade at least while being a 2 for 3 is more likely in slower games but against control, she can take out many, many cards. Her first ability is better than it looks. While it might suck to discard one of your own cards, the thing is you always have the choice to minus her or to simply not activate her at all if you don't think you can reasonably discard anything at all. Of course, it is almost always advisable to discard a card regardless as her minus 2 needs to be hit as much as possible for her to earn her worth. It is also worth mentioning that if you are topdecking and your opponent isn't, this effect isn't quite as symmetrical as you thought it was. Her edict style effect as a minus two is good against the slower decks and can protect herself. against aggro. While it isn't always spot removal you can fatal push and then minus her if you are on the play and the board will be empty and you can uptick her as they play something and then minus her again to kill that too. That is the most common way to play Liliana but there is always the option of going for her ultimate ability. While it is not advisable to judge Planeswalkers based on their ultimates Liliana, of the veil's is pretty easy to get. The effect is usually game over if you can do it right. A simple trick is to divide the lands and the nonland and they have to choose between wiping their board or not casting any more spells in that game. 

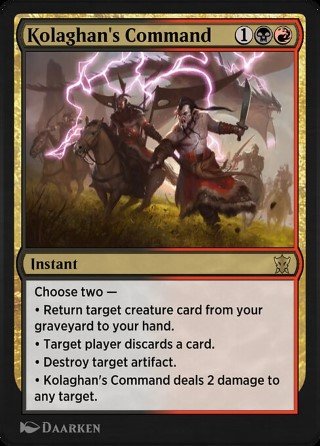
The final three drop is Kolaghan's Commandimage. This powerful instant is almost always a two-for-one. The modes of dealing damage and resurrecting something are the most common against most decks but discarding could be good against control and destroying artifacts means you have a way to beat Greasefang decks. 

There are 5 threats for this variation in the deck and I feel that I should start with the one that is in almost all Rakdos Midrange decks. Sheoldred, the Apocalypseimage is a 4/5 for 4 mana with deathtouch. On its own, that is already a threatening body but, Sheoldred has the added upside of being one of the best threats against all three archetypes. A deck that draws cards such as control is even worse against this amazing triggered ability. You have any ways of filtering cards such as blood tokens and the second chapter of Fable of the Mirror-Breaker // Reflection of Kiki-Jiki. Five toughness means that this is incredibly difficult to kill even by doubling burn spells such as Play with Fireimage and Stompimage. Absolute removal and Fatal Pushimage are the only ways to deal with Sheoldred, the Apocalypseimage

Next up is Kalitas, Traitor of Ghetimage. This is a relatively mediocre body but it, fortunately, has lifelink. This lifelink means that Kalitas can help you beat aggressive decks because it is still a good blocker. Its true strength though is the passive ability to both hate on recurring creatures making it a tool against and giving you a zombie. Another thing I would like to note is that most players will forget about the ability to pump him and you can take surprise kills that way resulting in more zombies. 


Sideboarding

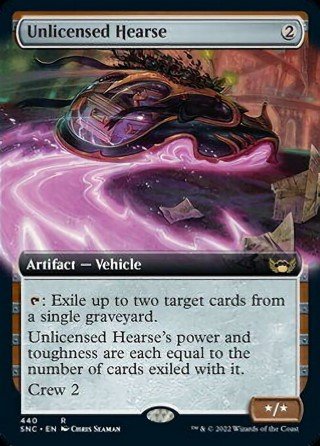
One thing to note before speaking about sideboards. All decks have different sideboards and this is by no means a perfect guide. The two things that all sideboards should have is graveyard hate and a plan for the mirror match. This deck uses the fairly common Unlicensed Hearseimage opposed to Leyline of the Voidimage because you might not always draw into it but Leyline of the Voidimage is perfectly acceptable I will compare your matchup and sideboard plan against the top ten decks in the metagame. 


Rakdos Midrange

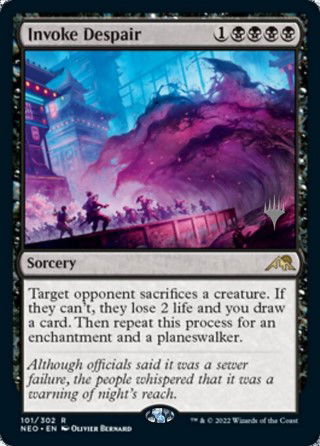
 Rakdos midrange is your deck but don't assume they have the same cards as you. For Rakdos Midrange fables and Planeswalkers usually decide who wins the match. You have some neat tech for the mirror if you follow my sideboard. Invoke Despairimage is your plan for the mirror match. It is better than other mirror techs such as Reckoner Punkbuster because it works even when you are behind. You should almost certainly put in some graveyard hate for cards like Kroxa, Titan of Death's Hunger. The first thing you should take out is Thoughtseizeimage. Rakdos midrange has relatively low synergy and because of this Thoughtseizeimage doesn't disrupt them that much. Furthermore, when you get into a top deck war Thoughtseizeimage is useless. If you choose to sideboard in The Stone Brain name either Fable of the Mirror-Breaker // Reflection of Kiki-Jiki or Sheoldred, the Apocalypse.

Mono Green Devotion

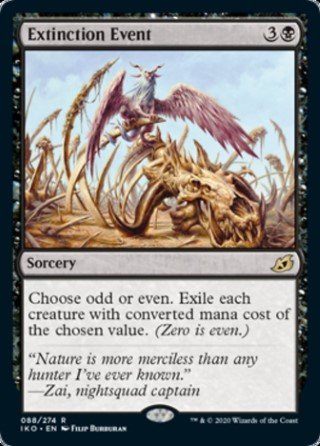
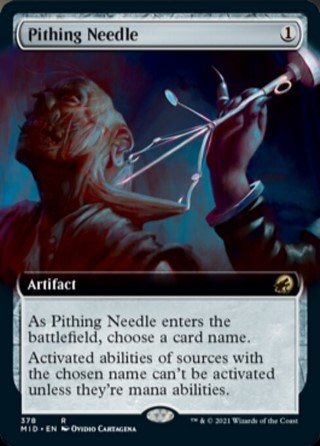
While Mono Green Devotion is a losing matchup for you as they can outvalue you in the long run you do have a chance. They have two notable weaknesses. They have no sideboard because they run a wish board for Karn, the Great Creatorimage and every single card in their deck dies to Extinction Eventimage on odd. Your main enemy is their win condition which is Karn. Pithing Needleimage, Thoughtseizeimage, and The Stone Brainimage. Your final tip is to always, Always, bolt the bird. Kill those Llanowar Elvesimage


 Abzan Greasefang

In this matchup, you are almost always going to lose pre-sideboard and then the real challenge is whether you can win the second two games with all the graveyard hate you sideboard in. You need to bring in all sorts of graveyard hate. While it might seem bad to make them discard cards you still need to keep in your Thoughtseizeimage to answer Greasefang, Okiba Bossimage. A tip is that you can use Fable of the Mirror-Breaker // Reflection of Kiki-Jiki to make a copy of Graveyard Trespasser // Graveyard Glutton to exile a card from their graveyard at instant speed. Overall you are slightly favored to win the match but you are going to be the underdog after usually losing game one. 


Mono White Humans

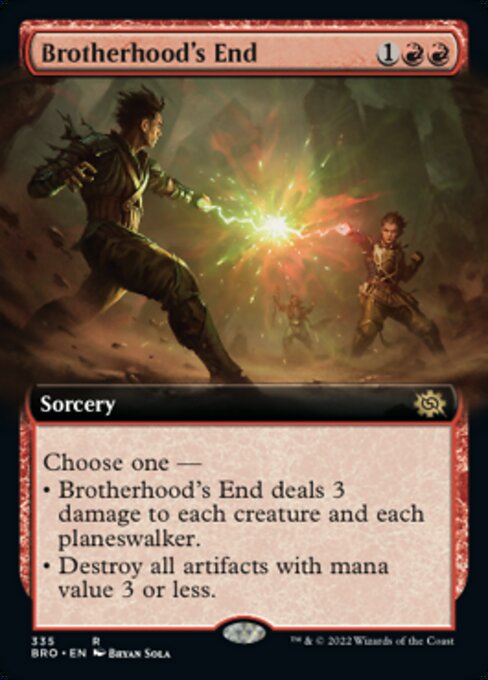
Mono white humans is undoubtedly the best aggro deck in the format of Explorer. You have a slightly favored matchup against it but don't be too comfortable. Your key cards to bring in are Brotherhood's Endimage and if in your sideboard another copy of Kalitas, Traitor of Ghetimage. These two cards are what you need to wipe the board and gain life, respectively. You should take out Thoughtseizeimage because they have no single strong card and you don't want to lose your life. This deck is also one of the reasons to play Go for the Throatimage over Infernal Graspimage but I still prefer the latter. 


Five Color Yorin 'Goodstuff'

This deck is basically just a collection of the best enchantments and some good creatures piled together. It is your first truly terrible matchup as you have only a 40% win rate against it. You need to go onto the beatdown against this deck being as aggressive as possible. Your two and three drops are going to be very important for this matchup as well as your two-mana absolute removal. They have two true drops and very few three and four drops so sideboard out Fatal Pushimage


Azorius Control

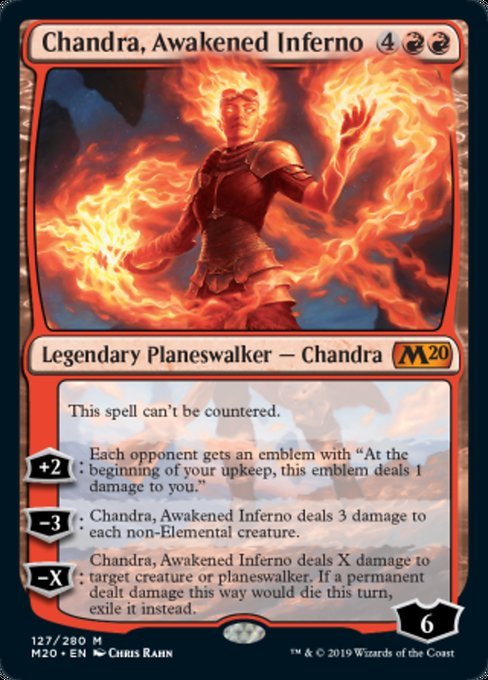
UW or Azorius Control is probably one of your best matchups against meta decks. With an amazing win rate of 69%, this might look easy but skill does play a larger-than-normal role in this matchup. You should sideboard out all of your removal and put in your Chandra, Awakened Infernoimage to beat them. Invoke Despairimage is also a good choice. By far their biggest threat is a hard cast Shark Typhoonimage. You need to play smart. You can easily see their hand with a turn one Thoughtseizeimage you have information on whether you should play your threats right away or if you should play another threat into a counterspell. Overall while you have the tools to win you need to be very skilled to pull if off.

GW Angels

Angles are the reason that Heartless Actimage and Power Word Killimage are bad removal spells in Explorer. If you used one of the other removal spells you should be good against this deck. Fatal Pushimage and your other removal spell allow you to deal with most of their threats. They also have little Removal so your threats are very strong against them. You should not sideboard in your three damage sweepers because so many of their creatures have outrageous thoughness.  

Mono Blue Spirits

   Mono blue spirits is an aggressive deck with some aspects of control such as counterspell that you need to watch out for. They also have ways to protect their creatures from spot removal which means, if able, you should only use a kill spell if they are tapped out or if you have information on what is in their hand. You should sideboard your Planeswalkers and put in your three damage sweepers to remove many spirits at once and they also cannot protect themselves from that. 

Gruul Midrange

    This aggressive midrange deck plays ramp such as Llanowar Elvesimage and dominates the early age by playing huge creatures such as Miglos, Maze Crusher before finishing with a vehicle. You need to put in a Pithing Needleimage to shut down the vehicles. You should also put in your sweepers too. While you are not favored to win this matchup remember, bolt the bird and never give up. 

Izzet Creativity

   Izzet Creativity is a combo deck. Its goal is to smuggle out a two-card combo and win on the spot or a stand-alone threat to win games. You should sideboard out your Fatal Pushes and put in The Stone Brainimage and some control hate as it does play a lot like a control deck if they can't pull off their combo. You do need to keep in your absolute removal in case they manage to pull off the combo. Killing the Sage of the Fallsimage if it is in combo finish or Atraxa, Grand Unifierimage if it is the stand-alone version. 


Thank you so much for reading all the way through this lengthy guide that I spent a lot of time working on. I hope that you decide to play Rakdos Midrange after reading this guide that I wrote for you. This is a reminder that this deck list is not set in stone and can be changed at any time. I used to run cards like Phyrexian Fleshgouger before switching to other things so experimenting is the key to innovation. The visual decklist is off to the side and bye.


Comments

Login to comment

0 comments

hihi
Last Updated: 12 May 2023
Created: 06 Apr 2023
1014 87 0

Mainboard - 60 cards (23 distinct)

Creature (17)
0.83
$0.25
$18.25€14.523.66
$0.99
$8.76€7.820.12
Instant, Sorcery, Enchantment, Artifact (17)
$23.63€13.95
$1.30€1.100.03
$15.00€19.9910.91
$0.990.02
Land (24)
$80.96
$5.492.95
$3.49
$4.84€5.933.95
$3.62€5.183.60
$1.30€0.650.03
$1.48€0.540.03
$4.00€4.702.86
$8.99€9.232.79
Planeswalker (2)
$12.50€14.006.92

Sideboard - 15 cards (8 distinct)

$1.00€1.170.67
$0.49€0.580.03
$6.91
$4.03
$2.34
$1.00
$3.17€2.870.30

Add deck to your favorites

Please log in to be able to store your favorite decks for easy access under My Decks in the main menu.

Enter The Battlefield Prepared

With the MTGA Assistant deck tracker MTGA Assistant
Main/Sideboard Rarity Count
8 7 36 9 0
0 2 11 2 0